Welcome to the world of culinary magic, where flavors dance and ingredients sing! Today, we embark on an unforgettable journey centered around the mouthwatering fujiyama fried rice recipe. With this delightful dish, you will discover the art of combining simple ingredients to create a masterpiece that captivates both the eyes and the palate. Whether you’re a seasoned cook or a beginner, this recipe promises to elevate your cooking skills and impress everyone at your table.
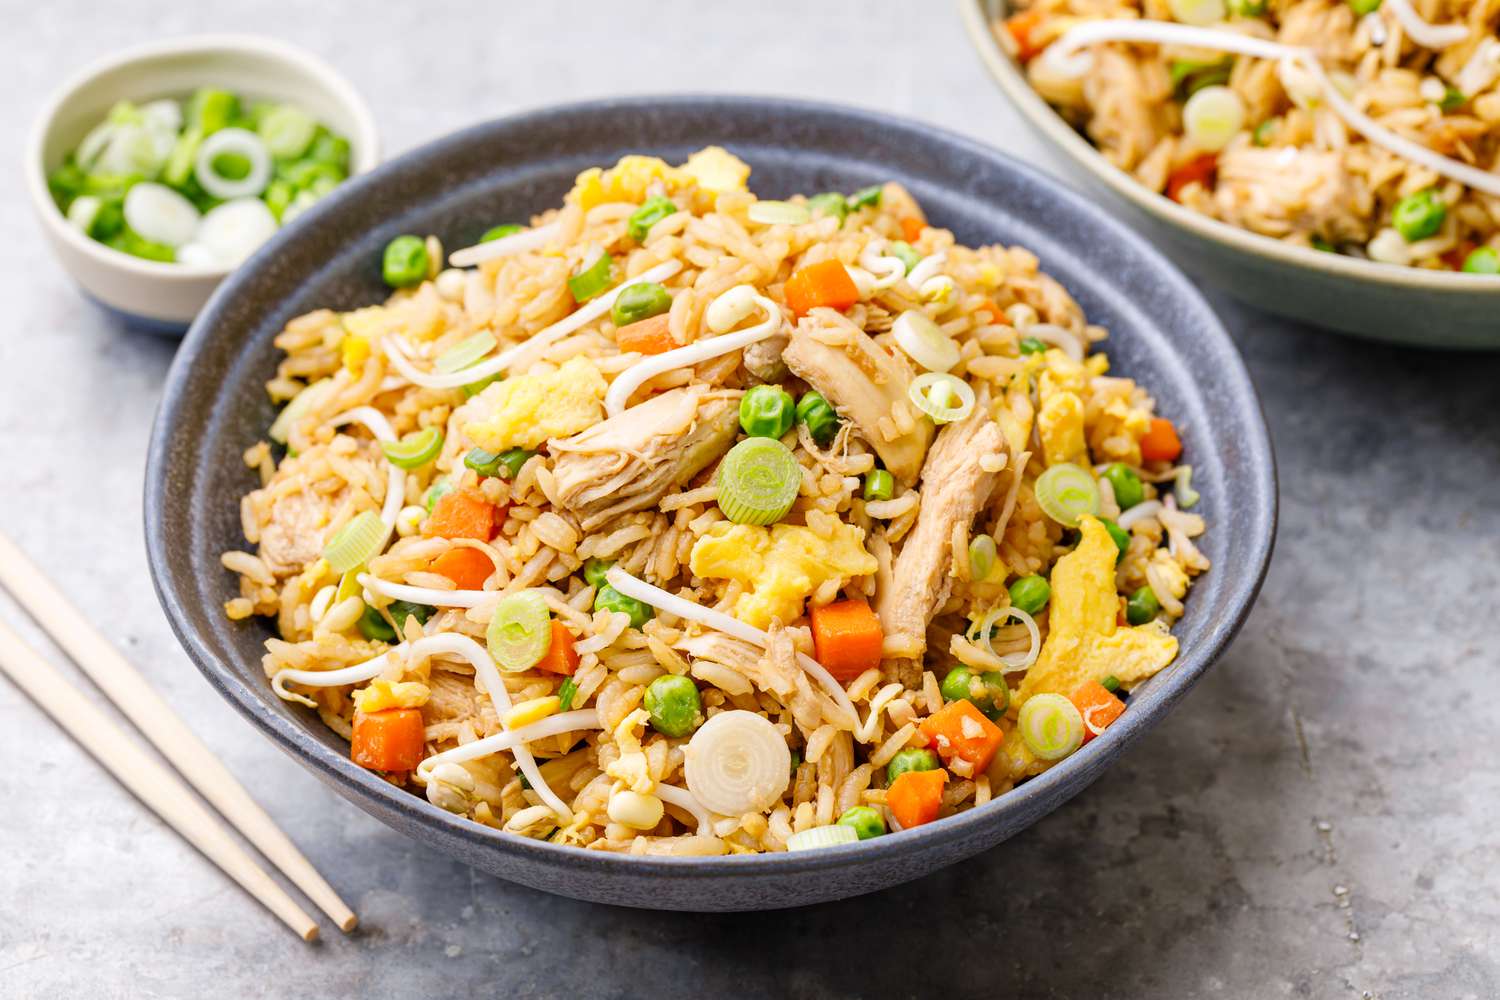
The Essence of Fujiyama Fried Rice
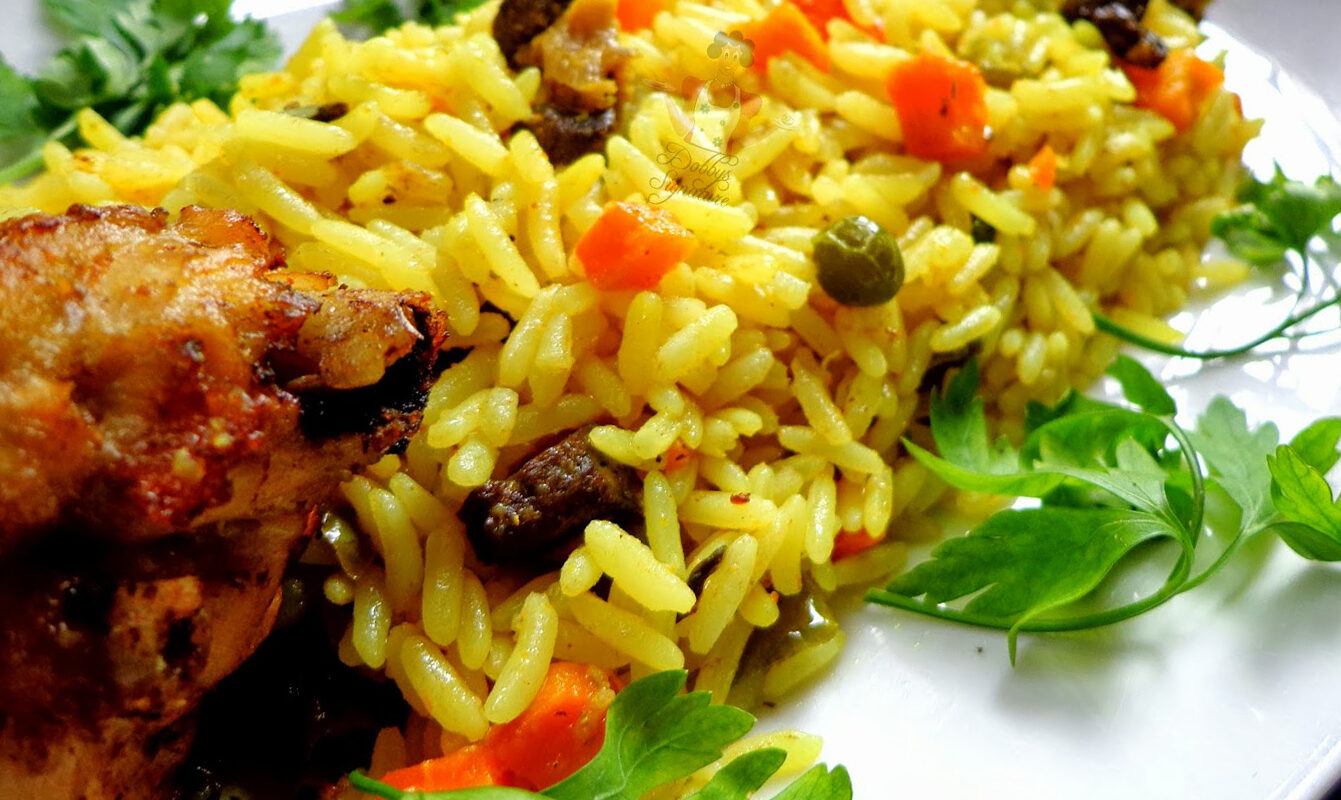
What makes the fujiyama fried rice recipe so enchanting? Its a tantalizing blend of aromatic ingredients, perfectly cooked rice, and an explosion of flavors that transport you to the scenic beauty of Fujiyama, Japan, with every bite. This fried rice dish is not just a meal; its a creation that represents the spirit of Japanese cuisine, where simplicity meets sophistication.
In the heart of every successful sushi lover, there lies a deep appreciation for the aromatic delights of fried rice, particularly when its crafted with skill and attention to detail. The beauty of this dish lies in its versatility you can customize it to suit your taste preferences, dietary restrictions, or even leftovers from your previous meals. The potential for creativity in this recipe is boundless!
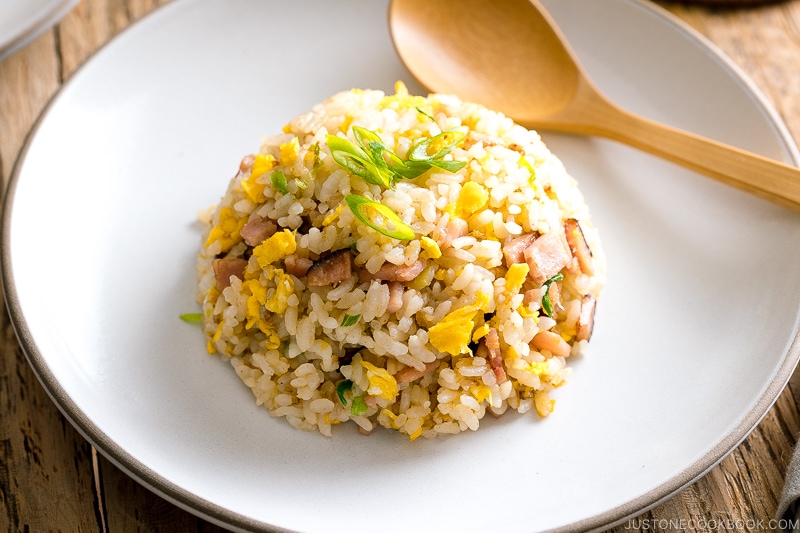
Ingredients for the Perfect Fujiyama Fried Rice
- 3 cups cooked rice (day-old rice works best)
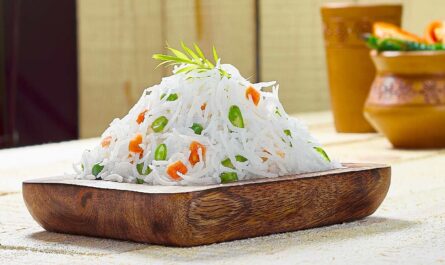
- 1 cup mixed vegetables (carrots, peas, corn)
- 2 large eggs
- 3 tablespoons soy sauce
- 2 tablespoons sesame oil
- 1 tablespoon vegetable oil
- 2 green onions, chopped
- 2 cloves garlic, minced
- Salt and pepper to taste
- 1 teaspoon ginger, minced
- Protein of choice (chicken, shrimp, or tofu)
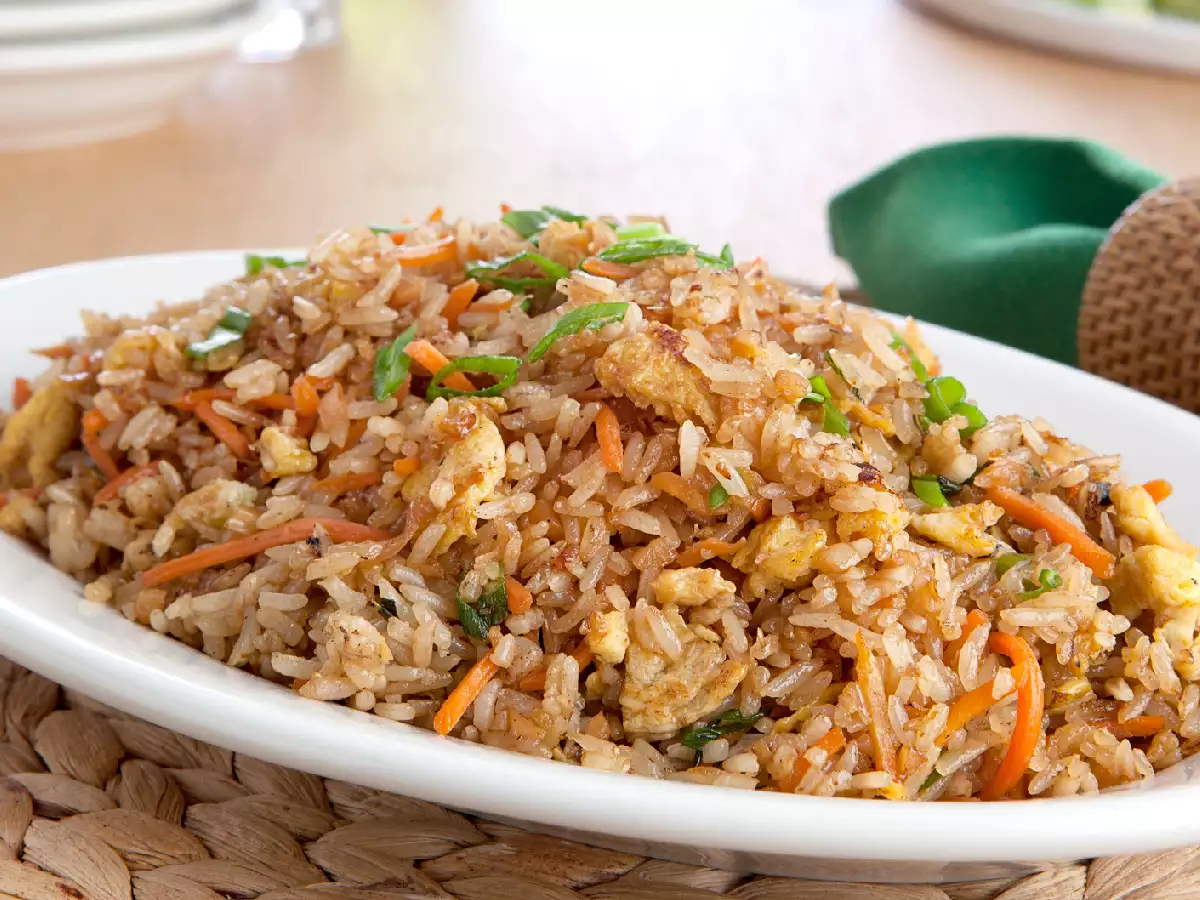
Essential Cookware for Your Fujiyama Fried Rice
A great dish starts with the right tools! To ensure seamless preparation and cooking of the fujiyama fried rice, gather the following cookware: a rice cooker, a reliable knife, and a sturdy cutting board. These tools will not only make your cooking process efficient, but they will also enhance the overall experience in the kitchen.
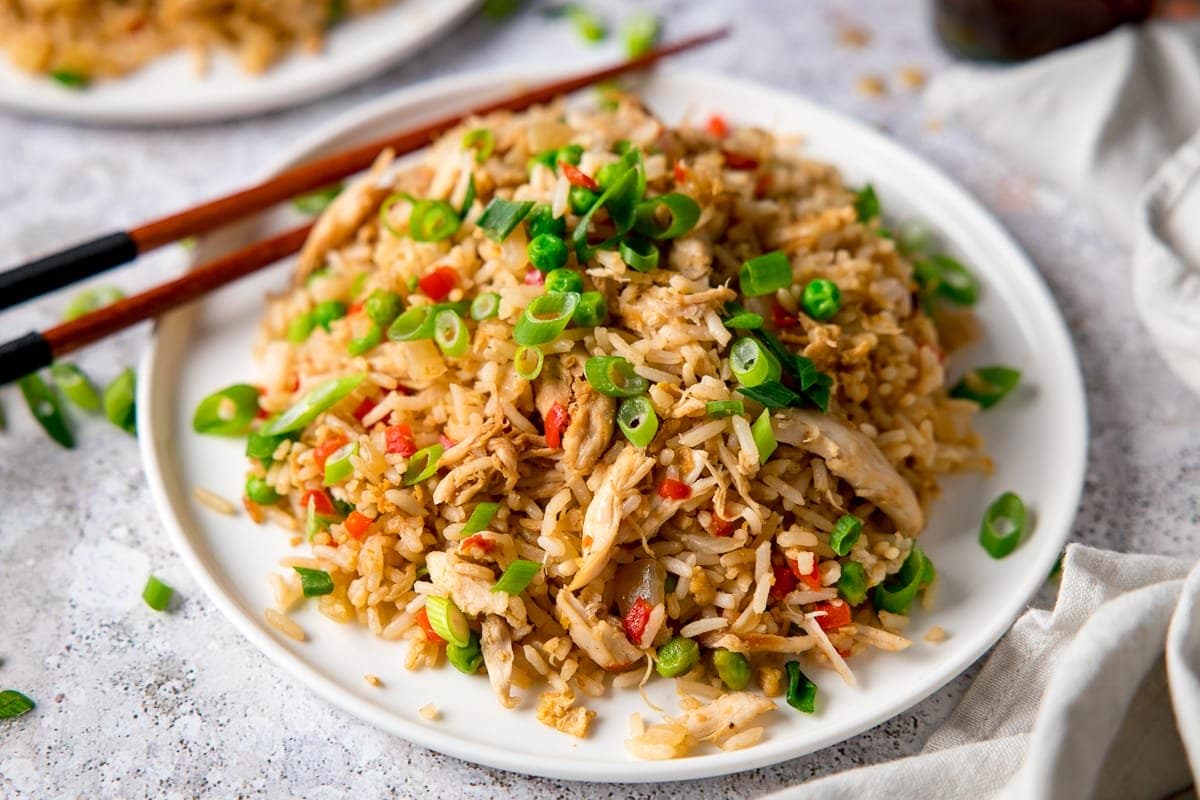
Step-by-Step Preparation of Fujiyama Fried Rice
Now that we have our ingredients and tools ready, lets dive into the preparation! The steps for creating the exquisite fujiyama fried rice recipe are simple yet effective, designed to unleash a flood of flavors.
1. Prepare Your Ingredients
Before you start cooking, ensure that all your ingredients are prepped and within reach. Chop your vegetables, whisk your eggs, and incorporate any protein you may be using. This not only saves time while cooking but also ensures that everything blends beautifully together, creating a harmonious culinary experience.
2. Cook the Eggs
Heat the vegetable oil in a large frying pan or wok over medium heat. Once hot, pour in your whisked eggs, allowing them to scramble gently. Once they are cooked through, remove them from the pan and set them aside. This step is essential, as it provides a foundation of rich flavor and adds a wonderful texture to your fried rice.
3. Stir-Fry the Vegetables
In the same pan, add a splash of sesame oil and throw in your minced garlic and ginger. Allow them to sizzle and infuse their aroma into the oil, creating a fragrant base. Then, toss in your mixed vegetables and stir-fry them until they are tender yet crisp. This process enhances the natural sweetness of the vegetables, making them a delightful addition to your fried rice.
4. Combine the Rice
Once your vegetables are perfectly cooked, its time to introduce the star of the show the rice! Gently break apart any clumps from the rice and add it to the pan. Incorporate the soy sauce and return the scrambled eggs to the mix. Stir everything together, ensuring that the flavors meld seamlessly. This step involves some finesse; make sure to keep the mixture moving to avoid burning the rice while allowing each grain to soak in the sauce.
5. Final Touches
Once the rice is heated through and has absorbed all the wonderful flavors of the ingredients, remove the pan from the heat. Its time for the finishing touches! Sprinkle the chopped green onions over the top, adding a burst of freshness. Taste your creation and adjust the seasoning with salt and pepper to your liking. Your magnificent fujiyama fried rice is now ready to serve!
Serving Your Fujiyama Fried Rice
Presentation is key! Serve your fujiyama fried rice in vibrant bowls or plates, garnished with additional green onions or sesame seeds for that extra flair. Consider placing a few slices of avocado or fresh cucumber on the side for a refreshing contrast to the warm rice. Pair this dish with a hot bowl of miso soup or a side salad for a complete, satisfying meal that is bound to impress your family and friends.
Storage and Leftovers
If you find yourself with leftovers (which is rare, considering its deliciousness), store them in an airtight container and refrigerate. Reheat the fried rice in a pan over medium heat, adding a splash of soy sauce or sesame oil to revive its flavor. This dish not only tastes great fresh but also has the ability to bring joy to your next meal with its comforting flavors.
Cleaning Your Cookware
Maintaining your cookware is crucial in ensuring longevity and optimal performance. Make sure to clean the cookware cleaner right after cooking, using a suitable cleaner for your frying pan or wok. For wooden cutting boards, a splash of soap and warm water usually does the trick, but regularly treating it with a cutting board conditioner will keep it in top shape.
Explore More Recipes
Now that youve mastered the fujiyama fried rice, why not explore other culinary delights? Check out these delicious recipes: Fish Fried Rice, Tom Yum Fried Rice, and Yellow Fried Rice for even more taste inspirations!
Remember, each recipe you try adds to your culinary journey. Enjoy the process, embrace the flavors, and never hesitate to make it your own. Happy cooking!
As an Amazon Associate, I earn from qualifying purchases.
For further cooking inspiration, check out more than just fried rice recipes at Dish N The Kitchen, where every dish is a reflection of passion and creativity in the culinary arts: Simple Cast Iron Salmon.
——————————————————————————————————–
Disclosure: This post contains affiliate links. As an Amazon Associate I earn from qualifying purchases, but there will be no extra charges to you. Thank you for your support!

