
 by
by If you are a sushi lover, you are in for a treat with our comprehensive sushi hand roll recipe. Crafting the perfect Temaki, also known as hand rolls, may seem daunting at first, but this detailed guide will walk you through every step with ease. This fun and engaging culinary adventure is suitable for sushi enthusiasts of all skill levels, from beginners to seasoned chefs.

What Makes Sushi Hand Roll Special?
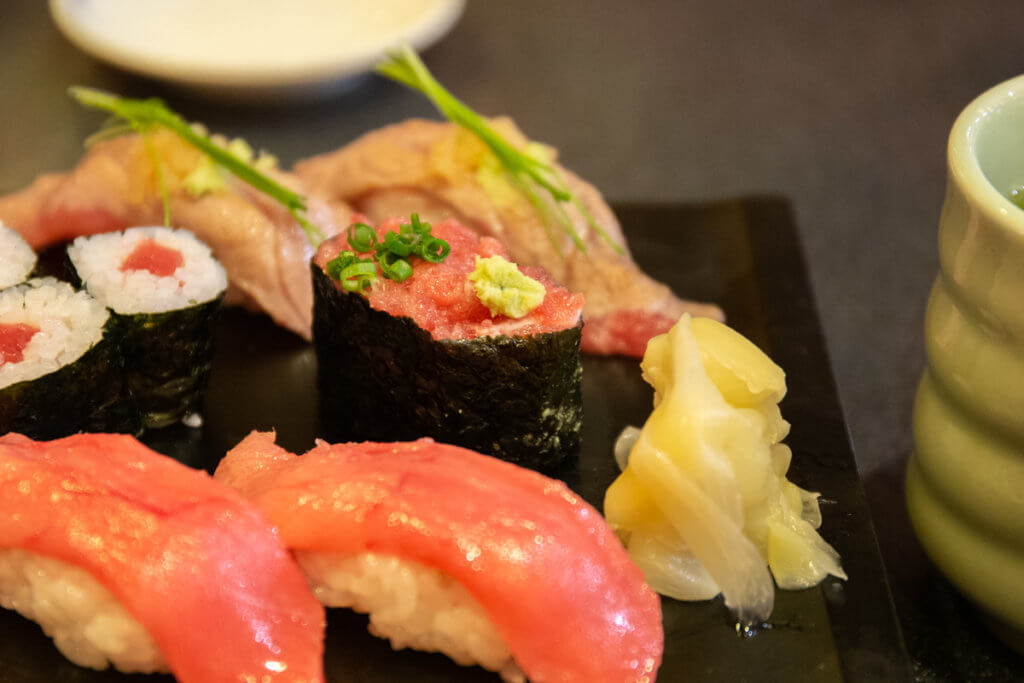
Sushi hand rolls, or Temaki, are a type of sushi characterized by their distinctive cone shape. Unlike traditional sushi rolls that require precise cuts and meticulous rolling, hand rolls are open-ended, making them easier and quicker to prepare. They offer a creative twist on traditional sushi, allowing you to showcase vibrant ingredients and personalize each roll to your taste. The key to a successful hand roll lies in achieving the perfect balance of flavors and textures, from the crisp nori seaweed to the vinegared sushi rice, fresh vegetables, and quality seafood.

Essential Tools and Ingredients
- 2 cups sushi rice
- 2 1/2 cups water
- 1/4 cup rice vinegar
- 2 tbsp sugar
- 1 tbsp salt
- 4 sheets of nori (seaweed)
- 1/2 pound sashimi-grade tuna or salmon
- 1 avocado
- 1 cucumber
- Soy sauce
- Wasabi
- Pickled ginger
- Sesame seeds
Cookware:
Preparing the Perfect Sushi Rice
The foundation of any great sushi hand roll lies in the rice. Let’s start with the rice preparation, as it is crucial to get the right texture and flavor. Add 2 cups of sushi rice into a strainer and rinse under cold water until the water runs clear. This step is essential to remove the excess starch, which can make the rice too sticky.
Using a rice cooker will make this process much easier. Place the rinsed rice into the cooker and add 2 1/2 cups of water. Turn on the rice cooker and allow it to cook the rice perfectly. If you prefer to cook it on a stove, combine the rice and water in a pot, bring it to a boil, then lower the heat, cover, and simmer for about 18-20 minutes until all the water is absorbed.
While the rice is cooking, in a small saucepan, combine 1/4 cup of rice vinegar, 2 tablespoons of sugar, and 1 tablespoon of salt. Heat until the sugar and salt dissolve, then let it cool.
Seasoning the Rice
Once the rice is cooked, transfer it to a large cutting board or a Hangiri (a traditional wooden bowl for mixing sushi rice). Drizzle the vinegar mixture evenly over the rice. With a wooden spatula or paddle, gently fold the rice to ensure that the seasoning is evenly distributed. Avoid stirring too vigorously, as this can damage the delicate rice grains. Let the seasoned rice cool to room temperature, covering it with a damp cloth to prevent it from drying out.

Preparing the Fillings
While the rice is cooling, prepare the fillings for your sushi hand rolls. The key to a visually appealing and delicious hand roll is quality and fresh ingredients. Start with your sashimi-grade fish. If using tuna or salmon, slice them into long, thin strips, as this shape fits perfectly into the hand rolls.
Next, slice the avocado in half, remove the pit, and scoop out the flesh. Cut the avocado into thin slices or strips, similar to the fish. For the cucumber, peel it if desired and cut it into matchstick-sized pieces. The refreshing crunch of cucumber adds a delightful texture to the hand rolls.
Besides the primary fillings, you can get creative by adding other ingredients like thinly sliced carrots, daikon radish, or even spicy mayo for an extra kick.
Assembling Your Sushi Hand Rolls
Here’s where the fun begins! To assemble the sushi hand rolls, you’ll need your prepared sushi rice, fillings, and nori sheets. Nori is the edible seaweed that holds everything together and adds a unique flavor to the rolls.
Start by cutting the nori sheets in half to get perfectly sized pieces. Place one half-sheet of nori, rough side up, on your cutting board. Wet your hands with a mixture of water and a bit of vinegar to prevent the rice from sticking to your fingers.
Take a small handful of the seasoned sushi rice (about 1/4 cup) and spread it evenly on the left half of the nori sheet. Ensure to press the rice down gently but firmly. Next, arrange a small amount of your chosen fillings diagonally across the rice.
To roll the sushi, start from the bottom left corner of the nori and carefully fold it over the fillings, tucking them inside. Continue rolling until you reach the right edge, shaping it into a cone-like structure. If the nori doesn’t seal, use a grain of rice as glue to secure the edge.
Serving and Enjoying Your Hand Rolls
Once your hand rolls are assembled, they’re best enjoyed immediately to savor the crispiness of the nori and the freshness of the ingredients. Serve with soy sauce, a dab of wasabi, and pickled ginger on the side. Sprinkle with sesame seeds for added flavor and presentation.
Hand rolls are a versatile dish, perfect for a fun family meal, entertaining guests, or a solo culinary adventure. You can experiment with various fillings to suit your taste and dietary preferences.
Enhance your sushi-making experience by exploring more unique sushi roll recipes on Hawaiian Roll, Volcano Roll, and California Roll. These recipes will expand your sushi repertoire and impress your friends and family.
Care and Maintenance of Sushi Equipment
To ensure your sushi-making tools last a long time and remain in the best condition, cleaning and maintenance are essential. For your rice cooker, follow the manufacturer’s instructions and clean it thoroughly after each use to avoid any residual build-up.
The sushi knife should be cleaned with warm soapy water and dried immediately to prevent rusting. Keeping your cutting board in good condition involves regular oiling. Use a suitable cutting board oil to maintain its surface and prevent cracking.
If you’re interested in more tips on maintaining your kitchenware, check out this useful guide on how to season and clean cast iron. These practices ensure your tools are always ready for your next sushi-making session.
As an Amazon Associate, I earn from qualifying purchases.
As an Amazon Associate, I earn from qualifying purchases.
——————————————————————————————————–
Disclosure: This post contains affiliate links. As an Amazon Associate I earn from qualifying purchases, but there will be no extra charges to you. Thank you for your support!