 by
by Sushi is a beloved Japanese cuisine that often seems reserved for sushi chefs and restaurants. However, you can easily make delicious sushi at home, and a great way to start is with a simple and tasty canned tuna sushi recipe. This recipe combines convenience with the authentic flavors of sushi, making it perfect for sushi lovers and beginners alike.
Why Choose Canned Tuna for Sushi?
Canned tuna is an accessible, affordable, and versatile ingredient that can be used as a delicious filling for sushi. Unlike raw fish, canned tuna doesnt require the same level of preparation and handling, making it an excellent choice for those new to sushi-making. Additionally, canned tuna is rich in protein and omega-3 fatty acids, making it a nutritious option. If you’re craving a quick sushi fix, this canned tuna sushi recipe will hit the spot.

Essential Ingredients and Equipment
Before we dive into the recipe, let’s gather everything we need. Here are the essential ingredients and some handy tools to make the process smooth and enjoyable.
Ingredients
- 2 cups sushi rice
- 2 1/2 cups water
- 1/3 cup rice vinegar
- 3 tablespoons sugar
- 1 teaspoon salt
- 3 cans of tuna in water (drained)
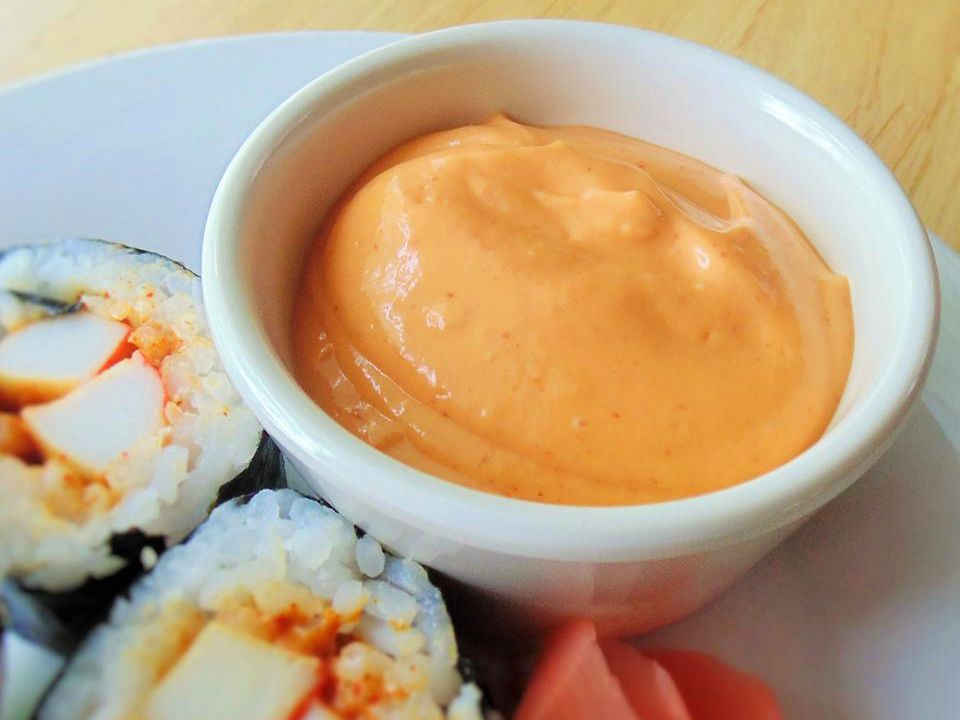
- 1/4 cup mayonnaise
- 2 teaspoons soy sauce
- 1 tablespoon sriracha (optional for spicy tuna)
- 6 sheets of nori (seaweed)
- 1 cucumber (julienned)
- 1 avocado (sliced)
- Sesame seeds (toasted)
Equipment
Step-by-Step Guide to Making Canned Tuna Sushi
Step 1: Preparing the Sushi Rice
Wash the sushi rice thoroughly using a strainer until the water runs clear. This is crucial to remove excess starch and achieve perfectly sticky rice. Once rinsed, transfer the rice to a rice cooker and add water. Set the rice cooker and wait until the rice is cooked. This typically takes about 20 minutes. While the rice is cooking, combine rice vinegar, sugar, and salt in a bowl. Heat the mixture slightly in a microwave or a small pan until the sugar dissolves completely. Once the rice is cooked, transfer it to a large bowl. Gently fold in the vinegar mixture, taking care to mix evenly without mashing the rice. Allow the rice to cool to room temperature.
Step 2: Preparing the Tuna Filling
While the rice cools, it’s time to prepare the tuna filling. In a large bowl, combine the drained canned tuna, mayonnaise, soy sauce, and sriracha (if you’re making spicy tuna). Mix until all ingredients are well combined, and set aside. Canned tuna sushi is not only easy to prepare but also offers a flavorful and rich alternative to traditional sushi fillings.
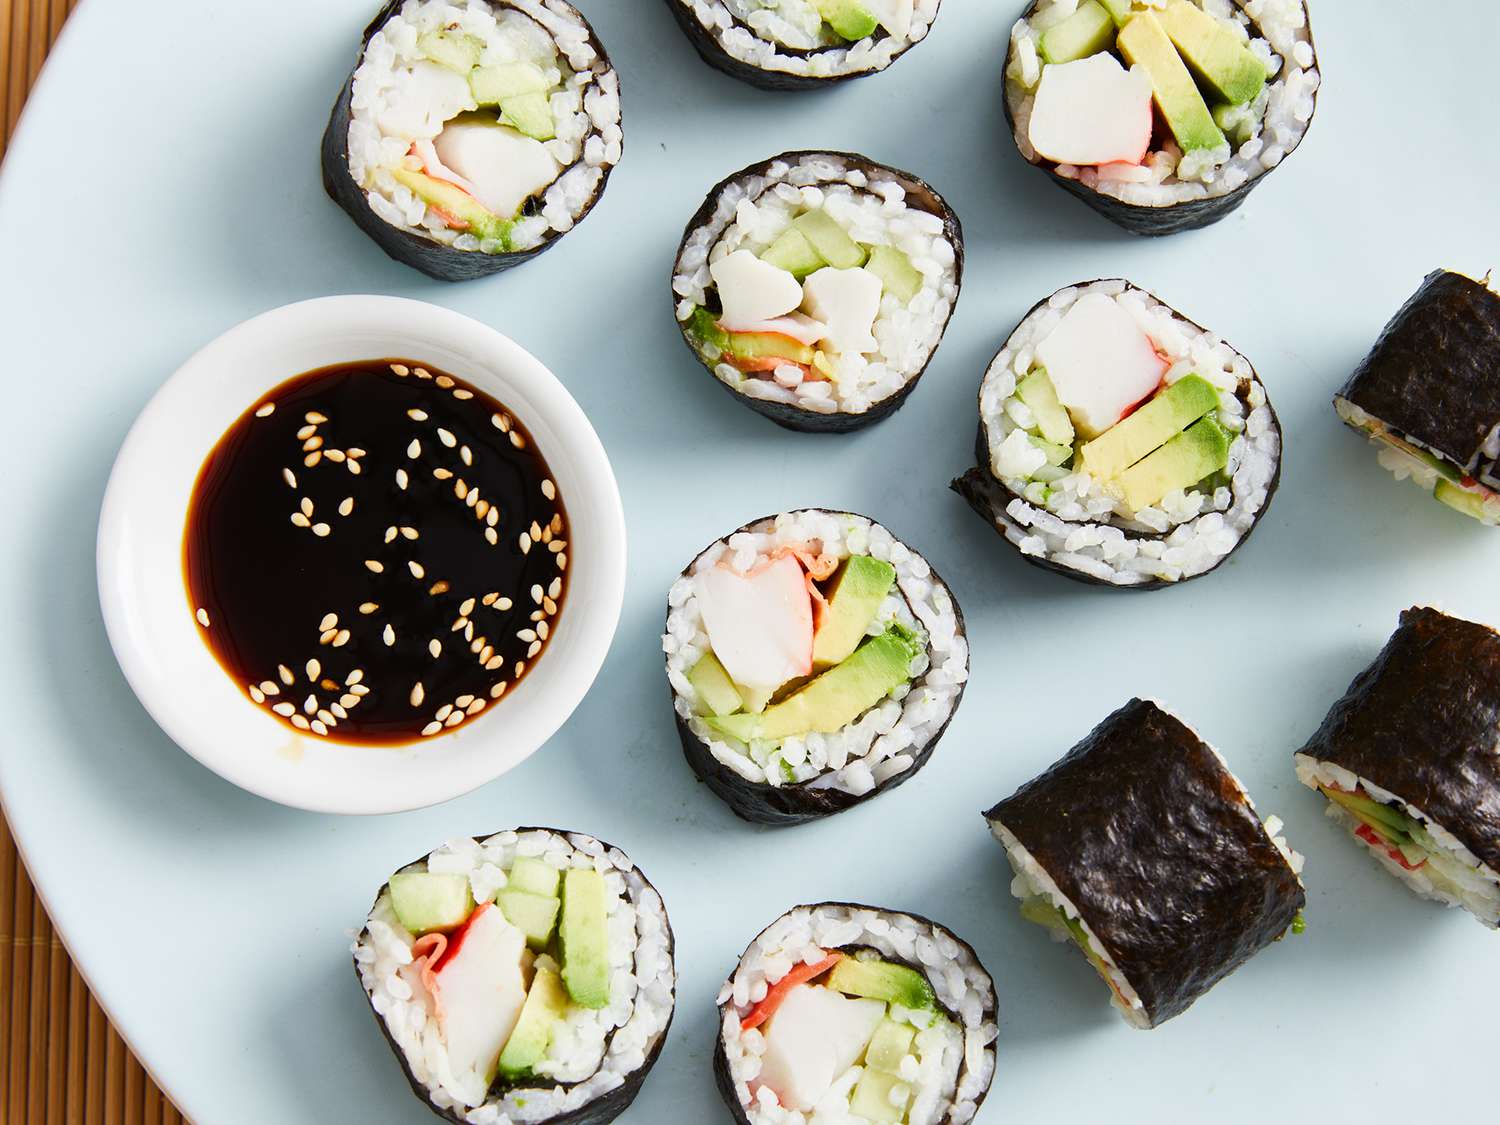
Step 3: Assembling the Sushi Rolls
Place a bamboo sushi mat on a flat surface and cover it with plastic wrap to prevent rice from sticking. Lay a sheet of nori on top of the mat, shiny side down. Moisten your hands to prevent the rice from sticking, and grab approximately 3/4 cup of the prepared sushi rice. Spread the rice evenly over the nori, leaving a 1-inch border at the top edge. Sprinkle some toasted sesame seeds over the rice for added flavor.
Next, place a line of the tuna mixture across the center of the rice. Add a few julienned cucumber pieces and avocado slices on top of the tuna. Using the bamboo mat, carefully lift the edge closest to you and roll it tightly over the filling. Keep rolling until you reach the border of the nori. Moisten the border with a bit of water to seal the roll.
Step 4: Cutting and Serving the Sushi Rolls
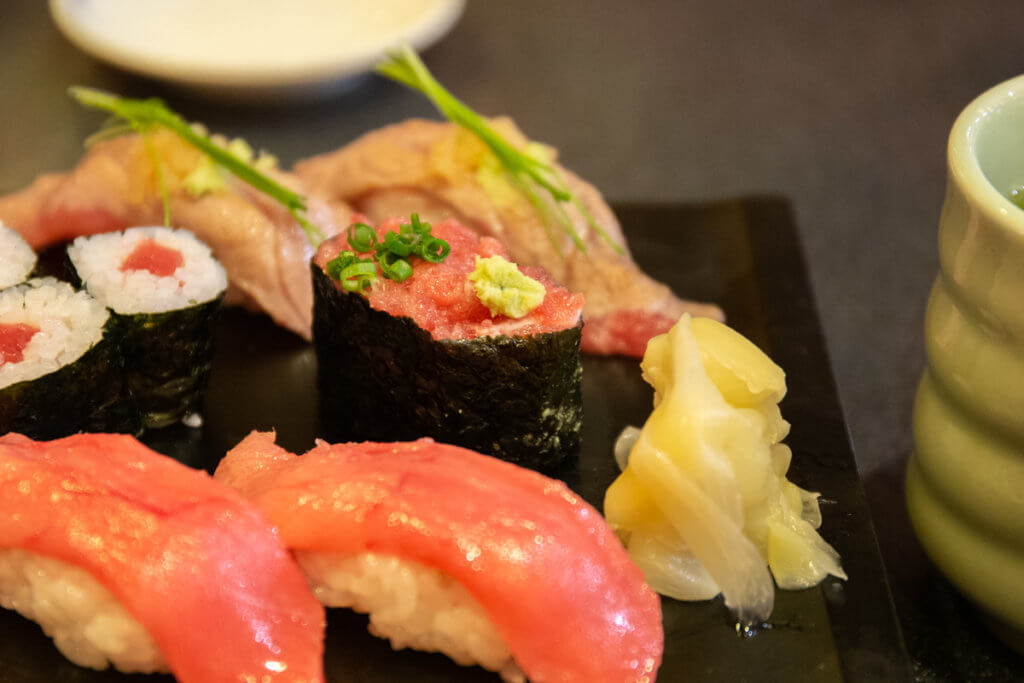
Once rolled, transfer the sushi roll to a cutting board. Using a very sharp sushi knife, cut the roll into bite-sized pieces. Clean the knife with a damp cloth between cuts to ensure clean slices. Arrange the sushi pieces on a serving platter, garnished with pickled ginger, wasabi, and soy sauce.

Tips and Variations
1. Adding Extra Flavors: Adding sesame seeds or chopped green onions to the tuna mixture can give it an extra flavor boost.
2. Alternative Fillings: Feel free to experiment with other ingredients, such as cream cheese, carrots, or bell peppers for different textures and flavors.
3. DIY Sushi Night: Why not turn this canned tuna sushi recipe into a fun DIY sushi night with friends or family?
Making sushi at home can be a delightful and educational experience. If you enjoy experimenting with different types of sushi, you might want to check out other exciting recipes like the Hawaiian Roll Sushi Recipe or the unique Volcano Roll Sushi Recipe. Another great option for sushi enthusiasts is the Deep-Fried Sushi Roll Recipe.
Additionally, for a more Western twist, consider trying recipes like the California Sushi Roll Recipe.
Conclusion
With this canned tuna sushi recipe, you can enjoy the flavors of sushi from the comfort of your home. Its a straightforward and satisfying recipe that even beginners can master. Sushi-making can be a fun activity, bringing together family and friends for a culinary journey. By following these steps and tips, you’ll be able to create professional-looking sushi rolls that taste as good as they look. So, grab your ingredients, gather your equipment, and embark on this delicious sushi-making adventure!
Cleaning and Maintenence
After enjoying your homemade sushi, ensure to clean and maintain your cooking tools effectively. For maintaining your sushi knife, consider using a sushi knife cleaner. For your cutting boards, a high-quality cutting board oil will keep them in top condition.
As an Amazon Associate, I earn from qualifying purchases.