 by
by If you’ve ever found yourself marveling at the delightful flavors of sushi but felt too intimidated to make it at home, our shrimp sushi bake recipe is going to change that. This layered casserole dish brings together all the delectable elements of sushi in a more approachable format. Not only does it taste incredible, but it’s also surprisingly easy to prepare. Whether you’re new to sushi or an experienced enthusiast, this recipe promises to impress.
Introduction to Shrimp Sushi Bake
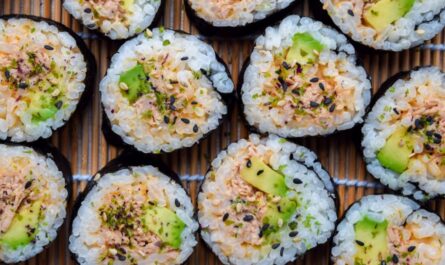
Sushi has always been a beloved delicacy, cherished for its blend of flavors, textures, and ingredients. However, traditional sushi, while delicious, can sometimes seem daunting to prepare. Enter the shrimp sushi bake recipe, a creative twist that transforms sushi into a warm, comforting, and incredibly flavorful casserole. This dish keeps the essence of sushi intact while making the preparation process simpler and more convenient for home cooks.
Why You’ll Love This Recipe
There are countless reasons to fall in love with this shrimp sushi bake recipe. For one, it’s a forgiving recipe, allowing room for some improvisation based on your preferences and what you have available. It’s also a fantastic dish for sharing, making it perfect for gatherings, potlucks, or family dinners. Not to mention, the combination of shrimp, creamy layers, and the rice’s satisfying chewiness offers a rich and complex flavor profile that rivals any restaurant sushi.
Ingredients
- 2 cups sushi rice (prepared in a Rice Cooker)
- 2 cups water
- 1/2 cup rice vinegar
- 1/4 cup sugar
- 1/4 cup mirin
- 1/2 tsp salt
- 1 pound shrimp, peeled, deveined, and cooked
- 1 cup mayonnaise
- 1/4 cup sriracha
- 1 tbsp soy sauce
- 2 sheets nori, cut into strips
- 1 avocado, sliced
- 1 cucumber, julienned
- 3 green onions, chopped
- 2 tbsp sesame seeds, toasted
- Pickled ginger (for garnish)
Step-by-Step Instructions
The following steps will guide you through creating the perfect shrimp sushi bake. Prepare each component with care to ensure the final dish is as delectable as possible.
Step 1: Cook the Sushi Rice
Start by rinsing 2 cups of sushi rice in a strainer under cold running water until the water runs clear. This process removes excess starch that can make the rice too sticky. Transfer the rinsed rice to the rice cooker with 2 cups of water and cook according to the manufacturer’s instructions. Once the rice is cooked, allow it to cool slightly.
Step 2: Season the Rice
In a small saucepan, combine 1/2 cup rice vinegar, 1/4 cup sugar, 1/4 cup mirin, and 1/2 tsp salt. Heat the mixture over medium heat, stirring until the sugar and salt dissolve completely. Pour the vinegar mixture over the cooked rice and gently fold to combine. Ensure each grain of rice is evenly seasoned for the best flavor.
Step 3: Prepare the Shrimp
While the rice is absorbing the seasoning, focus on the shrimp. If you haven’t already, peel, devein, and cook 1 pound of shrimp. You can saut the shrimp in a little bit of oil for a few minutes until they turn pink and opaque. Slice each shrimp into bite-sized pieces, ensuring they are evenly sized for layering later.
Step 4: Mix the Creamy Sauce
In a medium bowl, whisk together 1 cup of mayonnaise, 1/4 cup sriracha, and 1 tbsp soy sauce. This creamy, spicy sauce will be the binding element that brings all the flavors together in the shrimp sushi bake. Adjust the amount of sriracha based on your heat preference.
Step 5: Layer the Sushi Bake
Preheat your oven to 375F (190C). In a 9×13 inch baking dish, start by spreading an even layer of the seasoned rice at the bottom. Arrange the chopped shrimp on top of the rice layer. Drizzle half of the creamy sauce over the shrimp, ensuring even coverage. Follow up with layers of sliced avocado and julienned cucumber. Drizzle the remaining sauce on top, making sure every bite will get a hit of flavor.
Step 6: Bake and Garnish
Place the baking dish in the preheated oven and bake for approximately 20-25 minutes, or until the top is golden and bubbly. Once baked, allow the dish to cool for a few minutes before garnishing. Top with strips of nori, chopped green onions, and toasted sesame seeds. For an extra touch, you can add some pickled ginger on the side.
Tips for the Perfect Shrimp Sushi Bake
To make sure your shrimp sushi bake recipe turns out perfectly, here are a few tips. Using fresh, high-quality shrimp will enhance the overall flavor of the dish. Also, don’t skip the step of seasoning the rice properlythis is key to achieving that authentic sushi taste. Finally, if you prefer a less spicy version, adjust the amount of sriracha in the sauce accordingly.
Serving Suggestions
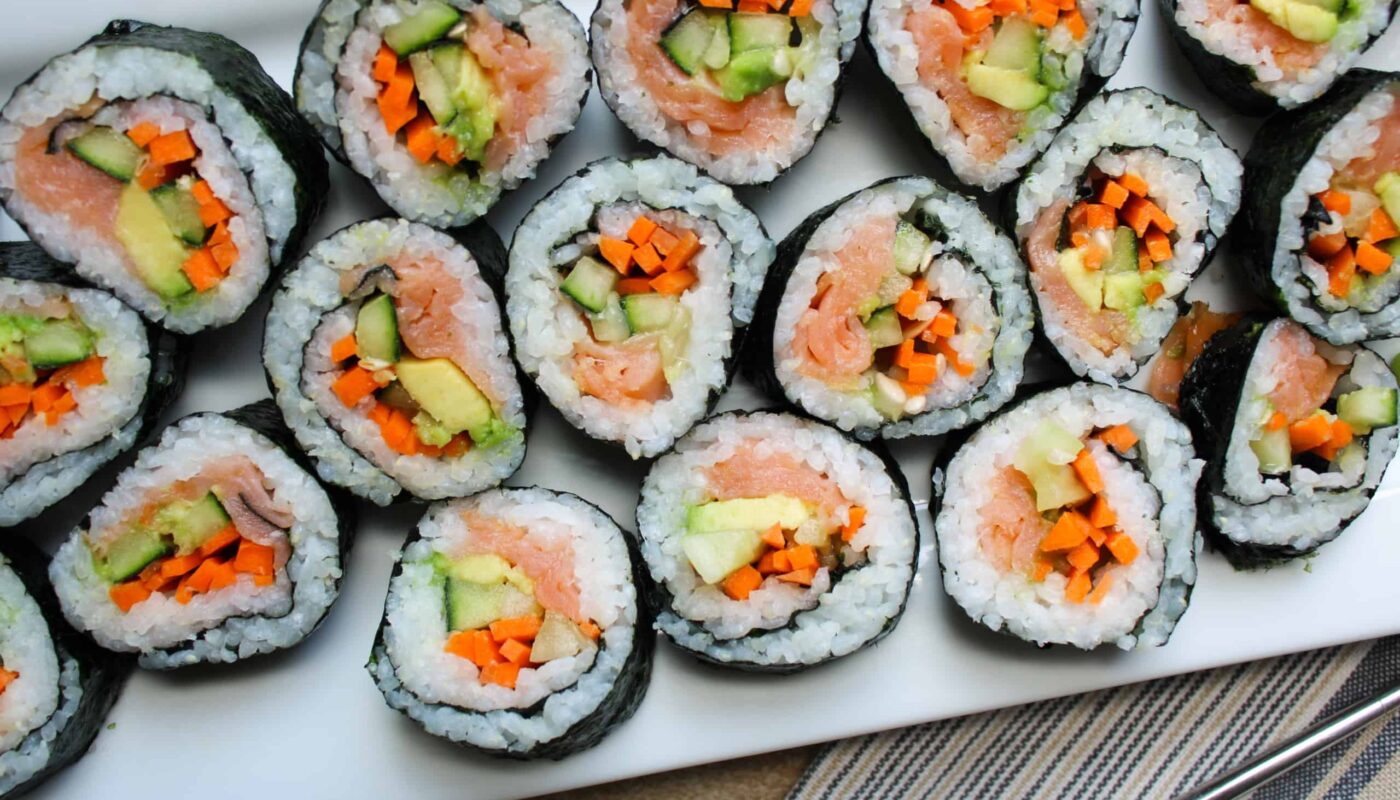
This shrimp sushi bake is best served warm as a main course. It pairs wonderfully with simple sides like a green salad or miso soup. You can also serve it family-style at parties or potlucks, where it will surely be a crowd-pleaser. For more delicious sushi ideas, check out our article on California Rolls or explore unique creations like the Volcano Roll.
Storing and Reheating
While sushi is typically best enjoyed fresh, this shrimp sushi bake can be stored in the refrigerator for up to three days. Make sure to cover it tightly with plastic wrap or place it in an airtight container. To reheat, simply bake it in a preheated oven at 350F (175C) for about 15 minutes or until heated through. Avoid microwaving as it can make the rice too dry and the textures less appealing.
Conclusion
The shrimp sushi bake recipe is a fantastic way to enjoy sushi flavors in a more relaxed, casserole format. Its layers of seasoned rice, shrimp, creamy sauce, and fresh toppings are sure to satisfy your cravings and impress your guests. Whether you’re looking to simplify sushi making or just trying something new, this recipe is a winner. For more sushi inspirations, don’t miss our Lobster Roll and Deep Fried Sushi Roll recipes. And for cleaning up after, visit how to clean your Dutch Oven and cookware cleaner.
As an Amazon Associate, I earn from qualifying purchases.
As an Amazon Associate, I earn from qualifying purchases.
——————————————————————————————————–
Disclosure: This post contains affiliate links. As an Amazon Associate I earn from qualifying purchases, but there will be no extra charges to you. Thank you for your support!