
 by
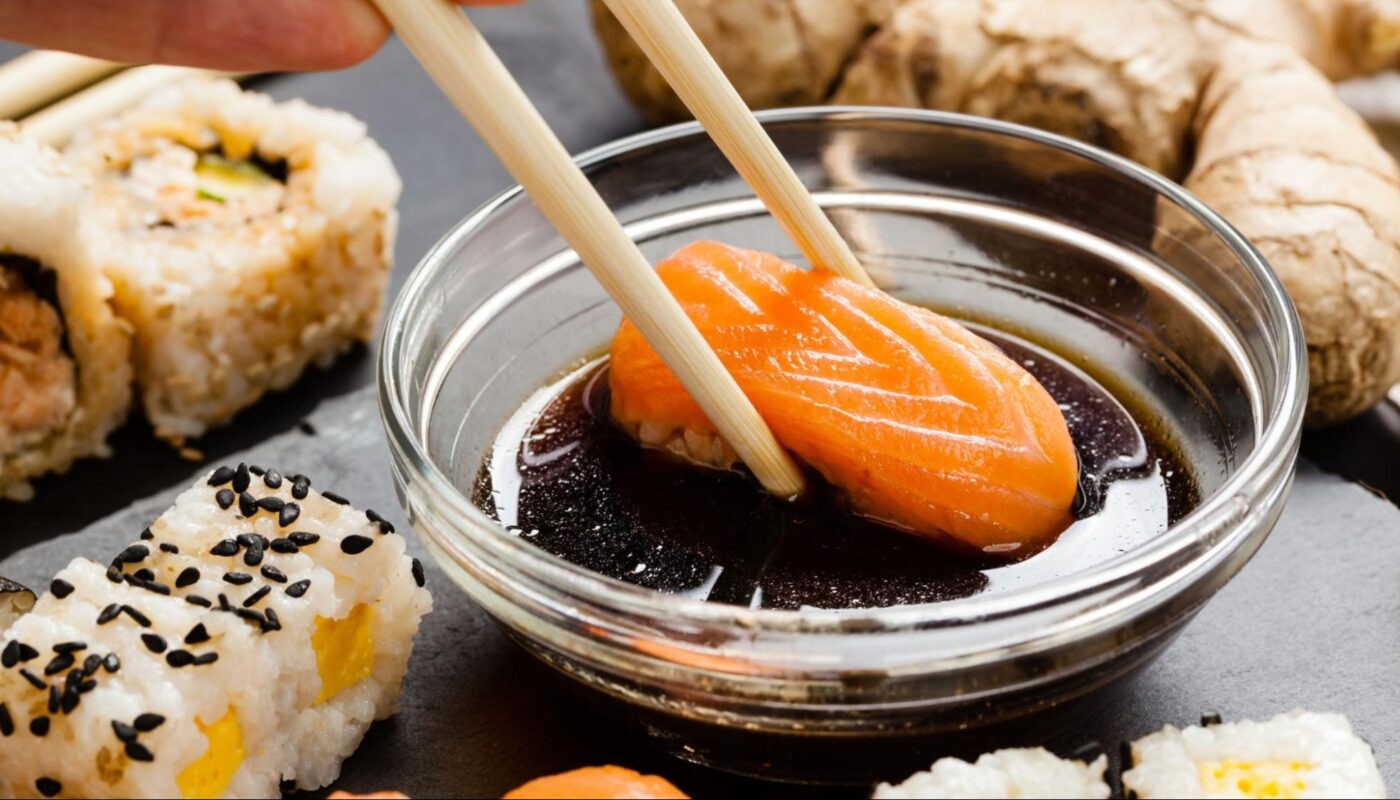
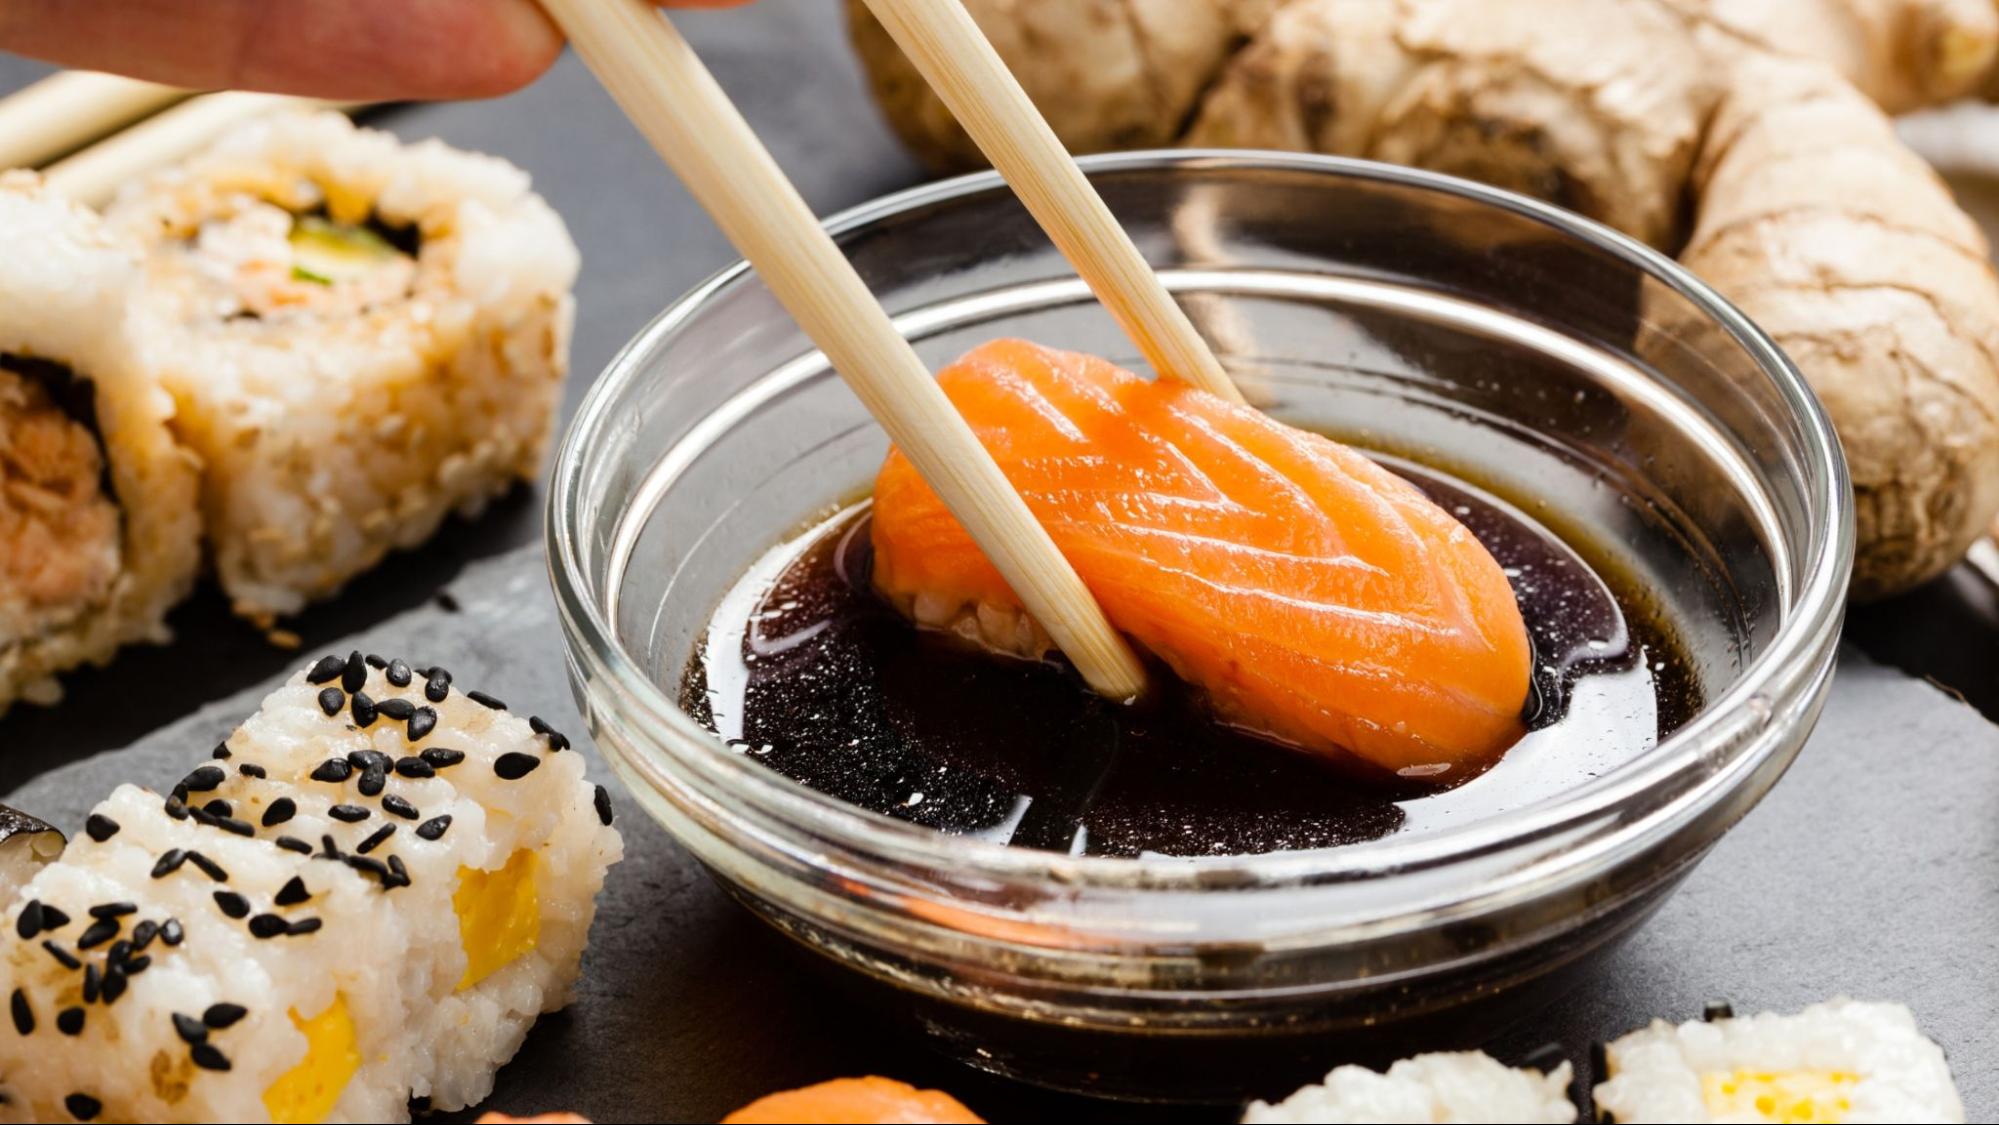
by Are you craving the delicious, delicate taste of sushi but don’t have the time to spend hours in the kitchen? Look no further! This quick and easy sushi recipe is the perfect solution for busy home cooks who still want to enjoy homemade sushi. With a few basic ingredients, the right tools, and some helpful tips, you can create delectable sushi rolls in the comfort of your own home. In this article, we will guide you through everything you need to know for making sushi quickly and effortlessly.
Ingredients
- 2 cups sushi rice
- 3 cups water
- 1/3 cup rice vinegar
- 3 tablespoons sugar
- 1 teaspoon salt
- 4 nori sheets
- 1 cucumber, julienned
- 1 avocado, sliced
- 200g fresh fish (e.g., salmon or tuna), thinly sliced
- Soy sauce, for dipping
- Pickled ginger and wasabi, for serving

Tools You Will Need
Before we dive into the recipe, make sure you have the following tools on hand for the best sushi-making experience:

Step 1: Preparing the Sushi Rice
The foundation of any good sushi roll is the rice, so it’s important to get this step right. Start by rinsing 2 cups of sushi rice using a strainer under cold water until the water runs clear. This removes excess starch and will prevent the rice from becoming too sticky.
Next, place the rinsed rice and 3 cups of water in a rice cooker and let it cook according to the manufacturer’s instructions. Once the rice is cooked, allow it to rest for 10 minutes before transferring it to a large bowl.
While the rice cools, combine 1/3 cup rice vinegar, 3 tablespoons sugar, and 1 teaspoon salt in a small bowl. Heat the mixture in the microwave or on the stove until the sugar and salt dissolve. Drizzle the vinegar mixture over the warm rice and gently fold it in using a wooden spatula. Allow the rice to cool to room temperature.

Step 2: Rolling the Sushi
Now that your sushi rice is ready, it’s time to start rolling! Begin by laying a sheet of nori on a bamboo sushi mat from your sushi making kit. Wet your fingers with water to prevent the rice from sticking, then evenly spread a thin layer of sushi rice on the nori, leaving about 1 inch of space at the top edge.
Arrange your fillings (e.g., cucumber, avocado, fish) in a horizontal line across the center of the rice. Be careful not to overfill your rolls, as this can make them difficult to seal. To roll the sushi, lift the edge of the bamboo mat closest to you and fold it over the fillings. Continue to roll the mat away from you, pressing gently but firmly to create a tight roll. Once you’ve reached the end of the nori, use a sharp sushi knife to cut the roll into bite-sized pieces.
Step 3: Serving the Sushi
Now that your sushi rolls are ready, it’s time to plate them beautifully. Arrange the pieces on a serving platter and garnish with pickled ginger, wasabi, and a small bowl of soy sauce for dipping. Don’t forget to share your delicious creation with friends and family! It’s also a great way to introduce others to the joy of homemade sushi. For more sushi recipe inspirations, check out these mouth-watering Hawaiian Roll Sushi, Volcano Roll Sushi, and Deep Fried Sushi Rolls.
Tips and Tricks for Perfect Sushi
Creating sushi at home can be a fun and rewarding experience, but it does require some practice. Here are a few tips and tricks to help you along the way:
1. Use fresh ingredients: Always use the freshest fish and vegetables you can find for the best flavor and texture. It’s worth visiting a local fish market or specialty store to ensure high-quality ingredients.
2. Keep your tools clean: Make sure your sushi knife and cutting board are clean and dry before you start slicing. This will help you achieve clean, even cuts and prevent the rice from sticking.
3. Wet your hands and knife: To prevent the sushi rice from sticking to your hands and knife, keep a small bowl of water nearby and frequently wet your fingers and the blade.
4. Don’t overfill your rolls: While it might be tempting to pack your sushi rolls with lots of fillings, resist the urge. Overfilled rolls can be difficult to seal and cut, making them more likely to fall apart.
5. Practice makes perfect: Don’t be discouraged if your first few rolls don’t turn out perfectly. Making sushi is an art form, and with practice, you’ll improve your technique and create beautiful, delicious rolls.
For more tips on perfecting your cooking skills, check out this useful guide on The Perfect Fried Egg.
Conclusion
Making sushi at home doesn’t have to be a daunting task. With this quick and easy sushi recipe, you can enjoy the delightful flavors of sushi without spending hours in the kitchen. By following our step-by-step guide and using the right tools and ingredients, you’ll be well on your way to becoming a sushi-making expert. Don’t forget to experiment with different fillings and techniques to create your own unique sushi rolls. Happy sushi-making!
As an Amazon Associate, I earn from qualifying purchases.
After preparing your sushi feast, make sure to keep your tools in top shape. Check out these products for easy cleaning and maintenance: Cookware Cleaner and Cutting Board Oil.
——————————————————————————————————–
Disclosure: This post contains affiliate links. As an Amazon Associate I earn from qualifying purchases, but there will be no extra charges to you. Thank you for your support!