 by
by Welcome to the ultimate guide on creating the perfect pickled ginger for sushi recipe. If you’re a sushi lover, you know that the tangy, slightly sweet, and spicy flavor of pickled ginger, or ‘Gari’ as it’s called in Japan, is an essential accompaniment to any sushi dish. This comprehensive recipe will not only take you through the easy steps to make your own homemade pickled ginger but also enlighten you on the cultural significance and health benefits of this renowned sushi garnish.
What is Pickled Ginger?
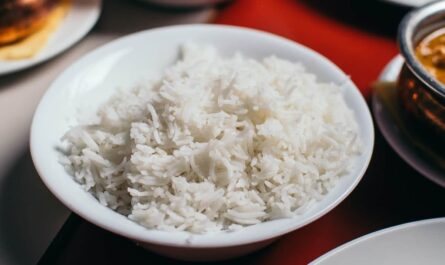
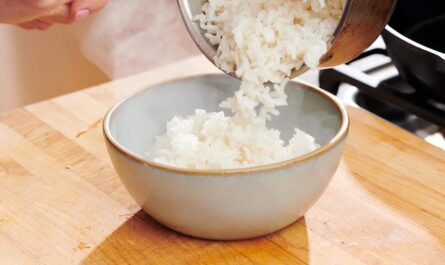
Pickled ginger, or ‘Gari’, is traditionally served with sushi for its palate-cleansing properties. It is meant to be eaten between different types of sushi to refresh the taste buds. The pinkish hue of pickled ginger can be naturally achieved when young ginger is used, thanks to its tender texture and mild flavor. The process of making pickled ginger involves thinly slicing fresh ginger root and marinating it in a mixture of vinegar and sugar, which provides its distinct flavor profile.
Ingredients and Equipment Needed
Before we dive into the recipe, lets gather all the necessary ingredients and equipment. Having the right items on hand will make the process smoother and more enjoyable.
Ingredients:
- 200 grams of fresh young ginger
- 1 cup rice vinegar
- 1 cup sugar
- 2 teaspoons salt
Equipment:
Step-by-Step Instructions for Making Pickled Ginger
Follow these detailed steps to create your homemade pickled ginger. Take your time at each stage to ensure the best quality outcome.
1. Preparing the Ginger
Start by peeling 200 grams of fresh young ginger. The younger ginger is less fibrous and has a milder flavor, making it ideal for pickling. Once peeled, thinly slice the ginger using a sharp knife or a mandoline slicer for consistent slices. If you prefer, you can use a sushi knife for precision.
2. Salting the Ginger
Place the thin ginger slices in a bowl and sprinkle with 2 teaspoons of salt. Mix well to ensure all slices are coated. Let it sit for about an hour. Salting helps to draw out excess moisture and bitterness from the ginger. After an hour, rinse the ginger slices thoroughly with water and drain using a strainer.
3. Preparing the Pickling Solution
In a small saucepan, combine 1 cup of rice vinegar and 1 cup of sugar. Heat the mixture over medium heat, stirring constantly until the sugar is completely dissolved. Once dissolved, let the solution cool to room temperature.
4. Pickling the Ginger
Place the salted and rinsed ginger slices in a clean glass jar. Pour the cooled pickling solution over the ginger, ensuring all slices are submerged. Seal the jar tightly and refrigerate. The pickled ginger will be ready to consume in about 2-3 days, but it will develop a more intense flavor if left to marinate for a week.
Serving and Storing Pickled Ginger
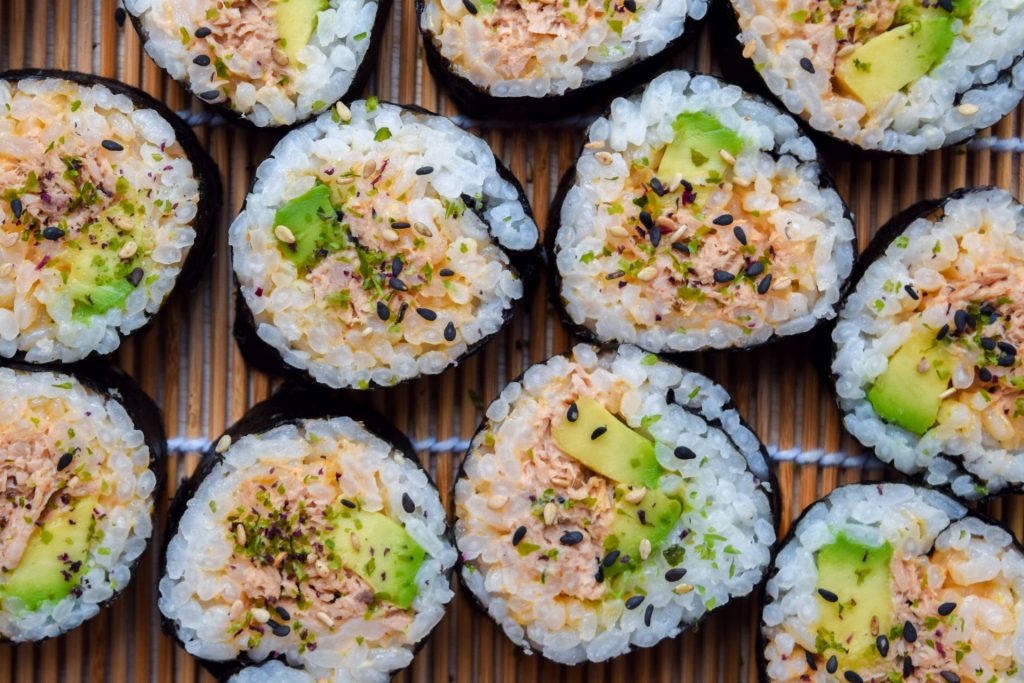
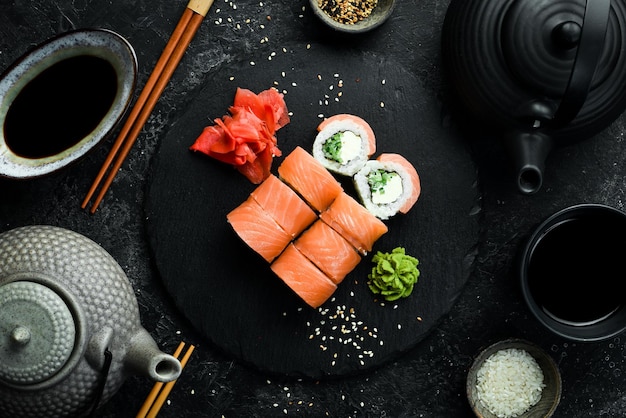
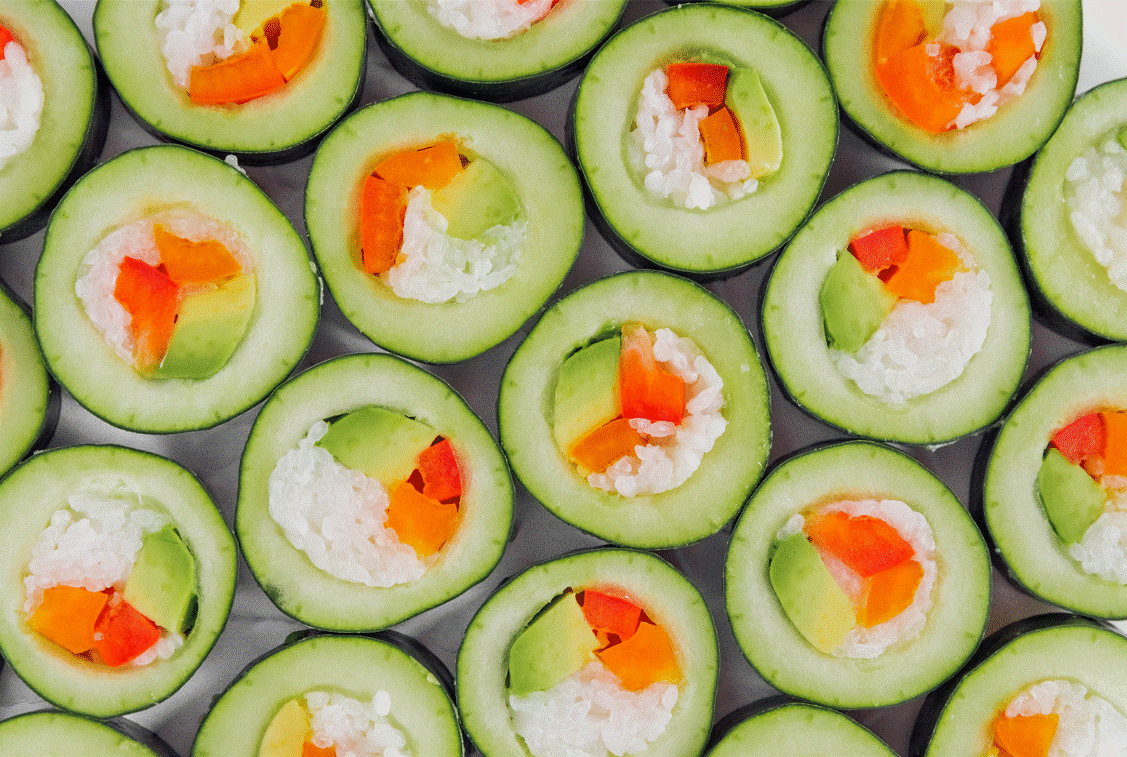
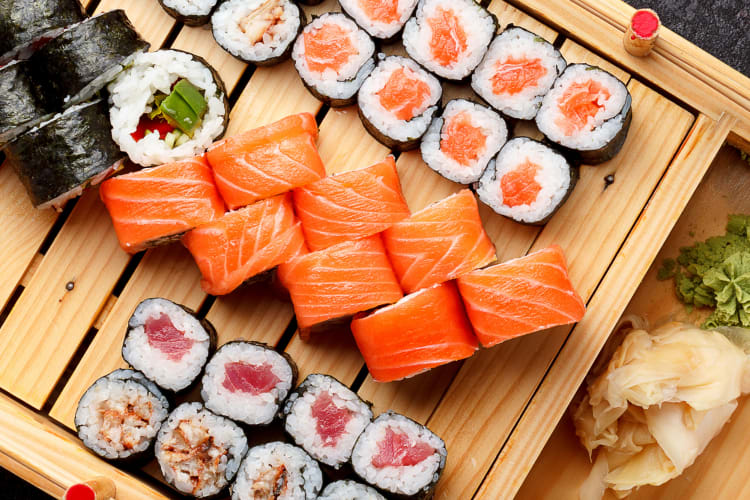
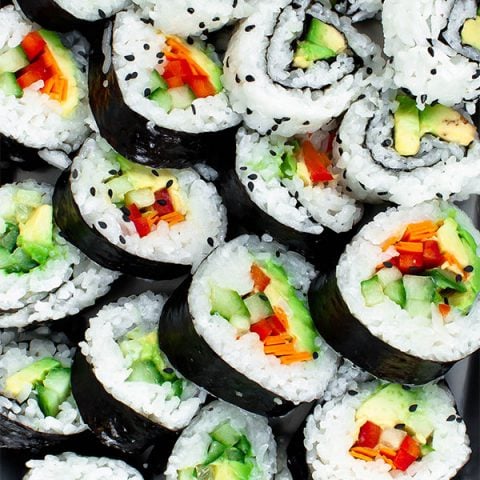
Once your pickled ginger is ready, serve it alongside your favorite sushi. It pairs exceptionally well with sushi rolls, sashimi, and nigiri. If you’re looking for delicious sushi recipes to complement your pickled ginger, consider trying the California Roll or the Volcano Roll.
Store your pickled ginger in the refrigerator. It will keep well for several months if stored in an airtight container. Always use a clean utensil when serving pickled ginger to extend its shelf life.
Health Benefits of Pickled Ginger
Pickled ginger isn’t just a flavorful sushi garnish; it also offers several health benefits. Ginger is known for its anti-inflammatory properties and is excellent for digestion. It can help alleviate nausea, reduce muscle pain and soreness, and even improve brain function. The vinegar used in pickling also has its health perks, including aiding in weight loss and blood sugar regulation.
Tips and Variations
Here are a few tips and variations to help you perfect your pickled ginger:
- Use Young Ginger: Older ginger tends to be fibrous and tough. Young ginger, available during the summer months, is more tender and perfect for pickling.
- Color Variations: If young ginger isn’t available, you can add a small piece of beetroot to the pickling solution to achieve the classic pink color.
- Sweetness Level: Adjust the sugar content based on your preference. If you like your pickled ginger less sweet, reduce the amount of sugar slightly.
Conclusion
Making your own pickled ginger for sushi recipe at home is a rewarding experience. Not only do you get to enjoy the fresh, vibrant flavors of homemade pickled ginger, but you also have the satisfaction of creating a traditional Japanese condiment from scratch. Whether enjoying it with sushi or as a tangy snack, this pickled ginger will surely impress your taste buds and elevate your sushi dining experience.
If you loved this recipe, you might also enjoy exploring other sushi-related dishes such as the Hawaiian Roll or the Lobster Roll. Happy sushi making!
Don’t forget to take care of your kitchen equipment. Use a quality cookware cleaner to keep your tools in top condition and regularly oil your cutting board.
As an Amazon Associate, I earn from qualifying purchases.
For more tips and inspiration, check out this guide on how to maintain your kitchen tools!
——————————————————————————————————–
Disclosure: This post contains affiliate links. As an Amazon Associate I earn from qualifying purchases, but there will be no extra charges to you. Thank you for your support!