 by
by Sushi lovers, rejoice! Today, we’re diving into the world of bite-sized delights with an irresistible snack sushi recipe. From perfectly seasoned rice to flavorful fillings and creative toppings, this recipe promises to elevate your snacking game to new heights.
The Allure of Snack Sushi
Snack sushi isn’t just about satisfying your hunger it’s about relishing every bite. The beauty of a snack sushi recipe lies in its versatility. You can customize each bite according to your preferences and make it as simple or as elaborate as you desire. Whether you’re having a solo culinary adventure or entertaining guests, a snack sushi recipe is the ideal choice.
Ingredients
- 1 cup sushi rice
- 2 cups water
- 1/4 cup rice vinegar
- 2 tbsp sugar
- 1 tsp salt
- Various fillings like cucumber, avocado, crab sticks or tempura shrimp
- Seaweed/Nori sheets
- Optional garnishes like sesame seeds, pickled ginger, or wasabi
Essential Cookware
Having the right tools can make crafting your snack sushi recipe a breeze. Heres what youll need:
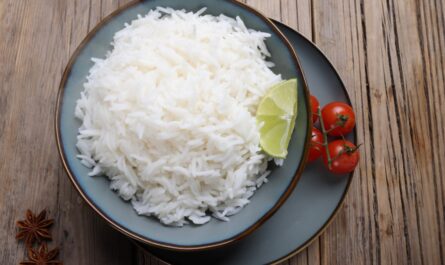
Preparing Perfect Sushi Rice
The foundation of any good snack sushi recipe is the rice. Here’s how to prepare it:
Step 1: Rinse the Rice
Use a strainer to rinse the sushi rice under cold water until the water runs clear. This removes excess starch and ensures the rice cooks evenly.
Step 2: Cook the Rice
Using a rice cooker, combine the rinsed rice and water in the cooker and follow the manufacturer’s instructions to cook the rice perfectly.
Step 3: Season the Rice
Once the rice is cooked, transfer it to a large bowl and gently fold in a mixture of rice vinegar, sugar, and salt. This enhances the rices flavor, giving it that trademark sushi tang.
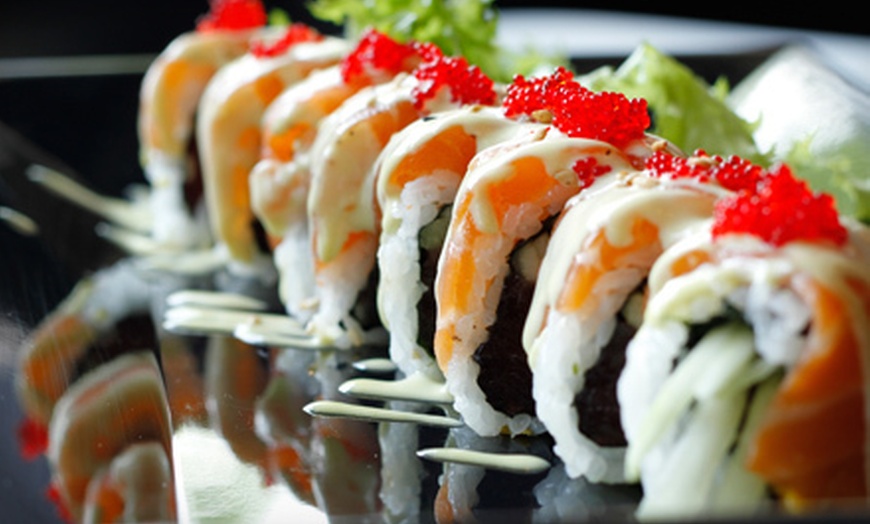
Crafting Delicious Fillings
A snack sushi recipe truly shines with the right fillings. Here are some ideas:
- Vegetarian Options: Sliced cucumber, avocado, and carrots
- Seafood Delights: Crab sticks, shrimp, or salmon
- Creative Twists: Cream cheese, tempura vegetables, or mango slices
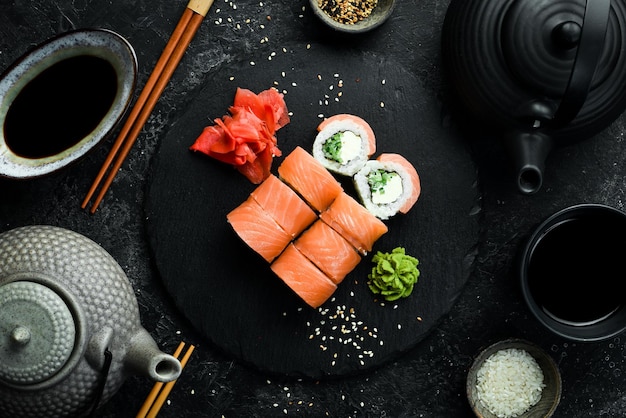
Assembling Your Snack Sushi
Now, lets bring it all together. Follow these steps to create the perfect snack sushi recipe:
Step 1: Prepare the Nori
Place a nori sheet on a cutting board. Ensure the rough side faces up for better rice adhesion.
Step 2: Spread the Rice
Using a spoon, evenly spread a thin layer of rice over the nori, leaving a small border at the top. Keep your hands wet to prevent the rice from sticking.
Step 3: Add Fillings
Place your chosen fillings horizontally across the center of the rice. Be careful not to overfill, as this will make rolling difficult.
Step 4: Roll It Up
Using a sushi rolling mat from your sushi making kit, carefully roll the nori sheet from the bottom, using gentle pressure to create a firm roll.
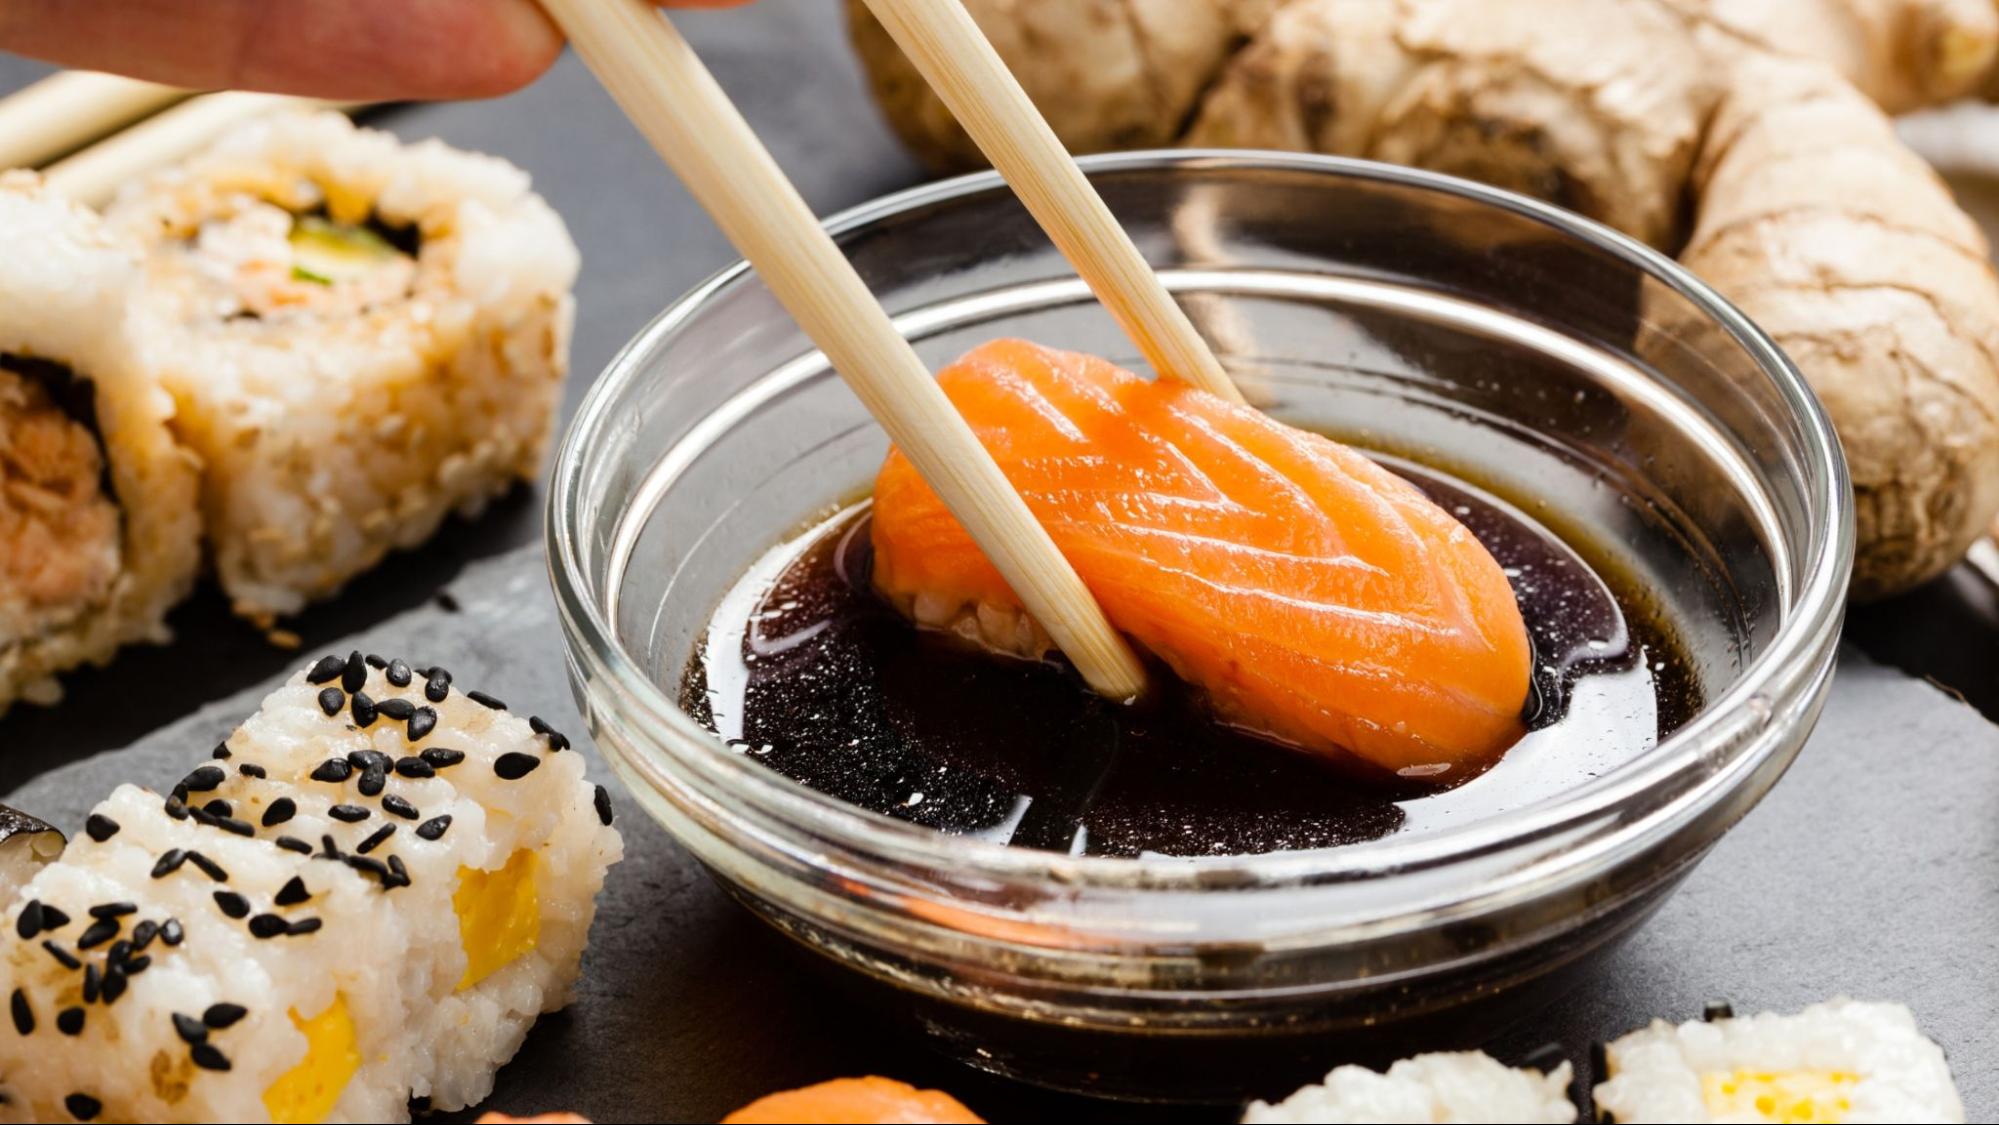
Step 5: Cut and Serve
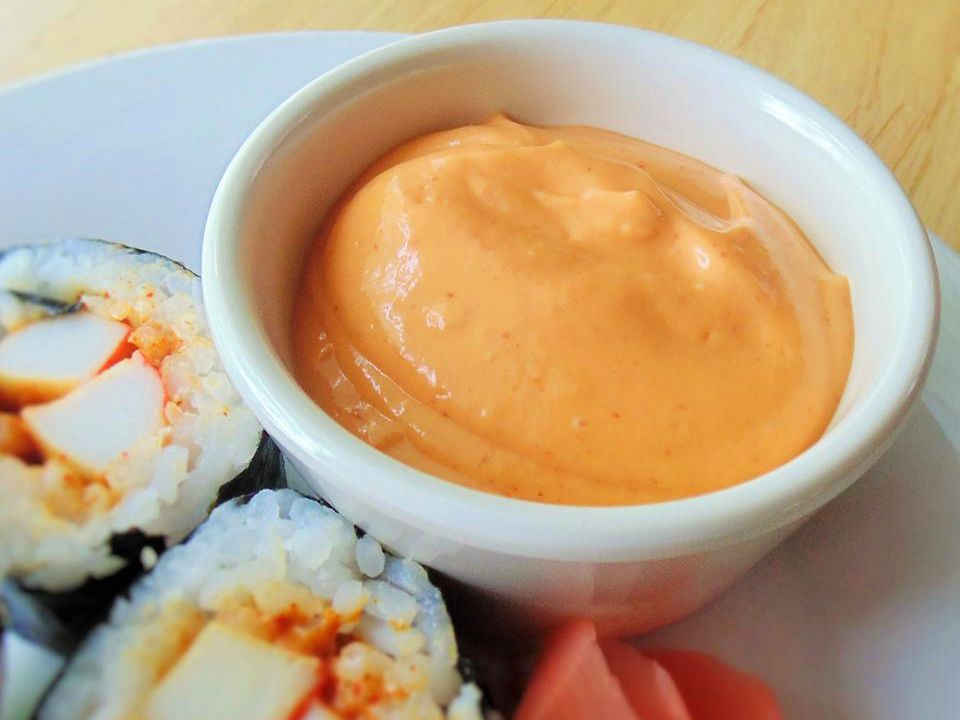
With a sharp sushi knife, slice the roll into bite-sized pieces. Serve with soy sauce, pickled ginger, and wasabi if desired.
Pro Tips for Perfect Snack Sushi
- Use a mixture of fillings to create interesting flavor combinations.
- Keep your ingredients organized to streamline the rolling process.
- Practice makes perfect dont worry if your first few rolls are less than perfect.
Serving Suggestions
Snack sushi is perfect for any occasion. Here are some creative ways to serve your sushi:
- Appetizer Plates: Arrange sushi pieces on a platter with colorful garnishes for an eye-catching display.
- Bento Boxes: Pack a variety of sushi in a bento box for a convenient and delicious meal on the go.
- Sushi Bar: Set up a DIY sushi bar with various fillings and toppings, allowing guests to create their own rolls.
Additional Resources
For more delicious sushi recipes, check out Hawaiian Roll Sushi and Volcano Roll Sushi.
Cleaning Up After Your Sushi Feast
After enjoying your delicious snack sushi recipe, ensure your tools remain in pristine condition for future use. Use a cookware cleaner for your rice cooker and cutting board oil to maintain the durability of your cutting board.
For more cleaning tips, visit Le Creuset’s Guide on Cleaning Cookware.
As an Amazon Associate, I earn from qualifying purchases.
——————————————————————————————————–
Disclosure: This post contains affiliate links. As an Amazon Associate I earn from qualifying purchases, but there will be no extra charges to you. Thank you for your support!