 by
by Welcome, sushi lovers! Today, we are delving deep into the world of sushi with an incredibly efficient and scrumptious instapot sushi rice recipe. If you have always wanted to recreate that perfect restaurant-quality sushi rice at home but felt intimidated by the process, fear not. With this step-by-step guide and insights, you’ll master the art of making sushi rice using an Instapot, ensuring it’s perfectly cooked every time. Whether you are a novice home cook or a seasoned sushi aficionado, this comprehensive guide will resonate with your culinary spirit.
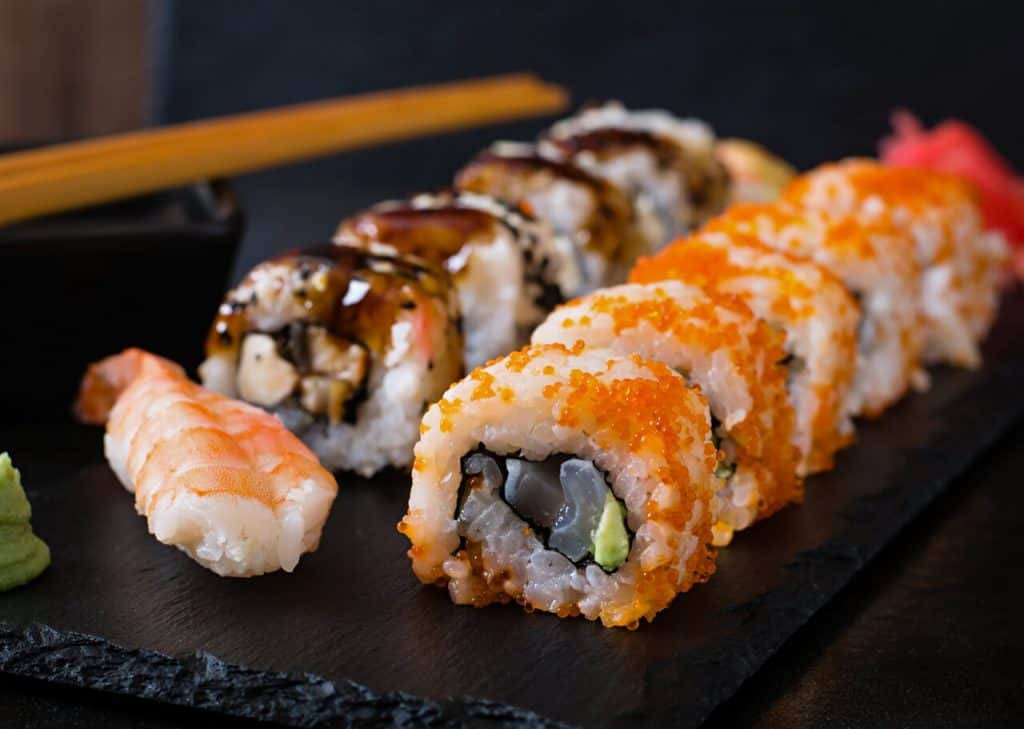
The Magic of Sushi Rice
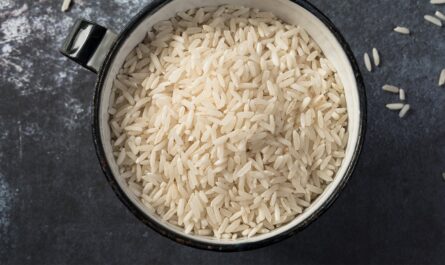
Sushi rice, also known as ‘shari’ or ‘sumeshi’, is the heart and soul of sushi. This unique rice combines a subtly sweet flavor with a slightly sticky yet firm texture, providing the delicate foundation for various sushi dishes. Achieving the perfect consistency and flavor in your sushi rice is crucial to ensuring your sushi recipes hit the mark. This instapot sushi rice recipe simplifies the cooking process, making it accessible for everyone while preserving the authentic taste and texture of traditional sushi rice.
[For more sushi inspiration, check out our ultimate California Sushi Roll recipe.]

Why Choose an Instapot for Sushi Rice?
The Instapot has revolutionized the kitchen by combining multiple cooking appliances into one. It serves as a rice cooker, pressure cooker, slow cooker, and more. When it comes to cooking sushi rice, the Instapots precision and consistent heat distribution make it a perfect tool. Using an Instapot means less fuss, less time spent babysitting your rice, and more time enjoying the fruits of your labor.
[Need some delectable sushi options to pair with your rice? Try our mouthwatering Volcano Roll Sushi recipe.]
Ingredients:
- 2 cups sushi rice
- 2 1/2 cups water
- 1/3 cup rice vinegar
- 3 tbsp sugar
- 1 1/2 tsp salt
Step-by-Step Guide to the Perfect Instapot Sushi Rice
1. Gather Your Ingredients and Tools
Before you start the cooking process, make sure you have all your ingredients and tools ready. You will need high-quality sushi rice, cold water, rice vinegar, sugar, and salt. Additionally, have your Rice Cooker, sushi knife, cutting board, and strainer on hand to ensure a smooth cooking experience.
2. Rinse the Sushi Rice
The first crucial step in this recipe is to thoroughly rinse the sushi rice to remove excess starch. Place the rice in a bowl and cover it with cold water. Gently swish the rice with your hands, then drain the water using a strainer. Repeat this process 3-4 times until the water runs clear. This step ensures that your rice will be perfectly fluffy and not overly sticky.
[For an extravagant sushi experience, pair your rice with our delicious Lobster Roll Sushi recipe.]
3. Cook the Rice in the Instapot
Setting the Instapot: Transfer the rinsed rice to the Instapots inner pot and add 2 1/2 cups of water. Secure the lid and set the valve to the ‘sealing’ position. Select the ‘Rice’ function if your Instapot has one, or use the ‘Manual’ setting on high pressure for 4 minutes.
Natural Release: Once the cooking time is complete, allow the Instapot to release pressure naturally for 10-15 minutes. Afterward, carefully switch the valve to ‘venting’ to release any remaining pressure. When the pin drops, open the lid and gently fluff the rice with a fork.
4. Prepare the Sushi Vinegar
While the rice is cooking, prepare your sushi vinegar mixture. Combine 1/3 cup of rice vinegar, 3 tablespoons of sugar, and 1 1/2 teaspoons of salt in a small saucepan. Heat the mixture over low heat just until the sugar and salt dissolve. Do not let it boil. Once dissolved, remove from heat and let it cool.
[Explore more about sushi making and other exquisite rolls like our Deep Fried Sushi Roll recipe.]
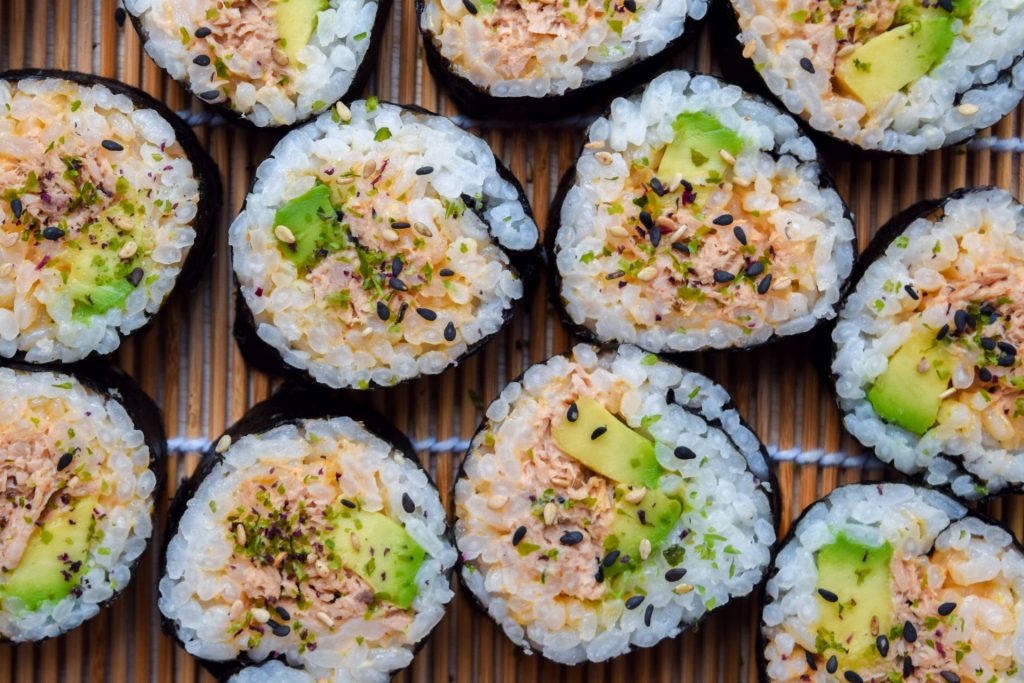
5. Combine the Rice and Sushi Vinegar
Transfer the fluffed rice to a large cutting board or a wide, shallow dish. Gradually fold the sushi vinegar into the rice using a cutting motion with a sushi knife. Be gentle to avoid crushing the rice grains, aiming for even distribution. Allow the rice to cool slightly to room temperature before using it to make sushi.
Perfecting Your Sushi Crafts
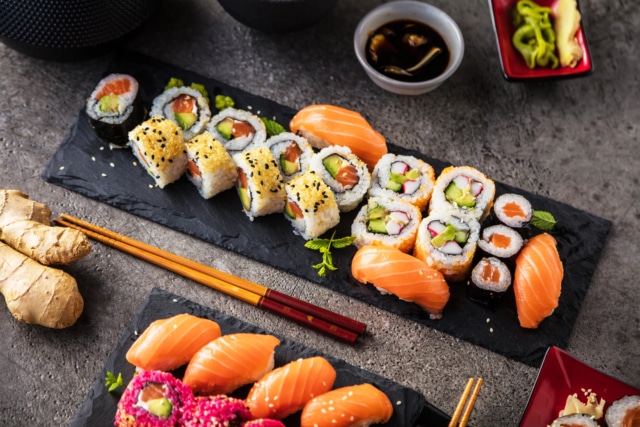
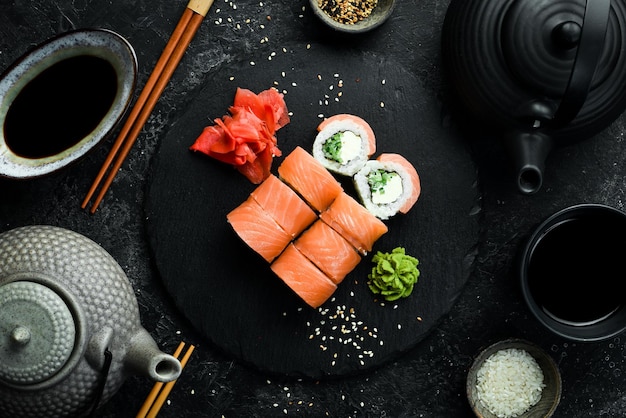
With your perfectly prepared sushi rice, you are now ready to embark on crafting various sushi delights. Using tools such as a sushi making kit, experiment with different ingredients and techniques to create your favorite rolls. The possibilities are endless, from classic nigiri and sashimi to contemporary fusion rolls. The key is to maintain a balanced ratio of rice to other ingredients, ensuring each bite is flavorful and harmonious.
[Learning never stops! Expand your sushi skills with our detailed guide on making Hawaiian Roll Sushi.]
Additional Tips for the Best Sushi Rice
To take your sushi rice to the next level, consider the following tips:
- Select the Right Rice: Ensure you use high-quality short-grain or medium-grain sushi rice. Regular long-grain rice won’t provide the necessary stickiness and texture.
- Use Cold Water: Always rinse and cook your sushi rice with cold water to prevent it from becoming mushy.
- Work Quickly with Vinegar: Mix the vinegar into the rice while it’s still warm to allow even absorption and enhanced flavor.
- Store Properly: Keep leftover sushi rice covered with a damp cloth at room temperature for short-term storage. Avoid refrigeration if possible, as it can alter the texture.
For cleaning and maintaining your cookware, check out our recommended cookware cleaner and cutting board oil.
As an Amazon Associate, I earn from qualifying purchases.
Cooking sushi rice doesnt have to be daunting. With this instapot sushi rice recipe, you are equipped with the knowledge and tools to create perfect sushi rice every time. Enjoy the process, experiment with different ingredients, and most importantly, savor every bite of your homemade sushi creations. Happy cooking!
——————————————————————————————————–
Disclosure: This post contains affiliate links. As an Amazon Associate I earn from qualifying purchases, but there will be no extra charges to you. Thank you for your support!