 by
by Welcome to the exciting world of sushi! Today, we’re taking a beloved classic and adding a crispy, mouth-watering twist. That’s right, we’re diving into the realm of the deep fried sushi recipe. This unique and tantalizing version of sushi is perfect for those looking to experiment with flavors and textures. By combining the freshness of traditional sushi with the irresistible crunch of deep-frying, this recipe will undoubtedly become a favorite. Join us as we explore every step of this culinary adventure, from preparing the ingredients to mastering the techniques that make deep fried sushi an unforgettable dish.
What Makes Deep Fried Sushi So Special?
The appeal of deep fried sushi lies in its contrast of textures and flavors. The crispy exterior, created by frying the sushi rolls, perfectly complements the tender and flavorful fillings inside. Often, the warmth of the fried coating adds a comforting touch that enhances the sushi-eating experience. This method also opens up a plethora of possibilities for creative fillings and toppings, allowing you to customize your rolls to suit your taste. Whether you’re a sushi enthusiast or new to this culinary art, our deep fried sushi recipe will surely captivate your palate.
Related: Volcano Roll Recipe
Ingredients Youll Need
Before diving into the fascinating process of making deep fried sushi, it’s essential to gather all the necessary ingredients. Creating the perfect sushi roll requires attention to detail and quality components. Here is a comprehensive list to get you started:
| Ingredient | Quantity |
|---|---|
| Sushi Rice | 2 cups |
| Nori Sheets | 4 sheets |
| Fresh Fish (Tuna, Salmon, etc.) | 1/2 lb |
| Cucumber | 1, thinly sliced |
| Avocado | 1, thinly sliced |
| Tempura Batter | 1 cup |
| Panko Breadcrumbs | 1 cup |
| Oil for Frying | 3-4 cups |
Related: Deep Fried Sushi Roll
Essential Tools for Making Deep Fried Sushi
To achieve sushi perfection, having the right tools is crucial. Here are some recommended items:
- Rice Cooker: For perfectly cooked sushi rice.
- Sushi Knife: To precisely cut your rolls and ingredients.
- Cutting Board: Providing a sturdy surface for your prep work.
- Strainer: To rinse your sushi rice thoroughly.
- Sushi Making Kit: All-in-one convenience to help you roll your sushi.
Step-by-Step Guide to Making Deep Fried Sushi
Preparing the Sushi Rice
Start by preparing the sushi rice, which forms the foundation of your deep fried sushi rolls. Rinse 2 cups of sushi rice under cold water using a strainer until the water runs clear. This helps remove excess starch, resulting in the perfect sticky texture. Transfer the rinsed rice to a rice cooker and add 2 cups of water. Cook the rice according to the manufacturer’s instructions. Once done, let the rice cool slightly before seasoning it with a mixture of rice vinegar, sugar, and salt. Use a wooden spoon to gently fold the seasoning into the rice, enhancing its flavor without mashing the grains.
Related: California Sushi Roll
Assembling the Sushi Rolls
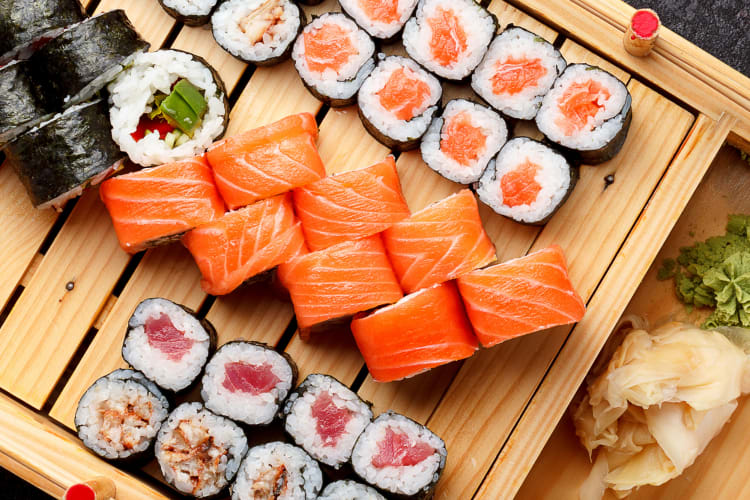
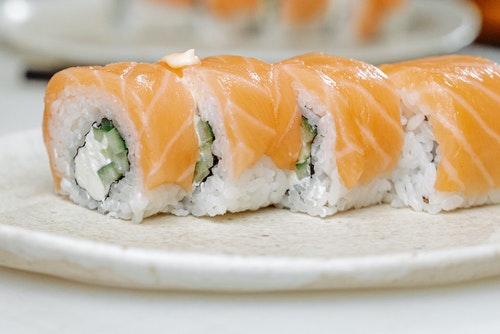
With your sushi rice ready, it’s time to assemble the sushi rolls. Place a nori sheet on a bamboo sushi mat, shiny side down. Moisten your hands with water to prevent the rice from sticking and spread a thin layer of sushi rice evenly over the nori. Leave a small border at the top edge of the nori for sealing the roll. Arrange your desired fillings, such as fresh fish, cucumber, and avocado, in a horizontal line along the rice. Using the mat, carefully roll the nori and rice into a tight cylinder, pressing gently to shape the roll. Seal the edge with a bit of water to ensure it stays closed.
Coating and Frying the Sushi Rolls
Now comes the exciting part – deep frying the sushi rolls! Begin by preparing the coating. In a bowl, mix your favorite tempura batter and panko breadcrumbs in separate dishes for dredging. Heat 3-4 cups of oil in a deep fryer or a heavy-bottomed pot until it reaches a temperature of 350F (175C). Carefully dip each sushi roll into the tempura batter, ensuring it is evenly coated. Next, roll the battered sushi in the panko breadcrumbs, creating an outer layer that will turn golden and crispy when fried. Fry each roll in the hot oil for 2-3 minutes or until the coating is crisp and golden brown. Use a slotted spoon to remove the rolls from the oil, placing them on a paper towel-lined plate to drain any excess oil.
Slicing and Serving Your Deep Fried Sushi
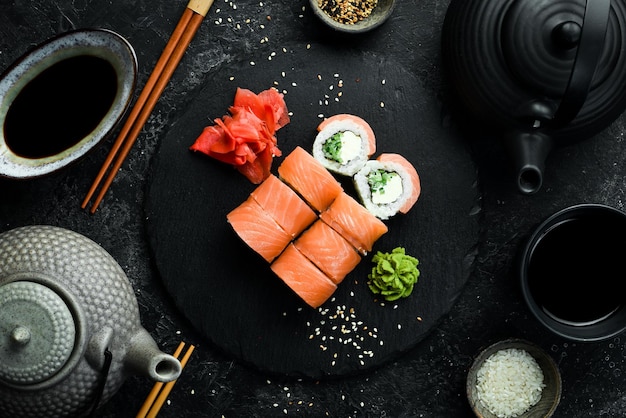
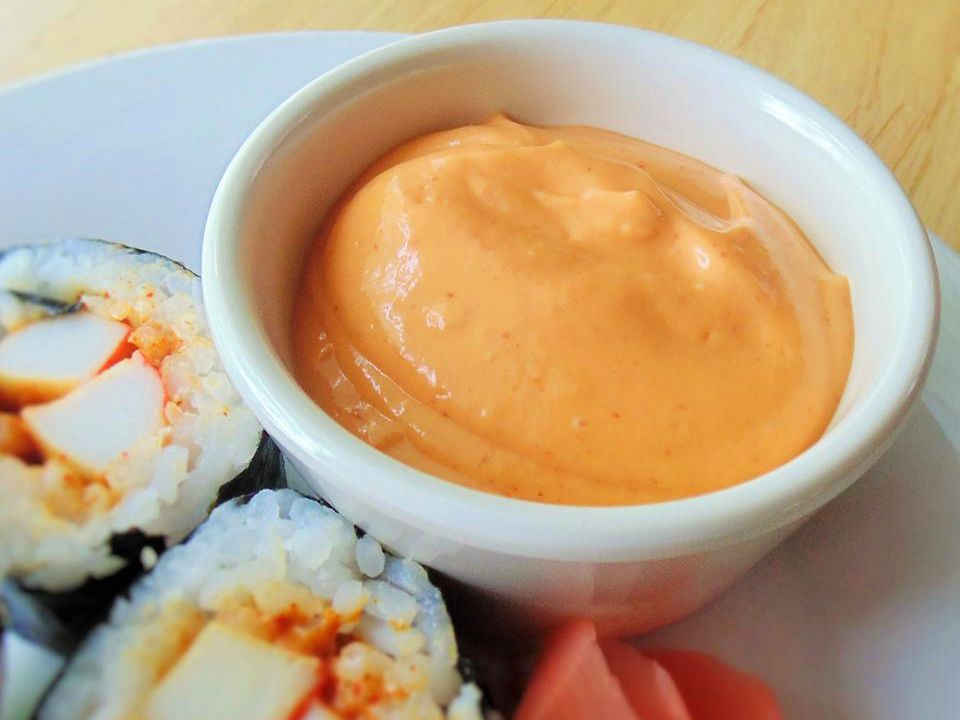
Once the rolls have been fried to perfection, it’s time to slice and serve them. Using a sharp sushi knife, cut the rolls into bite-sized pieces. Be sure to wipe the knife with a damp cloth between cuts to maintain clean slices. Arrange your deep fried sushi on a platter, garnishing with pickled ginger, wasabi, and soy sauce for dipping. The combination of flavors and textures, from the crispy exterior to the succulent fillings, will leave your guests craving more.
Related: Lobster Roll Sushi
Serving and Enjoying Deep Fried Sushi
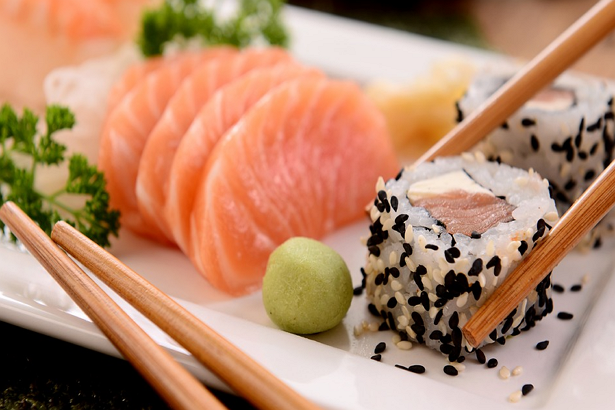
Deep fried sushi is a versatile dish that can be enjoyed in various settings and occasions. It makes an excellent appetizer, main course, or party snack. The irresistible combination of crispy and succulent textures makes it a hit among sushi enthusiasts and newcomers alike. You can customize your rolls with different fillings, such as cream cheese, crab, or even vegetarian options like tempura vegetables. Pair your deep fried sushi with a refreshing salad, miso soup, or edamame for a complete Japanese-inspired meal. The possibilities are endless, allowing you to explore and innovate based on your preferences and creativity.
Storing and Reheating Leftover Sushi
If you find yourself with leftover deep fried sushi, proper storage is crucial to maintain its quality. Place any remaining sushi in an airtight container and store it in the refrigerator. To reheat, use an oven or toaster oven set to a low temperature (around 300F or 150C). Reheat the sushi for a few minutes until the coating is crisp and the inside is warmed through. Avoid using a microwave, as this can result in a soggy texture. By following these steps, you can savor the delicious taste and texture of your deep fried sushi even after the initial serving.
External Links:
a) How to Season a Cast Iron Pan
b) Skillet Recipes
As an Amazon Associate, I earn from qualifying purchases.