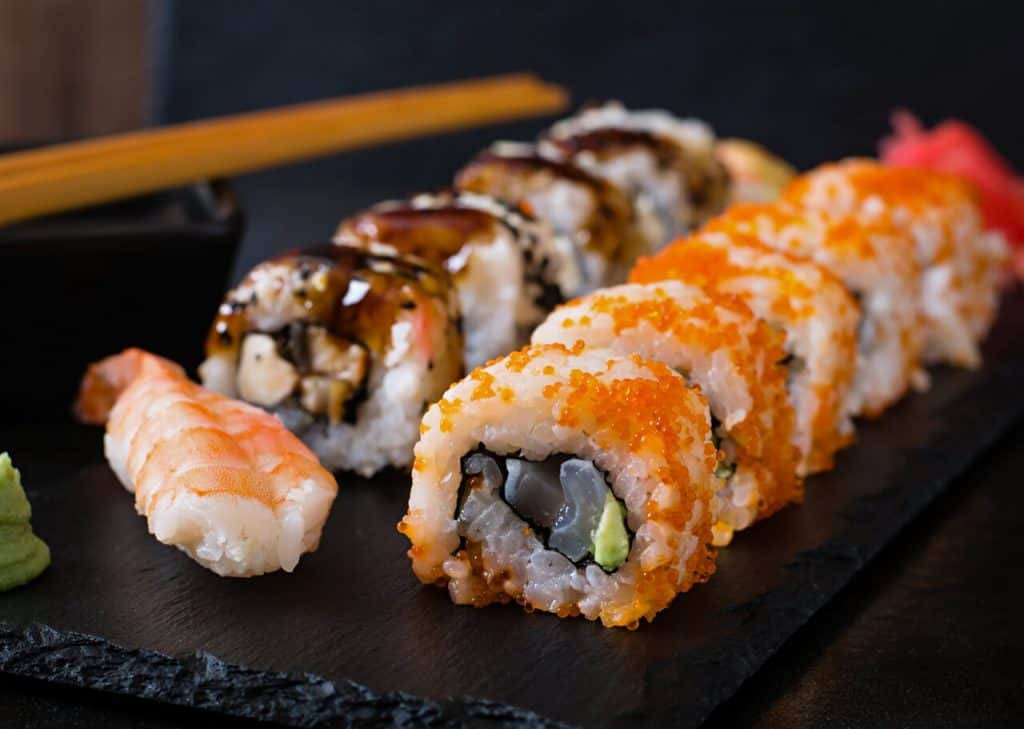
If you’re a sushi lover looking to add a new flavor to your culinary repertoire, this **fried sushi recipe** is designed just for you. It combines the delicate artistry of traditional sushi with a crispy, savory twist that’s bound to impress friends and family alike.

What is Fried Sushi?
**Fried sushi** is a modern take on traditional sushi rolls where the assembled rolls are dipped in a light batter and deep-fried until golden and crispy. This technique adds a unique texture and flavor, making it a fan favorite in many sushi bars around the world.

Ingredients You’ll Need
Before diving into the preparation, lets gather all the ingredients:
For the Sushi Rolls:
- 2 cups sushi rice
- 2 1/2 cups water
- 1/4 cup rice vinegar
- 2 tablespoons sugar
- 1 teaspoon salt
- Nori (seaweed sheets)
- A variety of fillings (e.g., cucumber, avocado, crab meat, and smoked salmon)
For the Batter:
- 1 cup all-purpose flour
- 1 cup cold water
- 1 egg
- 1/2 teaspoon salt
For Frying:
- Vegetable oil
Equipment:

Preparing the Sushi Rice
The foundation of any great sushi is the rice. Start by rinsing the sushi rice thoroughly in a strainer until the water runs clear. This removes excess starch and ensures a fluffy texture. Cook the rice using a rice cooker, following the manufacturer’s instructions. Once cooked, transfer the rice to a large bowl and let it cool slightly.
In a small saucepan, combine the rice vinegar, sugar, and salt over medium heat, stirring until dissolved. Pour this mixture over the warm rice and fold gently to combine. Cover the bowl with a damp cloth and set aside.

Assembling the Sushi Rolls
To assemble the sushi rolls, place a sheet of nori on a cutting board and spread a thin layer of the prepared sushi rice over it, leaving a small border at the top. Arrange your desired fillings (e.g., cucumber, avocado, crab meat, and smoked salmon) horizontally across the center of the rice.
Using a sushi making kit, carefully roll the nori from the bottom to the top, pressing gently to ensure a tight roll. Repeat this process with the remaining nori sheets and fillings.
Preparing the Batter
In a mixing bowl, whisk together the all-purpose flour, cold water, egg, and salt until smooth. The cold water helps create a light, crispy batter that’s essential for this fried sushi recipe.
Frying the Sushi Rolls
Heat vegetable oil in a large skillet over medium-high heat until it reaches 350F (175C). Dip each sushi roll in the batter, ensuring it’s fully coated. Carefully place the coated rolls in the hot oil and fry until golden and crispy, about 2-3 minutes per side. Remove the fried sushi rolls with a slotted spoon and drain on paper towels.
Serving the Fried Sushi
Once your fried sushi is ready, it’s time to serve! Slice each roll into bite-sized pieces using a sushi knife. Arrange the slices on a platter and garnish with pickled ginger, wasabi, and soy sauce for dipping. For an extra touch, consider adding a drizzle of spicy mayo or eel sauce.
Expert Tips for the Perfect Fried Sushi
Use Fresh Ingredients
Freshness is key when making sushi. Always use fresh, high-quality ingredients to ensure the best flavor and texture. This will make a significant difference in the overall taste of your fried sushi recipe.
Dont Overfill the Rolls
It can be tempting to load up your sushi rolls with fillings, but overstuffed rolls can be difficult to handle and fry. Keep the fillings balanced to maintain the structure and ensure they cook evenly.
Maintain the Oil Temperature
Consistent oil temperature is essential for a crispy exterior. Use a thermometer to monitor the oil and adjust the heat as needed to keep it around 350F (175C).
Cleaning Up
After enjoying your delicious fried sushi, it’s time to clean up. Make sure you use a cookware cleaner for your skillet and cutting board oil to maintain your cutting board.
For more sushi adventures, check out other exciting recipes on our site:
Final Thoughts
This ultimate guide to fried sushi offers a delightful way to enjoy sushi with a twist. By following these detailed steps, you can create a restaurant-quality dish in the comfort of your own kitchen. Whether you’re an experienced sushi chef or a culinary novice, this recipe is sure to impress and satisfy. Happy cooking!
As an Amazon Associate, I earn from qualifying purchases.


