If you’re a sushi lover looking for a healthier twist on traditional sushi, then this brown rice sushi rice recipe is for you. Not only does using brown rice provide a whole-grain alternative to white rice, but it also adds a delightful flavor and texture to your sushi. Whether you’re a beginner or a seasoned sushi chef, this guide will take you through the steps to create perfect brown rice sushi for any occasion.
Why Choose Brown Rice for Sushi?
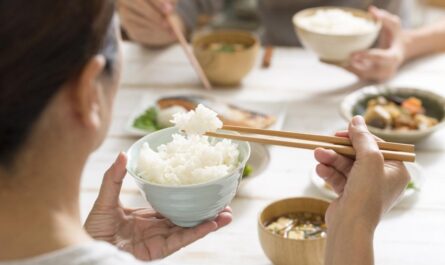
Brown rice is an excellent choice for sushi because it retains the bran and germ layers, which are rich in nutrients and fiber. This makes it a healthier option compared to white rice. Beyond its health benefits, brown rice has a nutty flavor and slightly chewy texture that complements sushi fillings beautifully. Moreover, using brown rice can make your sushi more filling and satisfying, which is great for those trying to eat more mindfully.
Ingredients You’ll Need
- 2 cups of organic short-grain brown rice
- 2 1/2 cups of water
- 1/4 cup of rice vinegar
- 2 tablespoons of sugar
- 1 teaspoon of salt
- Nori sheets
- Your choice of sushi fillings (e.g., avocado, cucumber, salmon, tofu)
Essential Cookware and Tools
Before we dive into the cooking process, let’s talk about the essential cookware and tools you’ll need to make your brown rice sushi:
- Rice Cooker – Using a rice cooker simplifies the process and ensures perfectly cooked rice.
- Sushi Knife – A sharp sushi knife is essential for slicing ingredients and cutting rolls.
- Cutting Board – A large cutting board provides ample space for prepping your ingredients.
- Strainer – Rinse your brown rice thoroughly to remove excess starch.
- Sushi Making Kit – Includes a bamboo mat and other tools to help you roll sushi.
Preparation Steps
Step 1: Rinse the Rice
Start by placing the brown rice in a fine-mesh strainer and rinsing it under cold water. Rinse the rice thoroughly to remove any excess starch, which can make the rice too sticky. Continue rinsing until the water runs clear.
Step 2: Cook the Rice
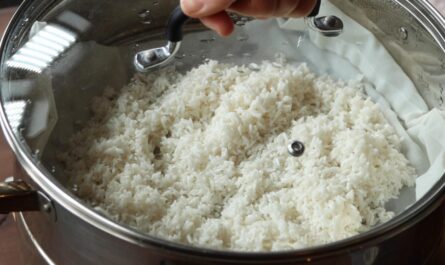
After rinsing, add the rice to your rice cooker along with 2 1/2 cups of water. Set the rice cooker to cook, and let it work its magic. Brown rice typically takes longer to cook compared to white rice, so be patient. If you don’t have a rice cooker, you can cook the rice on the stovetop by bringing it to a boil, reducing the heat, and simmering it covered for about 45 minutes.
Step 3: Prepare the Sushi Vinegar
While the rice is cooking, it’s time to prepare the sushi vinegar. In a small saucepan, combine 1/4 cup of rice vinegar, 2 tablespoons of sugar, and 1 teaspoon of salt. Heat the mixture over low heat, stirring until the sugar and salt dissolve completely. Remove from heat and let it cool to room temperature.
Step 4: Season the Rice
Once the rice is cooked, transfer it to a large bowl. Pour the sushi vinegar over the rice and toss it gently to evenly distribute the seasoning. Be careful not to mash the rice; use a slicing motion with a spatula to mix the rice and vinegar. Allow the rice to cool to room temperature before using it to make sushi.
Assembling Your Brown Rice Sushi
Step 1: Prepare Your Fillings
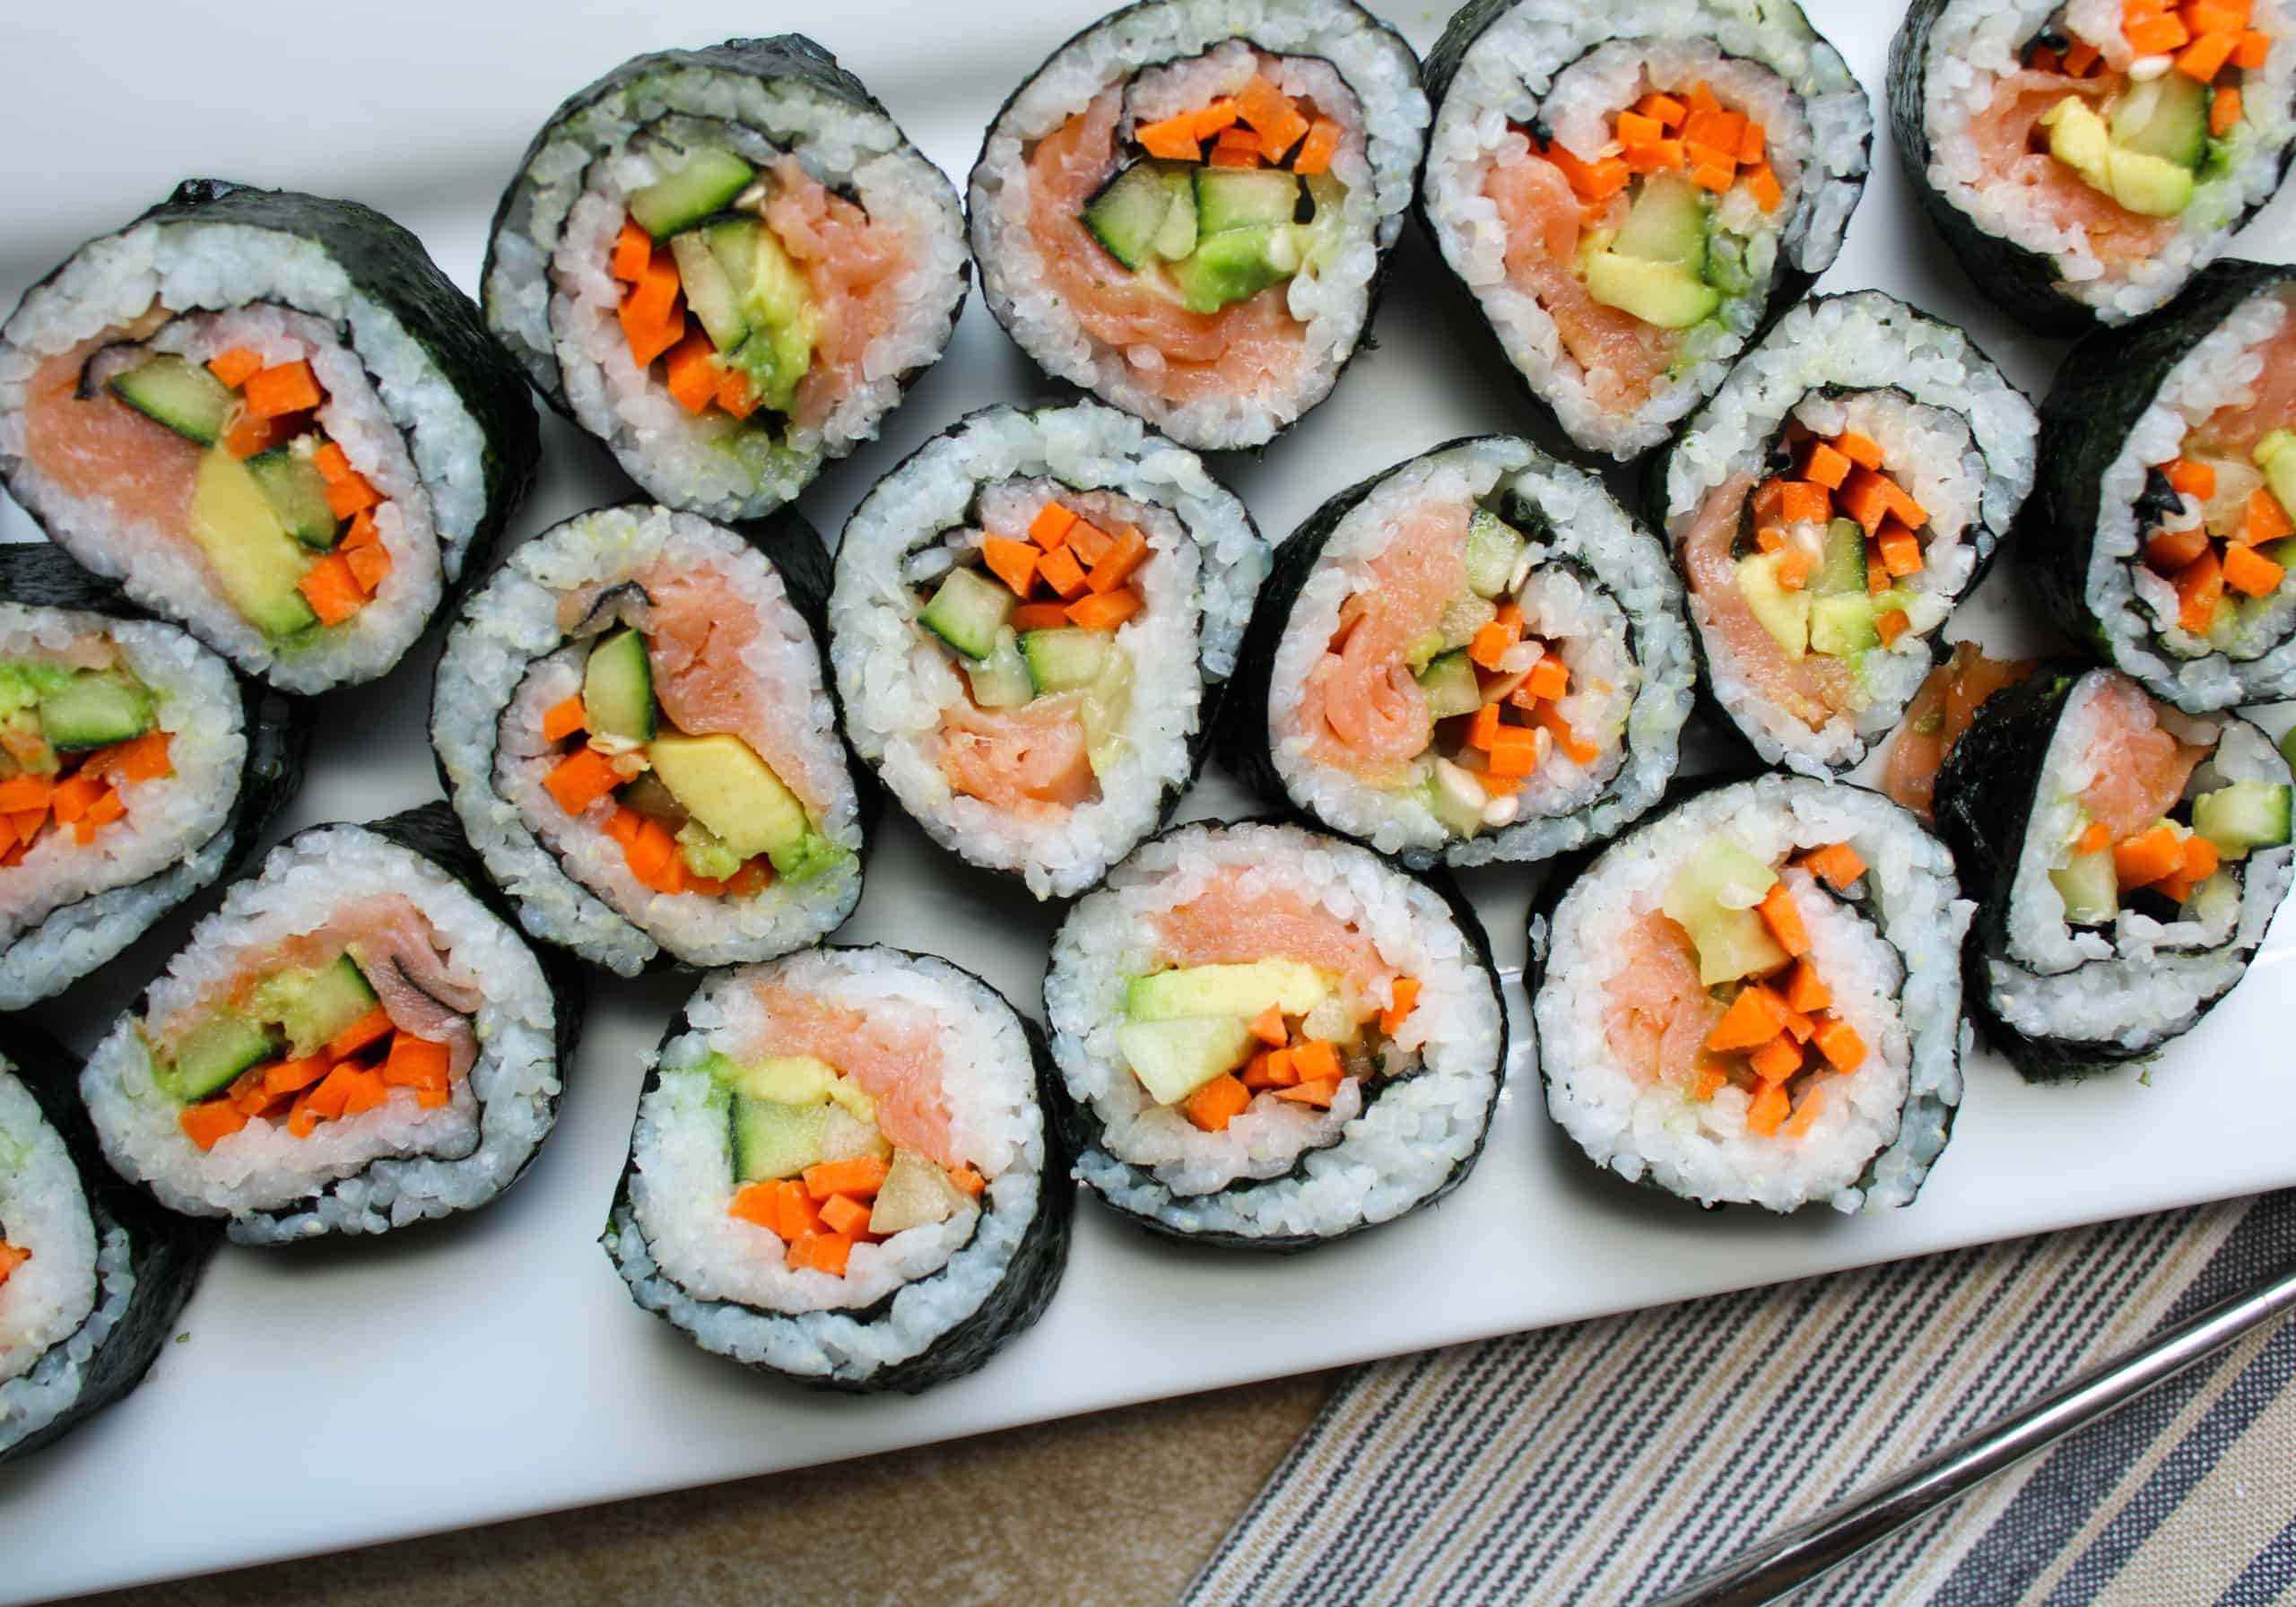
While the rice is cooling, prepare your sushi fillings. Slice vegetables such as avocado, cucumber, and bell peppers into thin strips. If you’re using raw fish or seafood, ensure it’s sushi-grade and sliced appropriately. Tofu can also be a great vegan alternativepress and marinate it for extra flavor.
Step 2: Set Up Your Rolling Station
Set up your rolling station with a bamboo mat from your sushi making kit, a bowl of water to dip your hands in (this prevents the rice from sticking to your fingers), and all your prepared ingredients within reach. Lay a sheet of nori on the bamboo mat, shiny side down.
Step 3: Spread the Rice
With wet hands, take a handful of seasoned brown rice and spread it evenly over the nori sheet, leaving a 1-inch border at the top. The rice layer should be about a 1/4 inch thick. Don’t press the rice too hard; it should just be gently spread out.
Step 4: Add Fillings and Roll
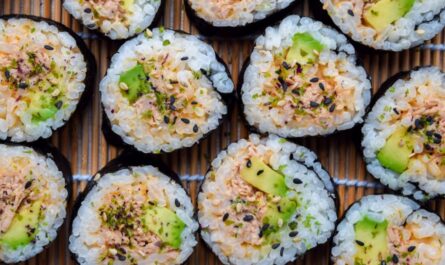
Place your chosen fillings along the bottom edge of the rice-covered nori sheet. Be mindful not to overfill the sushi, as this can make rolling difficult. Using both hands, lift the edge of the bamboo mat closest to you and begin to roll it away from you, applying gentle pressure to shape the roll. Continue to roll until you reach the top border of the nori sheet, then seal the roll by moistening the top edge with a little water.
Step 5: Slice and Serve
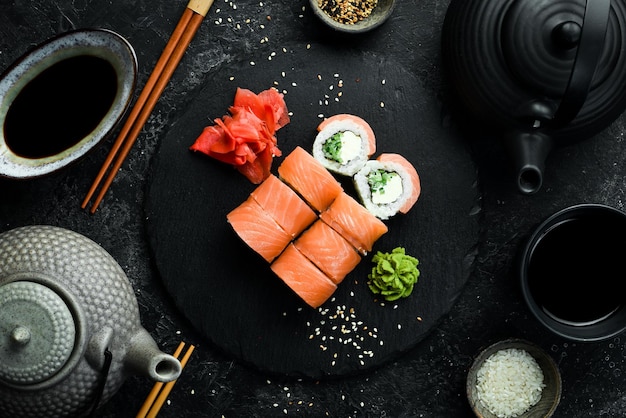
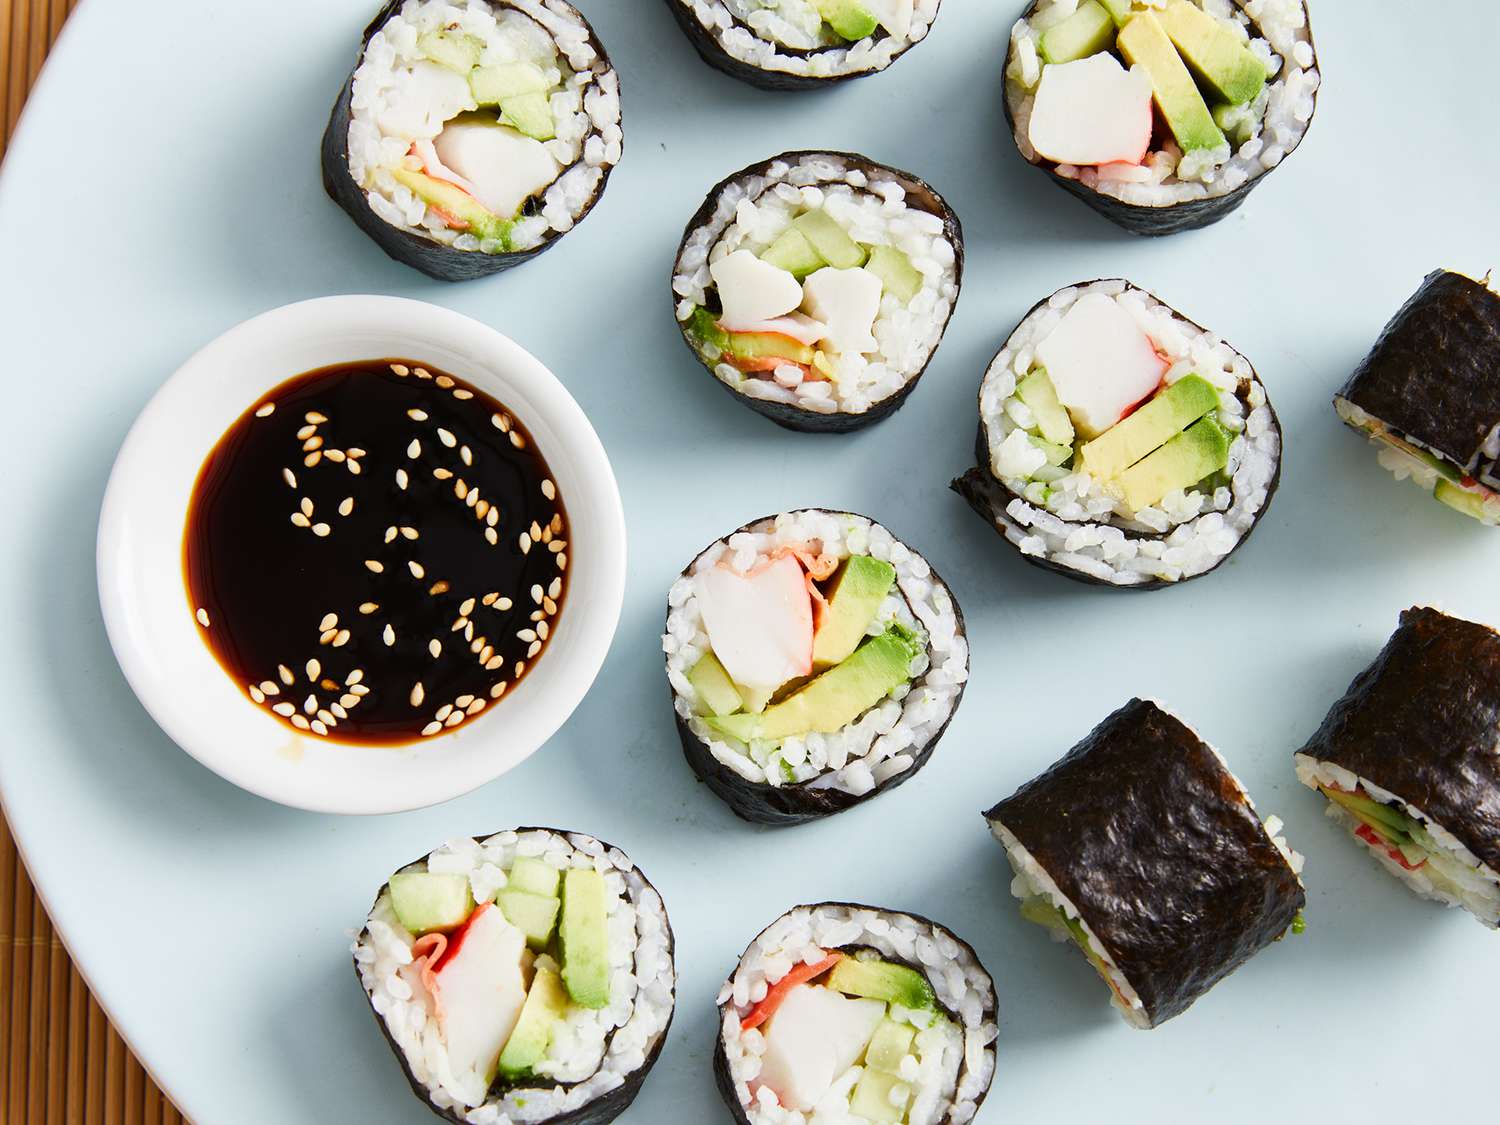
With a sharp sushi knife moistened with water, slice the roll into bite-sized pieces. Serve your brown rice sushi with soy sauce, pickled ginger, and wasabi.
Tips for Perfect Brown Rice Sushi
Here are some additional tips to ensure your brown rice sushi turns out flawlessly every time:
- Patience is key: Brown rice can take longer to cook, so make sure you allocate enough time for this step.
- Do not skip rinsing: Rinsing the rice is crucial to remove excess starch and achieve the right texture.
- Use a sharp knife: A sharp sushi knife will ensure clean cuts and prevent the sushi from falling apart.
- Experiment with fillings: Don’t be afraid to get creative with your fillingstry different combinations to find your favorite.
- Keep it fresh: Fresh ingredients make all the difference in the flavor and quality of your sushi. Always use the freshest vegetables and seafood you can find.
Cleaning Your Cookware
After enjoying your delicious homemade brown rice sushi, it’s time to clean up. Properly cleaning your cookware ensures it lasts longer and stays in good condition for future use.
- Rice Cooker: Wipe the inner pot with a soft sponge and mild dish soap. Avoid abrasive cleaners that could damage the non-stick surface. Learn more about cookware cleaners
- Sushi Knife: Hand wash your sushi knife with warm water and mild dish soap, then dry it immediately to prevent rust. Find the best knife cleaners here
- Cutting Board: Clean your cutting board thoroughly with hot soapy water, then rinse well. Consider using cutting board oil to keep it in top condition.
Conclusion
Making sushi at home can be a fun and rewarding experience, especially when you opt for a healthier alternative like brown rice. With this comprehensive guide, you now have all the information you need to create delicious, nutritious brown rice sushi right in your kitchen. Remember, practice makes perfect, so don’t be discouraged if your first few rolls aren’t picture-perfect. Enjoy the process, experiment with different fillings, and before you know it, you’ll be rolling sushi like a pro. For more sushi recipes and tips, check out [this sushi rice recipe with jasmine rice](https://sushiandrice.com/sushi-rice-recipe-with-jasmine-rice-2) from our blog.
As an Amazon Associate, I earn from qualifying purchases.
——————————————————————————————————–
Disclosure: This post contains affiliate links. As an Amazon Associate I earn from qualifying purchases, but there will be no extra charges to you. Thank you for your support!

