 by
by Are you ready to embark on a culinary adventure that combines the delicate art of sushi-making with the healthy principles of the paleo diet? Look no further! Our paleo sushi recipe guarantees a delightful experience that is as nutritious as it is delicious.
Why Choose Paleo Sushi?
For those who are new to the concept, paleo sushi is a unique fusion that blends traditional sushi ingredients with healthier, paleo-approved alternatives. This means you get to enjoy your favorite sushi rolls without compromising on nutrition. The paleo diet focuses on consuming unprocessed, nutrient-dense foods, making it perfect for anyone who wants to eat clean while savoring exquisite flavors.
Ingredients You Will Need
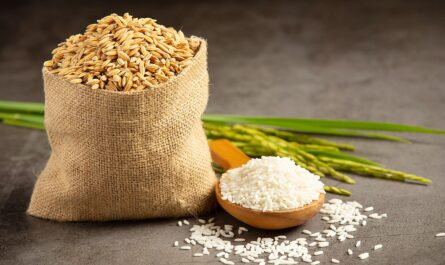
- 1 cup cauliflower rice
- 1 large avocado, thinly sliced
- 2 cups mixed vegetables (carrots, cucumber, bell peppers), julienned
- 1/4 cup coconut aminos
- 1 tbsp sesame oil
- Nori sheets
- Fresh fish of your choice (salmon, tuna, etc.)
- Sea salt, to taste
To prepare the cauliflower rice, you’ll need a Rice Cooker, a strainer, and a cutting board.
Step-by-Step Preparation
Step 1: Prepare the Cauliflower Rice
Start by cutting the cauliflower into large florets. Use a food processor to pulse the florets until they resemble rice grains. You can also use a sushi knife for a finer chop. Steam the cauliflower rice in a Rice Cooker for about 5 minutes.
Step 2: Season the Rice
Once the cauliflower rice is ready, transfer it to a large bowl. Add the coconut aminos and sesame oil, then mix well. The seasoning will give the rice a slightly tangy and savory flavor, making it a perfect base for your sushi.
For those interested in diving deep into the art of sushi-making, check out our Volcano Roll Recipe and our detailed Deep-Fried Sushi Guide.
Step 3: Prepare the Fillings
Next, slice the vegetables and fish using a sharp sushi knife. Make sure to julienne the vegetables finely and cut the fish into thin, even slices for the best texture. Arrange all your ingredients neatly on a cutting board.
Rolling Your Paleo Sushi
Step 4: Lay Down the Nori Sheet
Using a sushi making kit, place a nori sheet on the bamboo mat, shiny side down. Spread a thin layer of cauliflower rice over the nori sheet, leaving about an inch at the top edge.
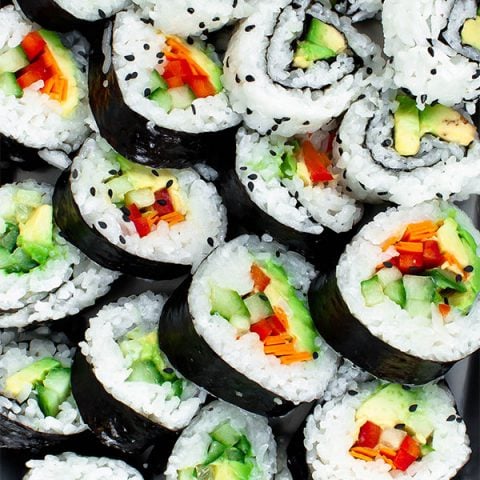
Step 5: Add the Fillings
Layer the julienned vegetables and fish slices over the cauliflower rice. You can customize the fillings based on your preference. For a burst of flavor, consider adding a dash of sea salt and a few avocado slices.
Don’t forget to explore some unique sushi combinations from our Lobster Roll Guide or get inspired by the classic California Roll Recipe.
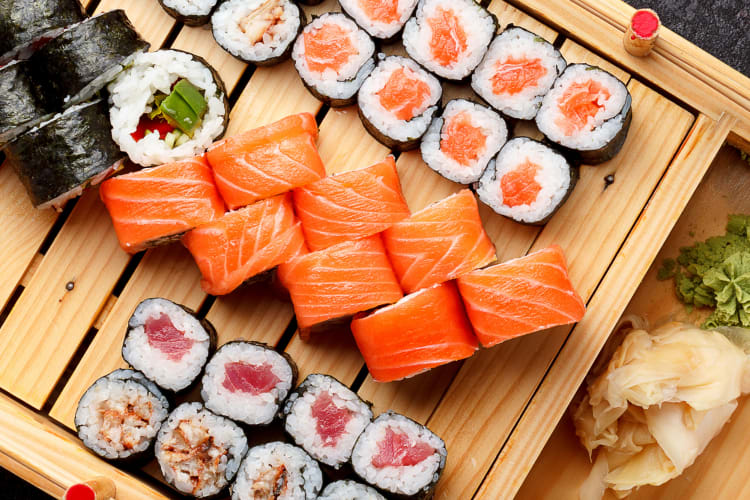
Step 6: Roll and Slice
Starting from the bottom, carefully roll the sushi tightly using the bamboo mat. Once rolled, use the sushi knife to slice the roll into even pieces.
Serving and Enjoying Your Paleo Sushi
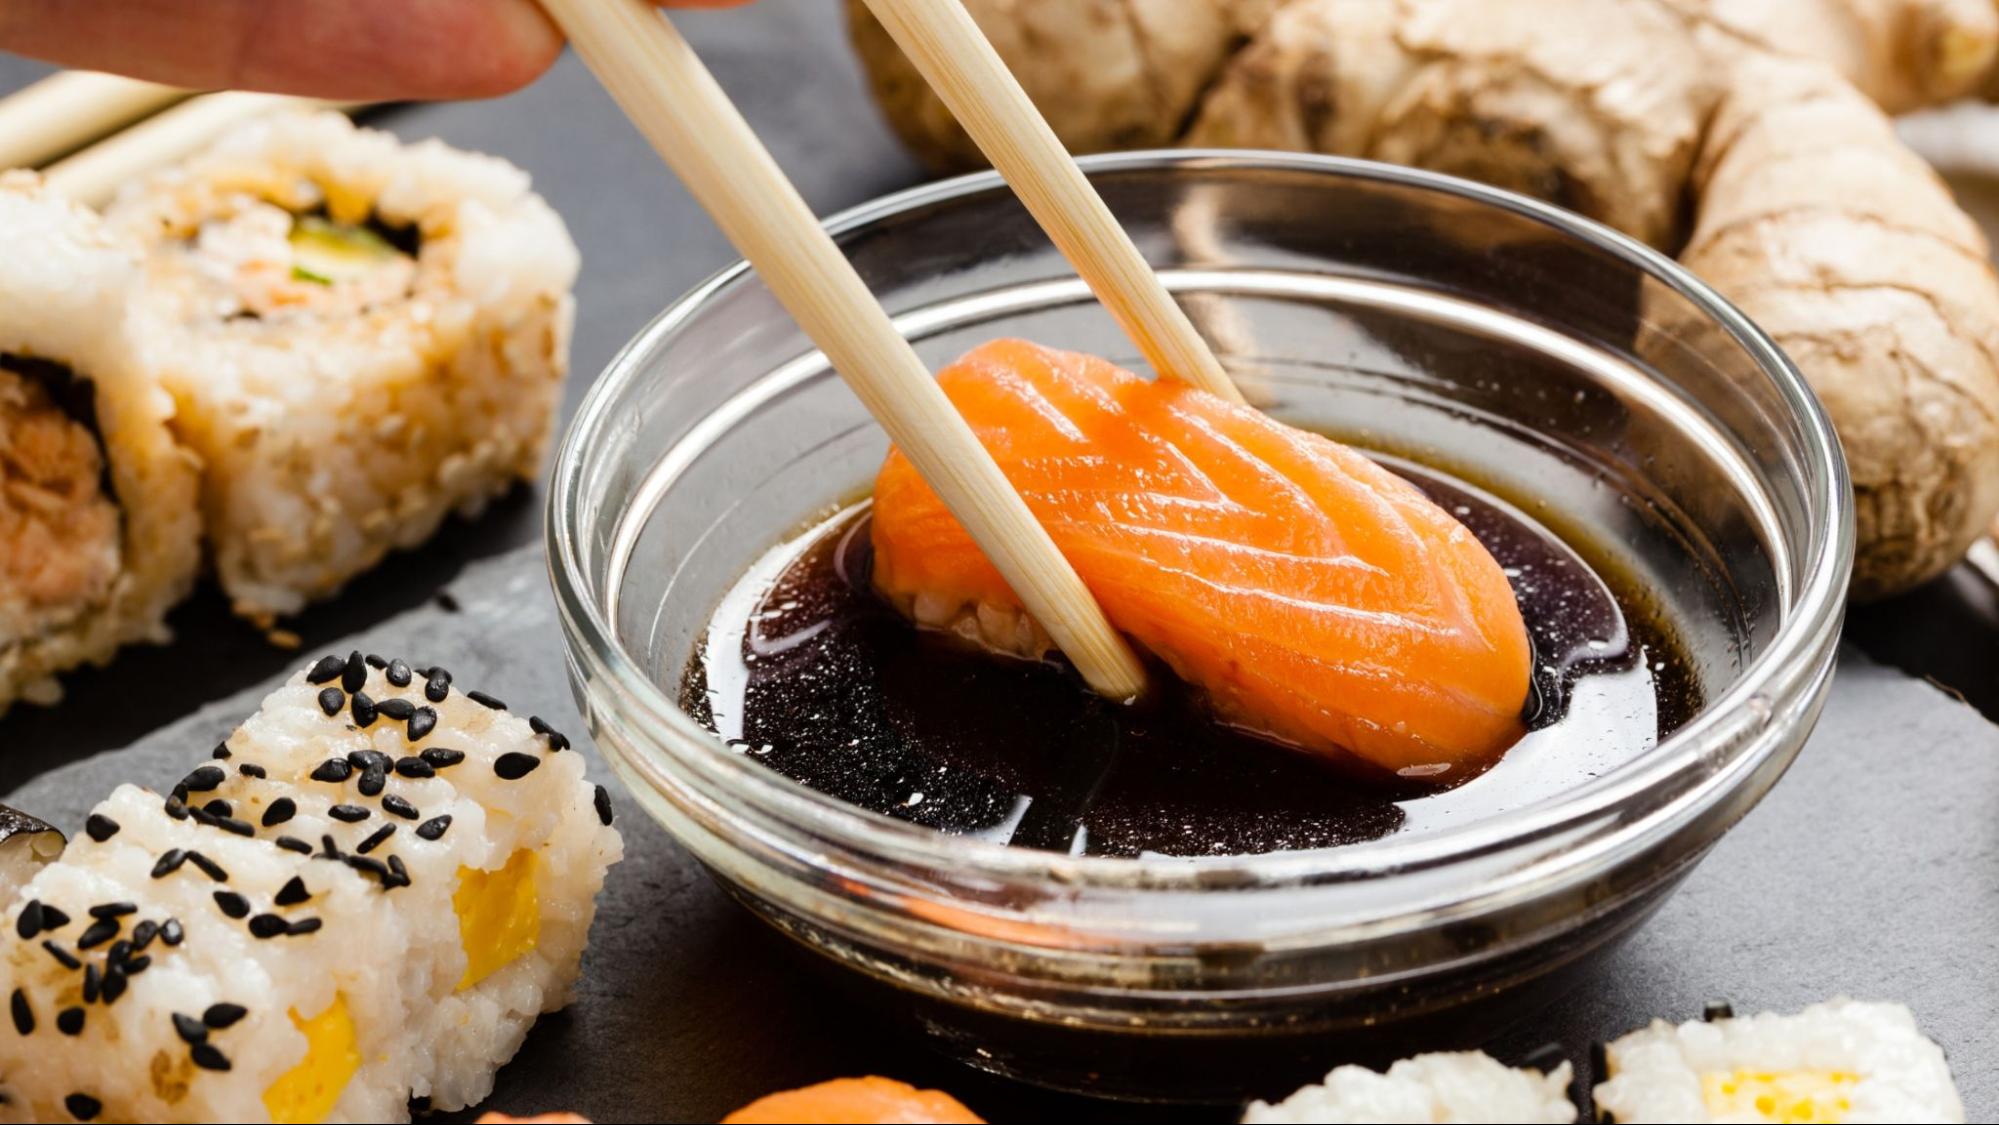
Step 7: Serve with Dipping Sauce
Arrange your paleo sushi pieces on a plate and serve with a side of coconut aminos for dipping. The combination of fresh fish, crunchy vegetables, and perfectly seasoned cauliflower rice makes for an irresistible meal that is as healthy as it is delicious.
For a comprehensive understanding of making different types of sushi, visit our extensive article on sushi rice recipes.
Conclusion
Now that you’ve mastered the art of creating a perfect paleo sushi recipe, you’re all set to wow your friends and family with your culinary skills. Whether you’re a sushi lover or someone looking to eat healthier, this paleo sushi will satisfy your cravings while keeping your diet on track.
Cleaning and Maintenance
After all the fun and creativity of making sushi, it’s essential to clean and maintain your tools. For effective cleaning of your cookware, check out this cookware cleaner. Also, don’t forget to use cutting board oil to keep your cutting board in top condition.
As an Amazon Associate, I earn from qualifying purchases.
——————————————————————————————————–
Disclosure: This post contains affiliate links. As an Amazon Associate I earn from qualifying purchases, but there will be no extra charges to you. Thank you for your support!