
 by
by If you’re a sushi aficionado looking to elevate your homemade sushi experience, you’ve come to the right place. Today, we’re diving deep into the wonderful world of the brown sushi rice recipe, a healthier and equally delicious alternative to traditional white sushi rice.

Why Choose Brown Sushi Rice?
Brown sushi rice is not only packed with more nutrients and fiber than its white counterpart, but it also adds a unique, slightly nutty flavor that complements sushi rolls perfectly. By mastering the art of preparing brown sushi rice, you can enjoy a wholesome and flavorful sushi meal without compromising on taste or texture.

Ingredients You’ll Need
- 2 cups of brown sushi rice
- 3 cups of water
- 1/4 cup rice vinegar
- 2 tablespoons sugar
- 1 tablespoon salt

Kitchen Tools and Equipment
- Rice Cooker
- Sushi Knife
- Cutting Board
- Strainer
- Sushi Making Kit
How to Cook Brown Sushi Rice
Cooking brown sushi rice may seem daunting, but with the right approach, it’s a breeze. Follow these simple steps:
Rinse the Rice
Start by rinsing the brown rice under cold water using a strainer. This step is crucial to remove excess starch and prevent the rice from becoming sticky.
Soak the Rice
After rinsing, place the rice in a bowl and cover it with water. Allow the rice to soak for about 30 minutes to an hour. This helps soften the grains and ensures even cooking.
Cook the Rice
Transfer the soaked rice to a rice cooker and add the 3 cups of water. Set the rice cooker to the brown rice setting and let it cook. If you prefer to cook the rice on the stovetop, bring the water to a boil, then reduce the heat to low, cover, and let it simmer for about 45 minutes or until the water is absorbed and the rice is tender.
Season the Rice
While the rice is still hot, transfer it to a large bowl. In a small saucepan, combine the rice vinegar, sugar, and salt, and heat until the sugar and salt dissolve. Pour the vinegar mixture over the cooked rice and gently fold the rice to coat each grain evenly. Allow the rice to cool to room temperature.
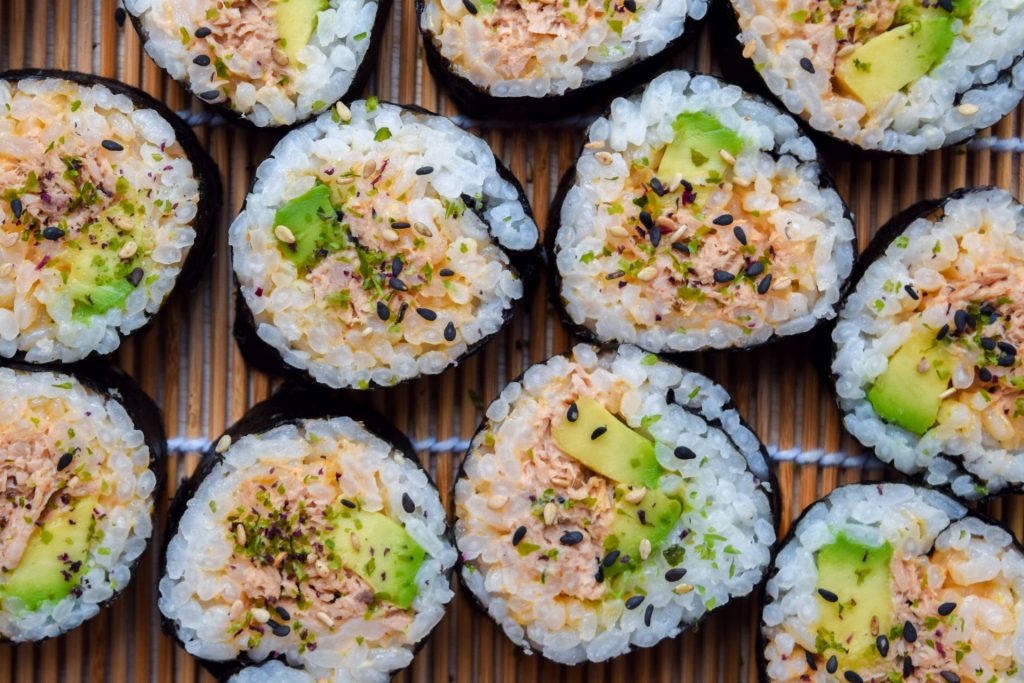
Assembling Your Sushi Rolls
Now that you’ve mastered the art of preparing brown sushi rice, it’s time to put it to good use by creating delicious sushi rolls. Whether you prefer classic rolls like Volcano Roll, California Roll, or more adventurous options like Deep-Fried Sushi Roll, the possibilities are endless.
Additional Tips for Perfect Brown Sushi Rice
Here are some expert tips to ensure your brown sushi rice turns out perfect every time:
- Don’t skip the soaking step it helps with the texture and cooking process.
- Use a rice cooker for consistent results.
- Be gentle when folding the vinegar mixture into the rice to avoid mashing the grains.
Cooking brown sushi rice might take a bit more time and effort, but the results are well worth it. You’ll enjoy a nutritious and flavorful base for all your sushi creations, making your homemade sushi experience truly exceptional.
Conclusion
Making brown sushi rice is a rewarding endeavor that adds a unique and healthy twist to your sushi repertoire. By following the steps outlined in this guide and using the right tools and ingredients, you can achieve perfect brown sushi rice every time. Explore different sushi roll variations, experiment with toppings, and enjoy the wholesome goodness of brown rice in your sushi creations.
Additional Resources
- Check out our recipe for Lobster Roll for more sushi inspiration.
- Find out how to make the perfect Sushi Rice with Jasmine Rice.
As an Amazon Associate, I earn from qualifying purchases.
Post-Cooking Care
After creating your sushi masterpieces, it’s essential to take care of your cookware. Use a high-quality cookware cleaner to ensure longevity and maintain performance. Additionally, don’t forget to regularly treat your cutting board with cutting board oil.
Enjoy your delicious and nutritious brown sushi rice happy cooking!
——————————————————————————————————–
Disclosure: This post contains affiliate links. As an Amazon Associate I earn from qualifying purchases, but there will be no extra charges to you. Thank you for your support!