 by
by Are you a fan of sushi and looking to try a unique twist on this classic Japanese dish? Look no further than the **Oreo sushi recipe**. This innovative dessert perfectly combines the flavors of your favorite cookies and the aesthetic appeal of sushi to create a treat that’s as fun to make as it is to eat.
This step-by-step guide will walk you through how to make your own Oreo sushi at home, complete with descriptive details and tips for perfecting the recipe. Not only will your friends and family be impressed, but it’s also a great activity to do with kids. Let’s dive into this exciting fusion of flavors!
Why You’ll Love This Oreo Sushi Recipe
The Oreo sushi recipe is an excellent way to bring a bit of culinary creativity into your kitchen. Here are some reasons why you’ll fall in love with this quirky yet delicious dessert:
- **Easy to Make**: Even if you are a novice cook, you will find this recipe straightforward.
- **Kid-Friendly**: Children will love helping out with the rolling process, making it a fun family activity.
- **Versatile**: You can get creative with the toppings and customize it to your liking.
- **Perfect for Parties**: These mini sushi rolls make for unique and delightful party treats that will have guests talking.
Gathering Your Ingredients and Tools
The first step in mastering the Oreo sushi recipe is to gather all the necessary ingredients and tools. Below, you’ll find a comprehensive list of what you’ll need:
Ingredients
- 1 package of Oreos
- 1-2 cups of milk
- 1-2 bananas (optional)
- Sweetened condensed milk (for drizzling)
- Strawberries, kiwis, or other fruits for garnish (optional)
Tools
- Sushi making kit
- Cutting board
- Sushi knife
- Rice cooker
- Rolling mat
- Plastic wrap
- Paring knife
Step-by-Step Instructions
Step 1: Prepare the Oreo Mixture
The first step involves preparing the base of our **Oreo sushi recipe**the Oreos themselves. Start by separating the Oreo wafers and the filling. Place the wafers in a food processor and crush them until they reach a fine, sand-like consistency. Next, mix in a small amount of milk to help the crumbs stick together.
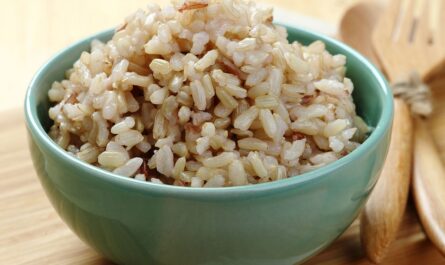
Step 2: Create the Oreo ‘Rice’
Once your Oreo crumbs have turned into a pliable, sticky mixture, it’s time to roll out your ‘rice.’ Take a large sheet of plastic wrap and spread the Oreo mixture evenly across it. Use a rolling pin to flatten it to about a quarter-inch thickness. This will serve as your ‘rice’ base for the sushi rolls.
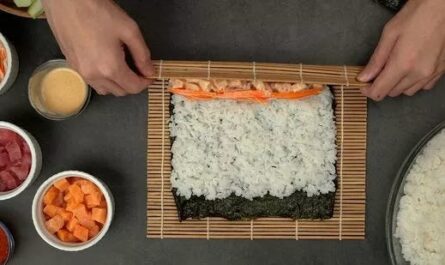
Step 3: Add the Fillings
This is where you get to personalize your Oreo sushi. Consider using bananas or other fruits as your fillings. Peel and slice your banana into thin strips and lay them along the edge closest to you on the Oreo mixture. You can also add some strawberries or kiwis if you prefer a fruity twist.
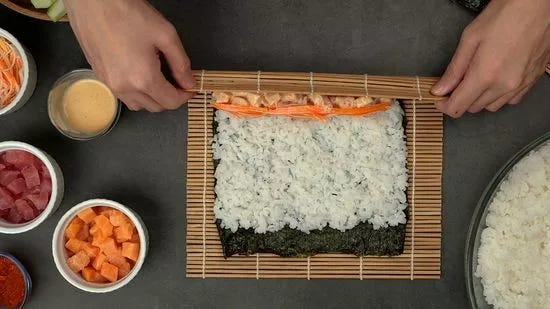
Step 4: Roll It Up
Using the plastic wrap to help guide you, start rolling the Oreo mixture over the fillings. Roll it tightly to ensure it holds together, but be gentle to avoid tearing the Oreo ‘rice.’ Once you’ve rolled it up, wrap the entire roll in plastic wrap and refrigerate for at least an hour to firm up.
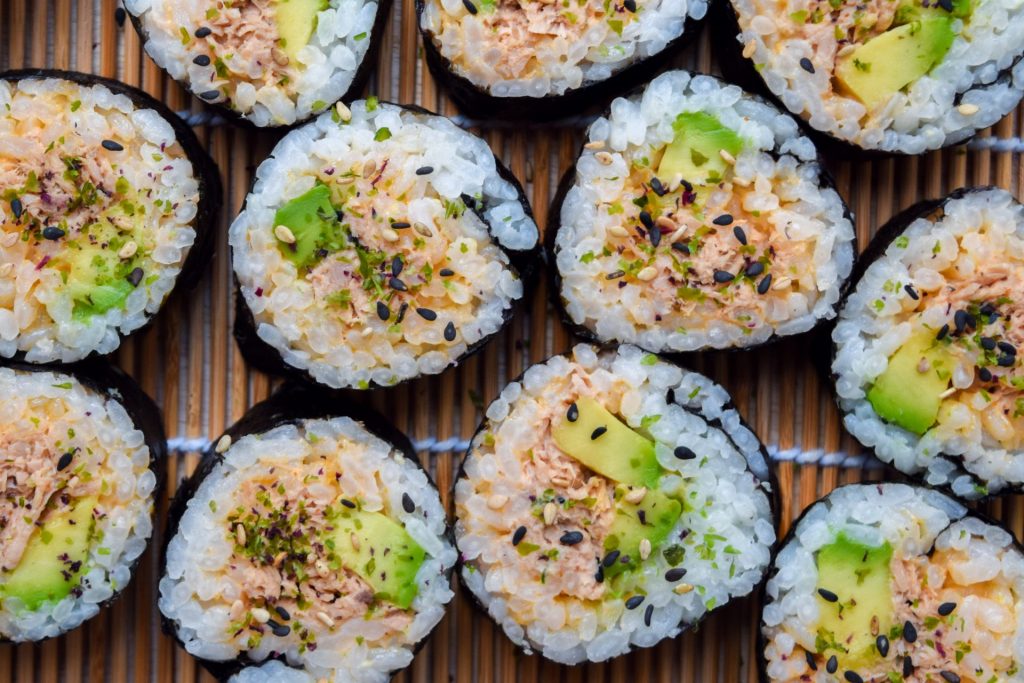
Step 5: Slice and Serve
After allowing the Oreo sushi to set, remove it from the refrigerator and unwrap the plastic. Using a sharp sushi knife, slice the roll into bite-sized pieces. Arrange the sushi pieces on a serving tray and drizzle with sweetened condensed milk for an added touch of sweetness.
Tips for Perfecting Your Oreo Sushi Rolls
Mastering the Oreo sushi recipe doesn’t have to be challenging. Here are some expert tips to help you along the way:
- **Use Fresh Ingredients**: Fresh fruits not only add color but also elevate the overall flavor.
- **Chill Properly**: Ensure you refrigerate the sushi roll long enough to set, making slicing easier.
- **Experiment with Fillings**: Don’t hesitate to try different fillings like mango, kiwi, or even strawberry jam for a unique taste experience.
- **Serve Immediately**: Oreo sushi is best enjoyed fresh. Serve immediately after slicing for maximum flavor and texture.
Popular Variations of Oreo Sushi
While the basic Oreo sushi recipe is delicious as is, there are numerous ways to get creative and put your own spin on it. Here are some popular variations:
Chocolate Lover’s Delight
If you’re a chocolate enthusiast, consider adding chocolate drizzle or incorporating mini chocolate chips into your filling. The additional chocolate complements the Oreo flavor wonderfully.
Fruity Punch
For a refreshing twist, you can add a variety of fruits such as berries, mango, or kiwi to your Oreo sushi. The fruity and creamy combination is sure to be a hit.
Cream Cheese Filled
Adding a layer of flavored cream cheese inside your Oreo sushi roll will provide a tangy and smooth contrast to the sweet and crunchy outer layer. Strawberry or vanilla-flavored cream cheese is recommended.
Complementary Dishes to Serve with Oreo Sushi
While Oreo sushi makes a fantastic stand-alone dessert, pairing it with other dishes can create an engaging and complimentary spread. Here are some suggestions:
Mochi Ice Cream
Mochi ice cream, with its chewy texture and refreshing flavors, pairs well with the creamy and crunchy Oreo sushi. You can serve a variety of mochi ice cream flavors to complement the diverse tastes of the sushi rolls.
Fruit Platter
A fresh fruit platter adds a burst of color and invigorating flavors to your dessert table. Fruits like strawberries, melons, and berries will serve as an excellent contrast to the Oreo sushi, making for a balanced and delightful experience.
Matcha Green Tea
A traditional Japanese matcha tea will enhance the flavors of the Oreo sushi by bringing a uniquely earthy and slightly bitter taste, balancing the sweetness of the dessert.
Setting Up a Dessert Sushi Bar
If you’re planning to entertain guests or hold a themed party, consider setting up a sushi bar where everyone can make their own Oreo sushi rolls. Provide all the ingredients and tools, and let creativity take over. Here’s how to set it up:
Ingredients Station
Set up a table with various fillings, from fruits to chocolate chips and cream cheese. The diverse selection will allow your guests to customize their own rolls according to their preferences.
How-to Instructions
Provide printed instructions or quick demonstrations on how to roll the sushi. This will make it easier for those who are trying it for the first time.
Decorative Toppings
Set up bowls with various decorative toppings, such as colored sugars, candy sprinkles, and edible flowers, allowing your guests to decorate their sushi rolls, adding to the visual appeal.
Plating Area
Provide plates, geometric-cut sheets of parchment, or nori to place the finished rolls. This will help in styling the sushi and amplifying the charm of the desserts.
Frequently Asked Questions
Can I Use Different Types of Cookies?
Absolutely! While Oreos are central to this recipe, it’s possible to experiment with different cookies like graham crackers, chocolate chip cookies, or even wafers to create a unique flavor profile.
What is the Best Way to Store Leftover Oreo Sushi?
The best way to store Oreo sushi is by wrapping each piece tightly in plastic wrap and placing them in an airtight container. Store it in the refrigerator for up to three days.
Can I Make Oreo Sushi Ahead of Time?
Yes, Oreo sushi can be made in advance. Just ensure to keep it refrigerated and only slice before serving to maintain its texture and taste.
Conclusion and Final Thoughts
The **Oreo sushi recipe** is a delightful fusion of fun and flavor, perfect for those looking to add a little creativity to their dessert arsenal. Easy to make and endlessly customizable, Oreo sushi is bound to be a hit at your next gathering. Whether you’re a seasoned chef or a beginner in the kitchen, this recipe offers incredible flexibility, allowing you to experiment and create a unique culinary experience.
Ready to dive into other unique sushi recipes? Check out our Volcano Roll Sushi recipe or our Deep Fried Sushi Roll recipe for more inspiration!
As an Amazon Associate, I earn from qualifying purchases.
Make sure to clean your tools promptly after preparing the dish. Here are some recommended cookware cleaners and cutting board oils to keep them in top condition.
——————————————————————————————————–
Disclosure: This post contains affiliate links. As an Amazon Associate I earn from qualifying purchases, but there will be no extra charges to you. Thank you for your support!