
 by
by Cone sushi recipe is a hidden gem in the vibrant world of Japanese cuisine. This delightful dish, known as Inarizushi in Japan, combines sweet, tangy sushi rice with savory tofu pouches to create an unforgettable taste experience. But what makes cone sushi a standout is its unique conical shape. In this comprehensive guide, we’ll walk you through every step of creating this culinary masterpiece, perfect for both beginners and seasoned sushi aficionados.
Introduction to Cone Sushi
Cone sushi is also known as Inarizushi or Inari sushi. It’s a popular type of sushi that’s especially loved for its convenience and delightful flavor. Traditional cone sushi features seasoned rice or sushi rice wrapped in a pocket of fried tofu, also referred to as aburaage. The result is a perfect balance of sweet, salty, and umami flavors wrapped into a convenient, handheld treat. Whether you’re planning a picnic, a party, or just a fun family dinner, cone sushi is an excellent choice.
The Rich History of Cone Sushi
Cone sushi has a long and storied history in Japan. The dish is named after the Inari shrines, dedicated to the deity Inari, who is associated with rice, prosperity, and foxes. According to folklore, the foxes that serve Inari have a fondness for fried tofu, which is why tofu pouches are used in Inarizushi. These tofu pouches, or aburaage, are seasoned with a sweet and savory soy-based sauce, making them the perfect complement to the vinegared sushi rice. Throughout Japan, cone sushi is enjoyed as a snack, a picnic food, and a symbol of good fortune.

Essential Ingredients for Cone Sushi Recipe
Before we dive into the detailed steps of making cone sushi, let’s take a look at the essential ingredients you’ll need to create this delicious dish. Each component plays a crucial role in achieving the perfect flavor and texture.
Ingredients
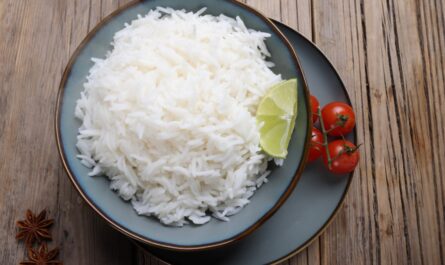
- 2 cups sushi rice (click here for a detailed sushi rice recipe)
- 1 packet of aburaage (fried tofu pockets)
- 4 tablespoons rice vinegar
- 2 tablespoons sugar
- 1 teaspoon salt
- 2 tablespoons soy sauce
- Sushi making kit
- Rice cooker
- Sushi knife
- Cutting board
- Strainer

Step-by-Step Guide to Making Cone Sushi
Now that you have your ingredients ready, let’s walk through the process of creating cone sushi. Follow these steps carefully to ensure you get the best results possible:
Step 1: Preparing the Sushi Rice
First things first, let’s prepare the sushi rice. Using a rice cooker, cook 2 cups of sushi rice according to the manufacturer’s instructions. Once cooked, transfer the rice to a large bowl and let it cool slightly. While the rice is still warm, add 4 tablespoons of rice vinegar, 2 tablespoons of sugar, and 1 teaspoon of salt. Gently fold the mixture into the rice until it’s evenly seasoned. Allow the rice to cool to room temperature before moving on to the next step.
Step 2: Preparing the Tofu Pockets
While the rice is cooling, it’s time to prepare the tofu pockets (aburaage). If your aburaage isn’t pre-seasoned, you’ll need to season it yourself. Begin by bringing a pot of water to a boil and blanching the tofu pockets for 1-2 minutes. This helps to remove excess oil. Drain the tofu pockets using a strainer and gently squeeze out any remaining water. In a small saucepan, combine 2 tablespoons of soy sauce, 2 tablespoons of sugar, and 2 tablespoons of water. Bring the mixture to a simmer over medium heat. Add the tofu pockets and simmer for about 10 minutes, or until the liquid is mostly absorbed. Remove the pan from heat and allow the tofu pockets to cool.
Step 3: Assembling the Cone Sushi
With the sushi rice and tofu pockets prepared, it’s time to assemble your cone sushi. Take a tofu pocket and gently open it, being careful not to tear the delicate tofu. Using your hands, shape a small amount of sushi rice into a ball and carefully stuff it into the tofu pocket. Fold the edges of the tofu over the rice to create a neat, compact cone shape. Repeat this process until all the tofu pockets are filled.
Step 4: Garnishing and Serving
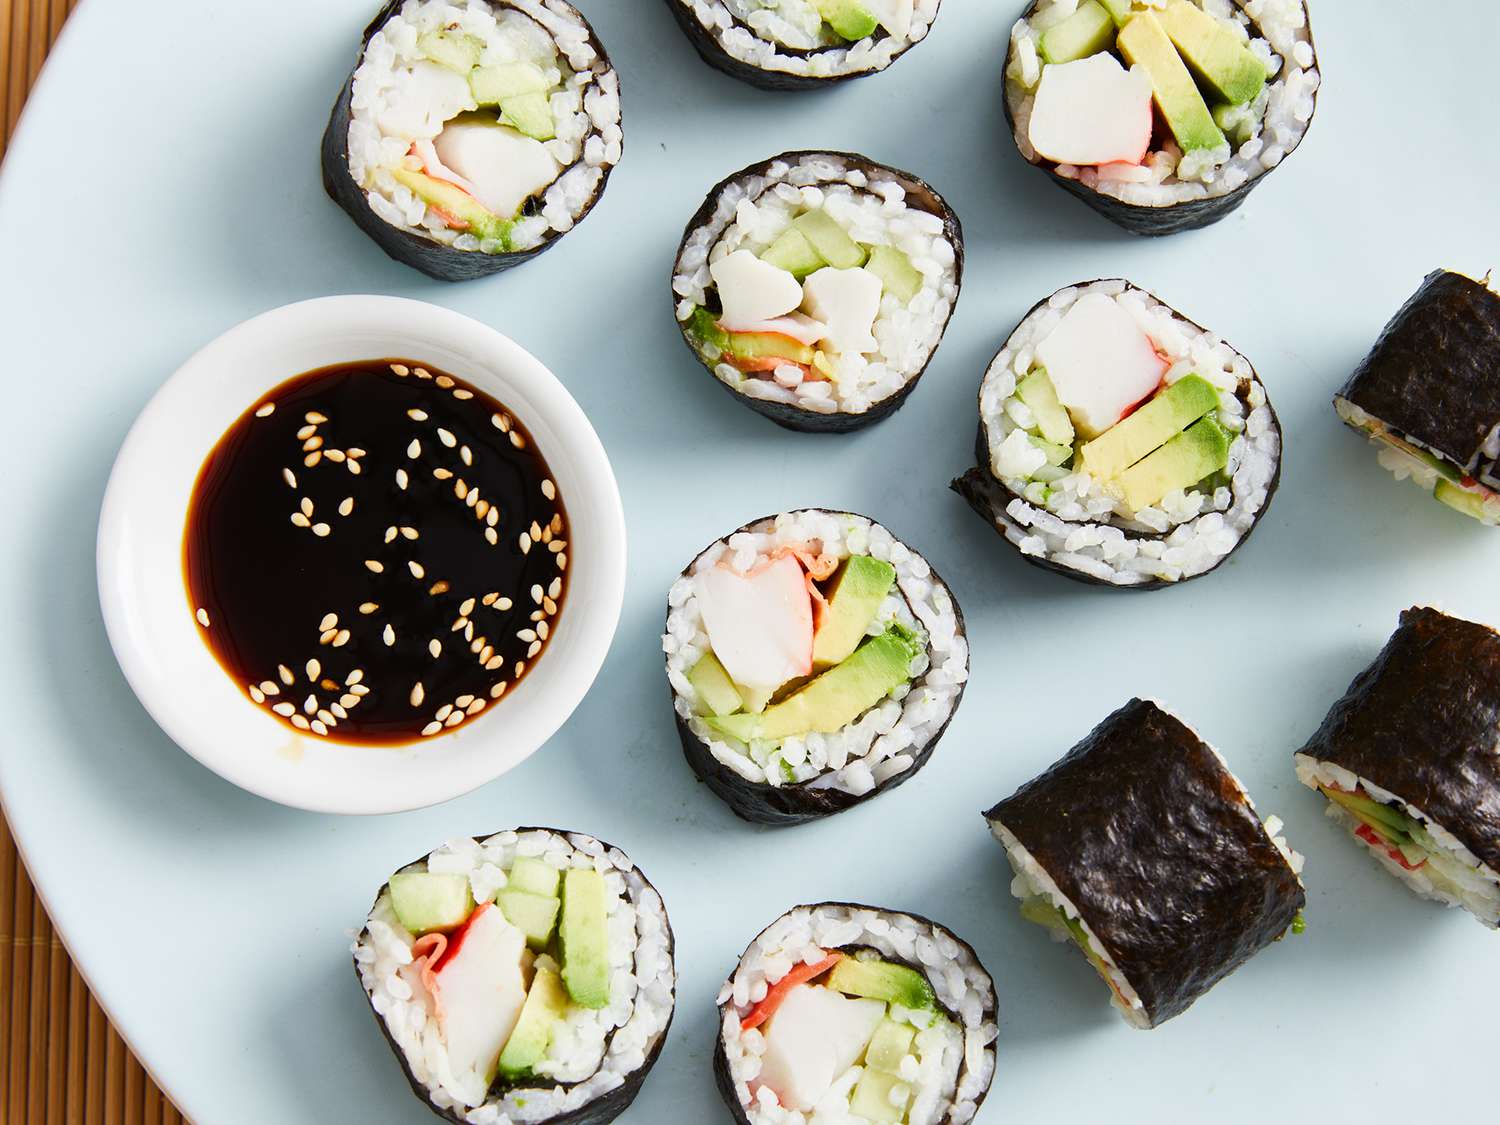
For the final touch, you can garnish your cone sushi with a variety of toppings. Some popular options include sesame seeds, chopped scallions, pickled ginger, and nori strips. Arrange your cone sushi on a serving platter and enjoy! Cone sushi is traditionally served at room temperature and pairs beautifully with a cup of green tea.
Tips and Tricks for Perfect Cone Sushi
Making cone sushi can be a bit tricky, especially if it’s your first time. Here are some tips and tricks to help you achieve the perfect result:
- Use fresh ingredients: Always use the freshest ingredients possible for the best taste and texture.
- Don’t overfill the tofu pockets: Overfilling can cause the tofu to tear, so be sure to use just the right amount of rice.
- Season the rice while it’s warm: This allows the rice to absorb the seasonings more effectively, resulting in better flavor.
- Sushi alternatives: If you’re looking for more sushi varieties, check out other delicious sushi recipes.
Health Benefits of Cone Sushi
While cone sushi is undoubtedly delicious, it’s also packed with nutrients that can boost your health. Sushi rice is a great source of carbohydrates, providing you with energy. The tofu pockets are rich in protein and low in fat, making them a healthy choice. Additionally, the vinegar used in the rice has antimicrobial properties and can aid in digestion.
Conclusion: Embrace the Art of Cone Sushi
Learning to make cone sushi is not just about mastering a recipe; it’s about appreciating the artistry and tradition behind it. This delightful dish offers a perfect balance of flavors and textures, wrapped into a convenient and visually appealing package. Whether you’re a seasoned sushi lover or new to Japanese cuisine, this cone sushi recipe is sure to become a favorite in your culinary repertoire. So gather your ingredients, follow our step-by-step guide, and embark on your delicious journey into the world of cone sushi.
As an Amazon Associate, I earn from qualifying purchases.
——————————————————————————————————–
Disclosure: This post contains affiliate links. As an Amazon Associate I earn from qualifying purchases, but there will be no extra charges to you. Thank you for your support!