 by
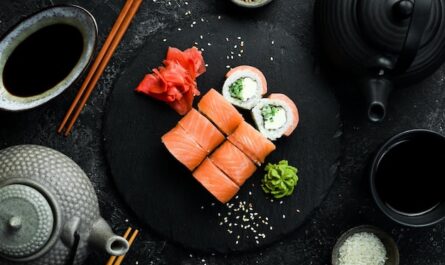
by Welcome to the unparalleled world of creating your own sushi ginger recipe a delicious and essential accompaniment to sushi. Frequently known as gari, this thinly sliced and pickled ginger is renowned not only for its unique flavor but also for its digestive health benefits and ability to cleanse the palate. By the end of this captivating journey, you will have the expertise to prepare an exquisite batch of sushi ginger at home.
The Intriguing History of Sushi Ginger
Sushi ginger, or gari, boasts a long and storied history intertwined with the development of sushi itself. Originating in Japan, it has played an integral role in enhancing the sushi dining experience. Each slice of ginger, meticulously pickled, is designed to offer a refreshing counterbalance to the rich flavors of sushi. Knowing where this practice began adds a deeper appreciation to the art of sushi preparation.
The Importance of Quality Ingredients
Before diving into the recipe, lets emphasize the significance of quality ingredients in creating an exceptional sushi ginger recipe. Sourcing the freshest young ginger root available is crucial. Young ginger is preferred due to its tender texture and subtly sweet flavor that harmonizes well with the pickling process. Additionally, selecting a high-quality rice vinegar will elevate the final product.
Ingredients and Equipment Needed
- 1 pound of young ginger root
- 1 1/2 cups rice vinegar
- 1 cup granulated sugar
- 1 teaspoon salt
With these simple yet essential ingredients, you are prepared to create an outstanding batch of sushi ginger.
Now, let’s talk about the equipment. While you won’t need exotic tools, having the right items will simplify the process.
Essential Tools for the Recipe
To make the perfect sushi ginger recipe, here are some recommended tools:
Step-by-Step Preparation
1. Selecting and Preparing the Ginger
The first step is to choose the freshest young ginger you can find. Typically available in spring and summer, young ginger has a pale yellow color and smooth skin. Begin by peeling the ginger root using the side of a spoon, ensuring minimal waste. Once peeled, thinly slice the ginger using your sushi knife, aiming for nearly translucent slices.
2. Preparing the Pickling Mixture
In a small saucepan, combine rice vinegar, sugar, and salt. Heat the mixture over medium heat, stirring to dissolve the sugar and salt completely. Once dissolved, bring the mixture to a gentle boil before removing it from the heat. Allow the pickling liquid to cool to room temperature.
3. Blanching the Ginger
Blanching is a crucial step in preparing your sushi ginger recipe. It significantly reduces the sharpness and bitterness of ginger while retaining a pleasant amount of spiciness. Boil water in a pot and blanch the ginger slices for about 30 seconds. Quickly transfer the blanched ginger to a bowl of ice water to halt the cooking process, then drain and pat dry using a strainer and a clean kitchen towel.
4. Marinating the Ginger
Place the blanched ginger slices in a sterilized jar. Pour the cooled vinegar mixture over the ginger, ensuring that all slices are submerged. Seal the jar tightly and allow it to sit at room temperature for about an hour before refrigerating. The ginger will develop its flavor over the next few days, reaching its peak after a week.
The Culinary Science Behind Pickling
The success of any pickled vegetable, including sushi ginger, largely hinges on the pickling solution’s balance of acidity, sweetness, and saltiness. The rice vinegar’s acetic acid not only extends the shelf life but also preserves the ginger’s characteristic crunch. Sugar acts as a stabilizer, helping to balance the vinegar’s sharpness, while salt intensifies the flavor and ensures the ginger’s natural taste is not lost.
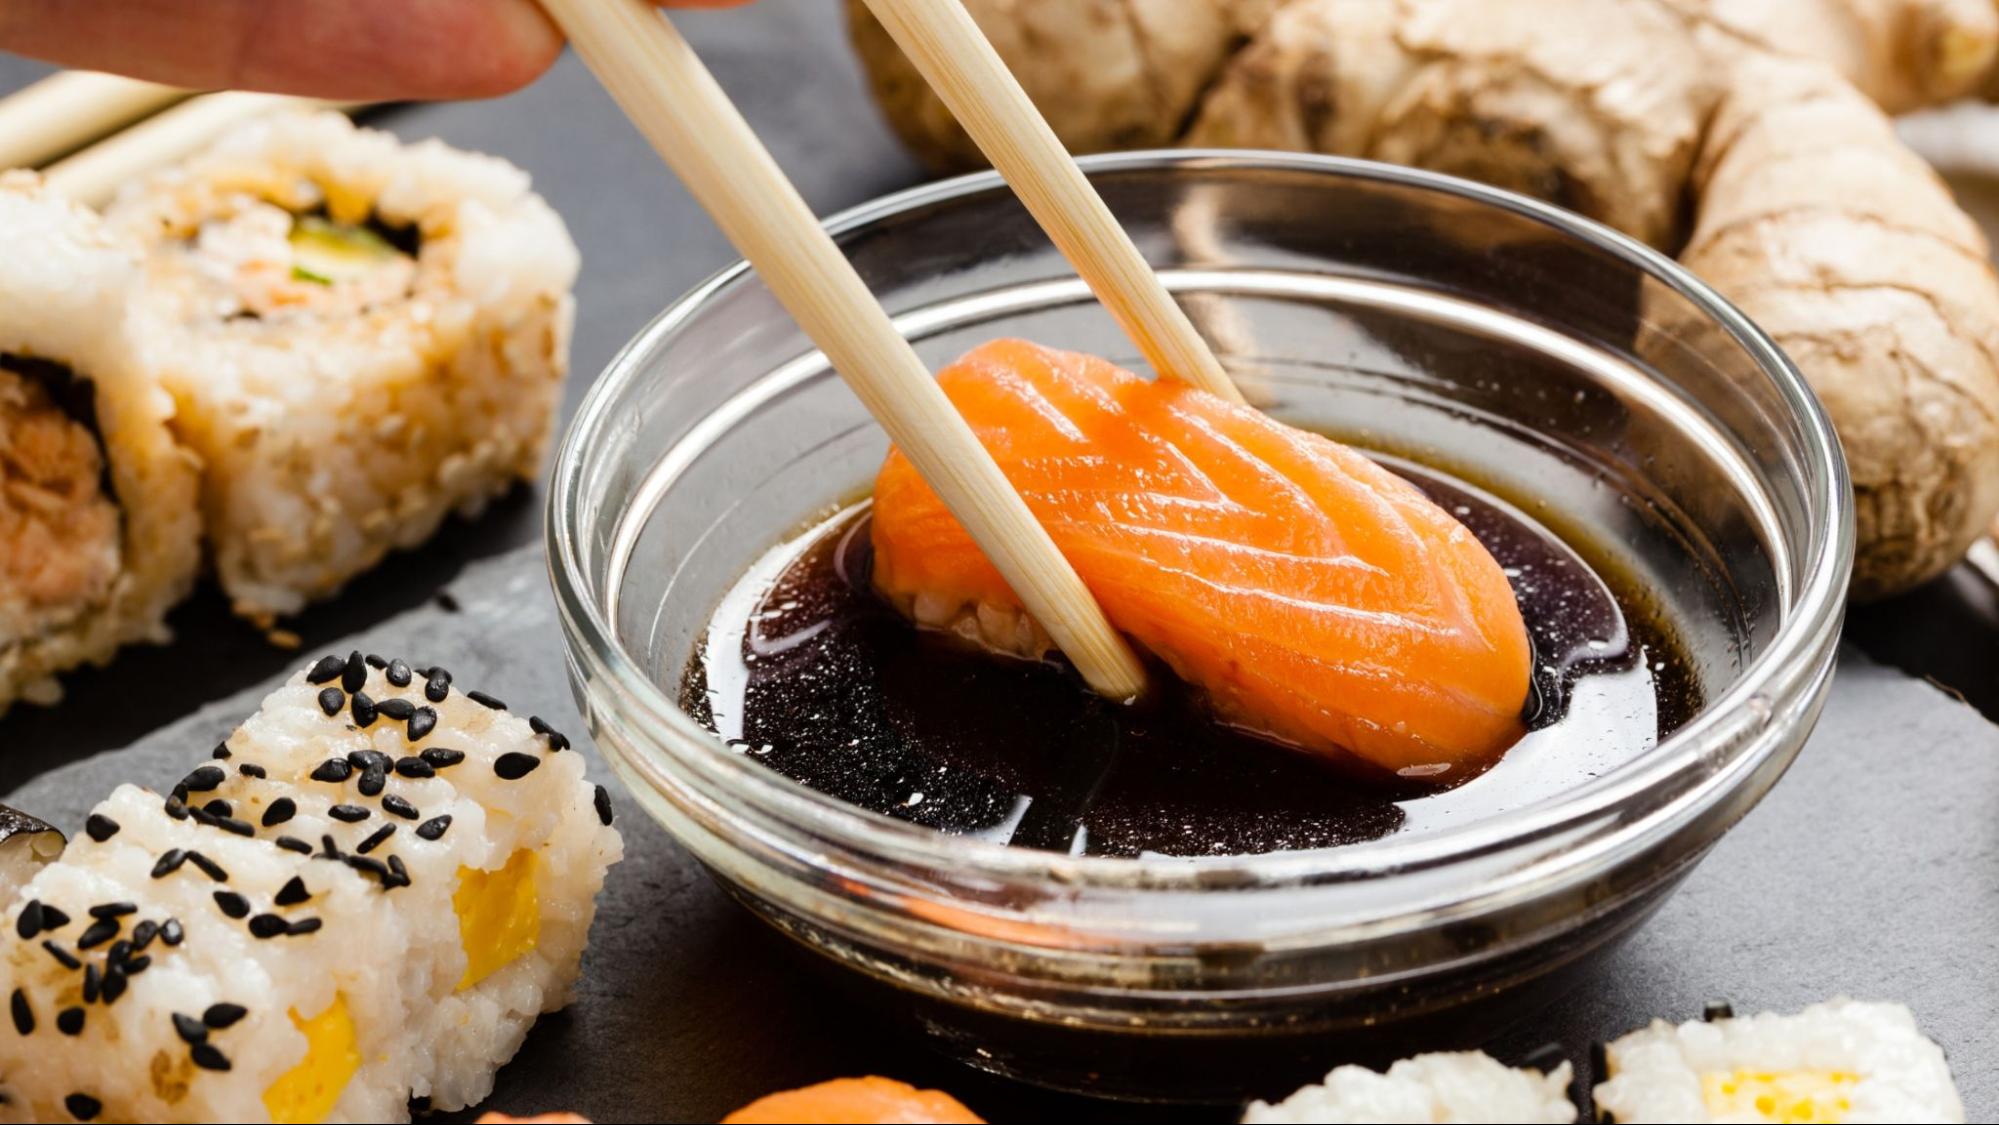
How to Store and Use Your Homemade Sushi Ginger
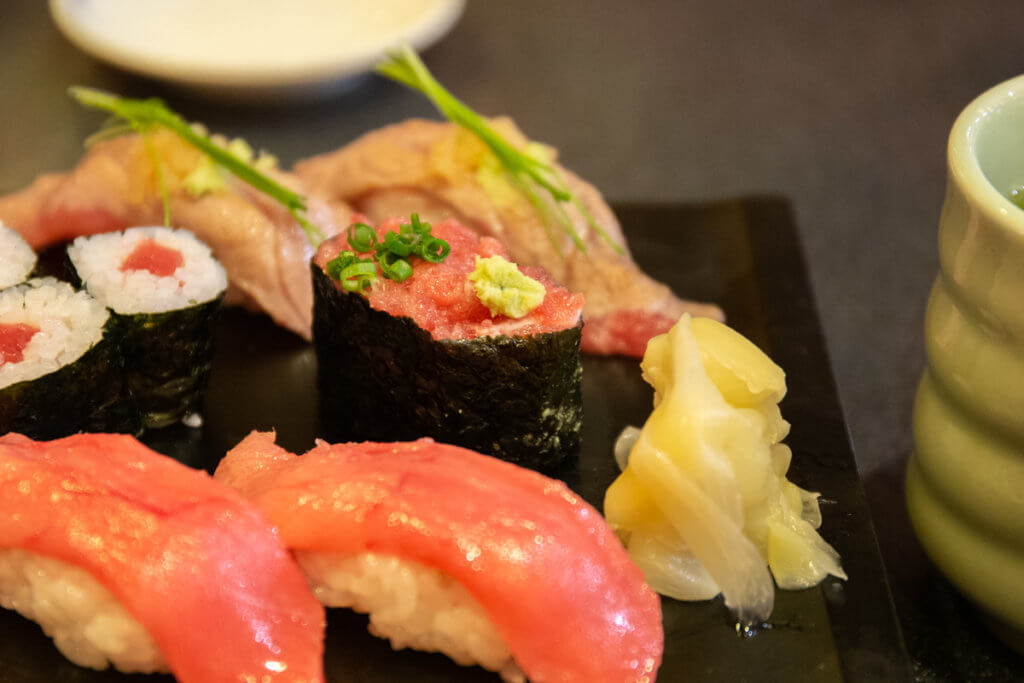
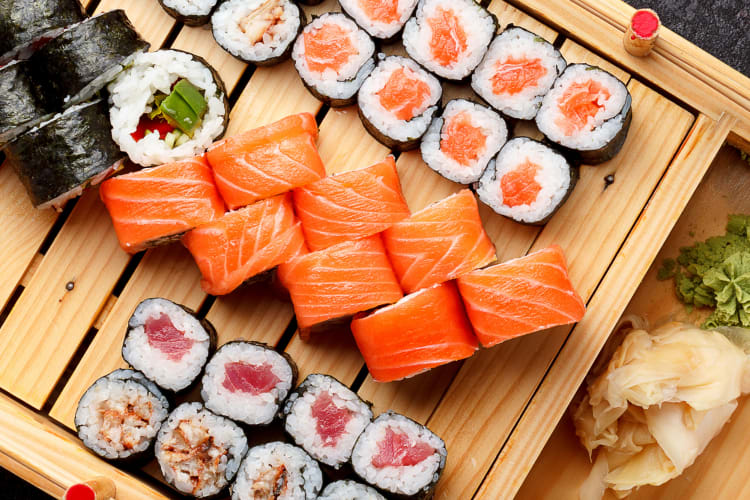
Refrigeration is key when storing your homemade sushi ginger. It will keep well in the refrigerator for up to three months. Use a clean utensil each time you retrieve ginger from the jar to maintain its quality and hygiene. Sushi ginger is not just limited to sushi; it pairs beautifully with sashimi and can be incorporated into salads or as a garnish for various dishes.
For further exploration on sushi, take a look at our detailed articles on Volcano Roll, Deep-Fried Sushi Roll and the classic California Roll.
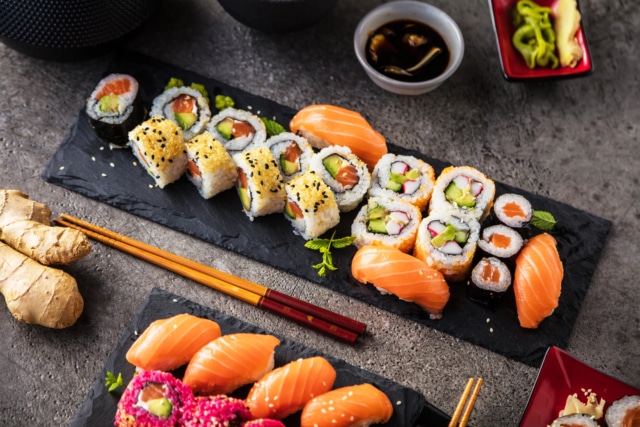
Elevating Your Sushi Experience with Homemade Ginger
Creating sushi at home is an art, and the inclusion of homemade sushi ginger adds a professional touch to your culinary creations. Making your own ginger allows you to customize the flavor intensity and sweetness, enhancing the overall taste and presentation of your dishes. Each bite of sushi, paired with a slice of your homemade ginger, offers a symphony of flavors that transport you to a fine dining sushi restaurant.
Cleaning and Maintenance Tips
After all your hard work, it’s imperative to take good care of your tools. Here are some helpful tips:
- Clean your cookware thoroughly to ensure no residue is left behind
- Apply cutting board oil to maintain your cutting board
As an Amazon Associate, I earn from qualifying purchases.
Conclusion
In conclusion, mastering the sushi ginger recipe is both satisfying and rewarding. It not only offers a taste that competes with store-bought varieties but also provides a sense of accomplishment knowing you have created a key component of sushi from scratch. Whether you’re a sushi aficionado or a culinary enthusiast, this recipe is a worthy addition to your kitchen repertoire.
This insightful journey into the world of sushi ginger opens up a new level of appreciation for the nuances of Japanese cuisine. The effort and care in preparing your own sushi ginger elevate not just your sushi but your entire dining experience. With the knowledge and practice from this comprehensive guide, your sushi nights will definitively reach new heights.
——————————————————————————————————–
Disclosure: This post contains affiliate links. As an Amazon Associate I earn from qualifying purchases, but there will be no extra charges to you. Thank you for your support!