
 by
by If you are looking for an incredible **italian rice balls recipe**, you have landed in the right space. Italian rice balls, locally known as ‘Arancini’, are a beloved dish originating from Italy. These delightful snacks have variations that differ by region, but at their core, they embody a passion for combining flavors, textures, and aromas. In this article, we will explore the ins and outs of creating perfect Italian rice balls that will delight your palate and impress your friends and family.

A Brief History of Italian Rice Balls
Italian rice balls, or Arancini, date back to the 10th century in Sicily. These delightful treats were initially created to honor the agricultural traditions of the region, using leftover risotto. Over the centuries, they have evolved into a popular street food across Italy, with various fillings like cheese, rag, peas, or mushrooms. Each region prides itself on its unique twist on the dish, making the **italian rice balls recipe** versatile and appealing to many.
What You Will Need: Ingredients for Italian Rice Balls
Ingredients
- 2 cups of arborio rice
- 4 cups of chicken or vegetable broth
- 1 cup of grated Parmesan cheese
- 1 cup of mozzarella cheese, diced
- 1 cup of peas (optional)
- 2 large eggs
- 1 cup of flour
- 2 cups of breadcrumbs
- Salt and pepper to taste
- Vegetable oil for frying
Gather all these ingredients to ensure that your **italian rice balls recipe** comes together seamlessly. For best results, using **arborio rice** is crucial, as it ensures a creamy texture. Additionally, selecting quality cheeses will elevate the flavor of your rice balls significantly. If you are new to cooking or would like your tools to make the experience smoother, consider investing in a good rice cooker, sushi knife, and a solid cutting board. These tools not only enhance the cooking process but also allow for precision and ease.
Step-by-Step Guide to Making Italian Rice Balls
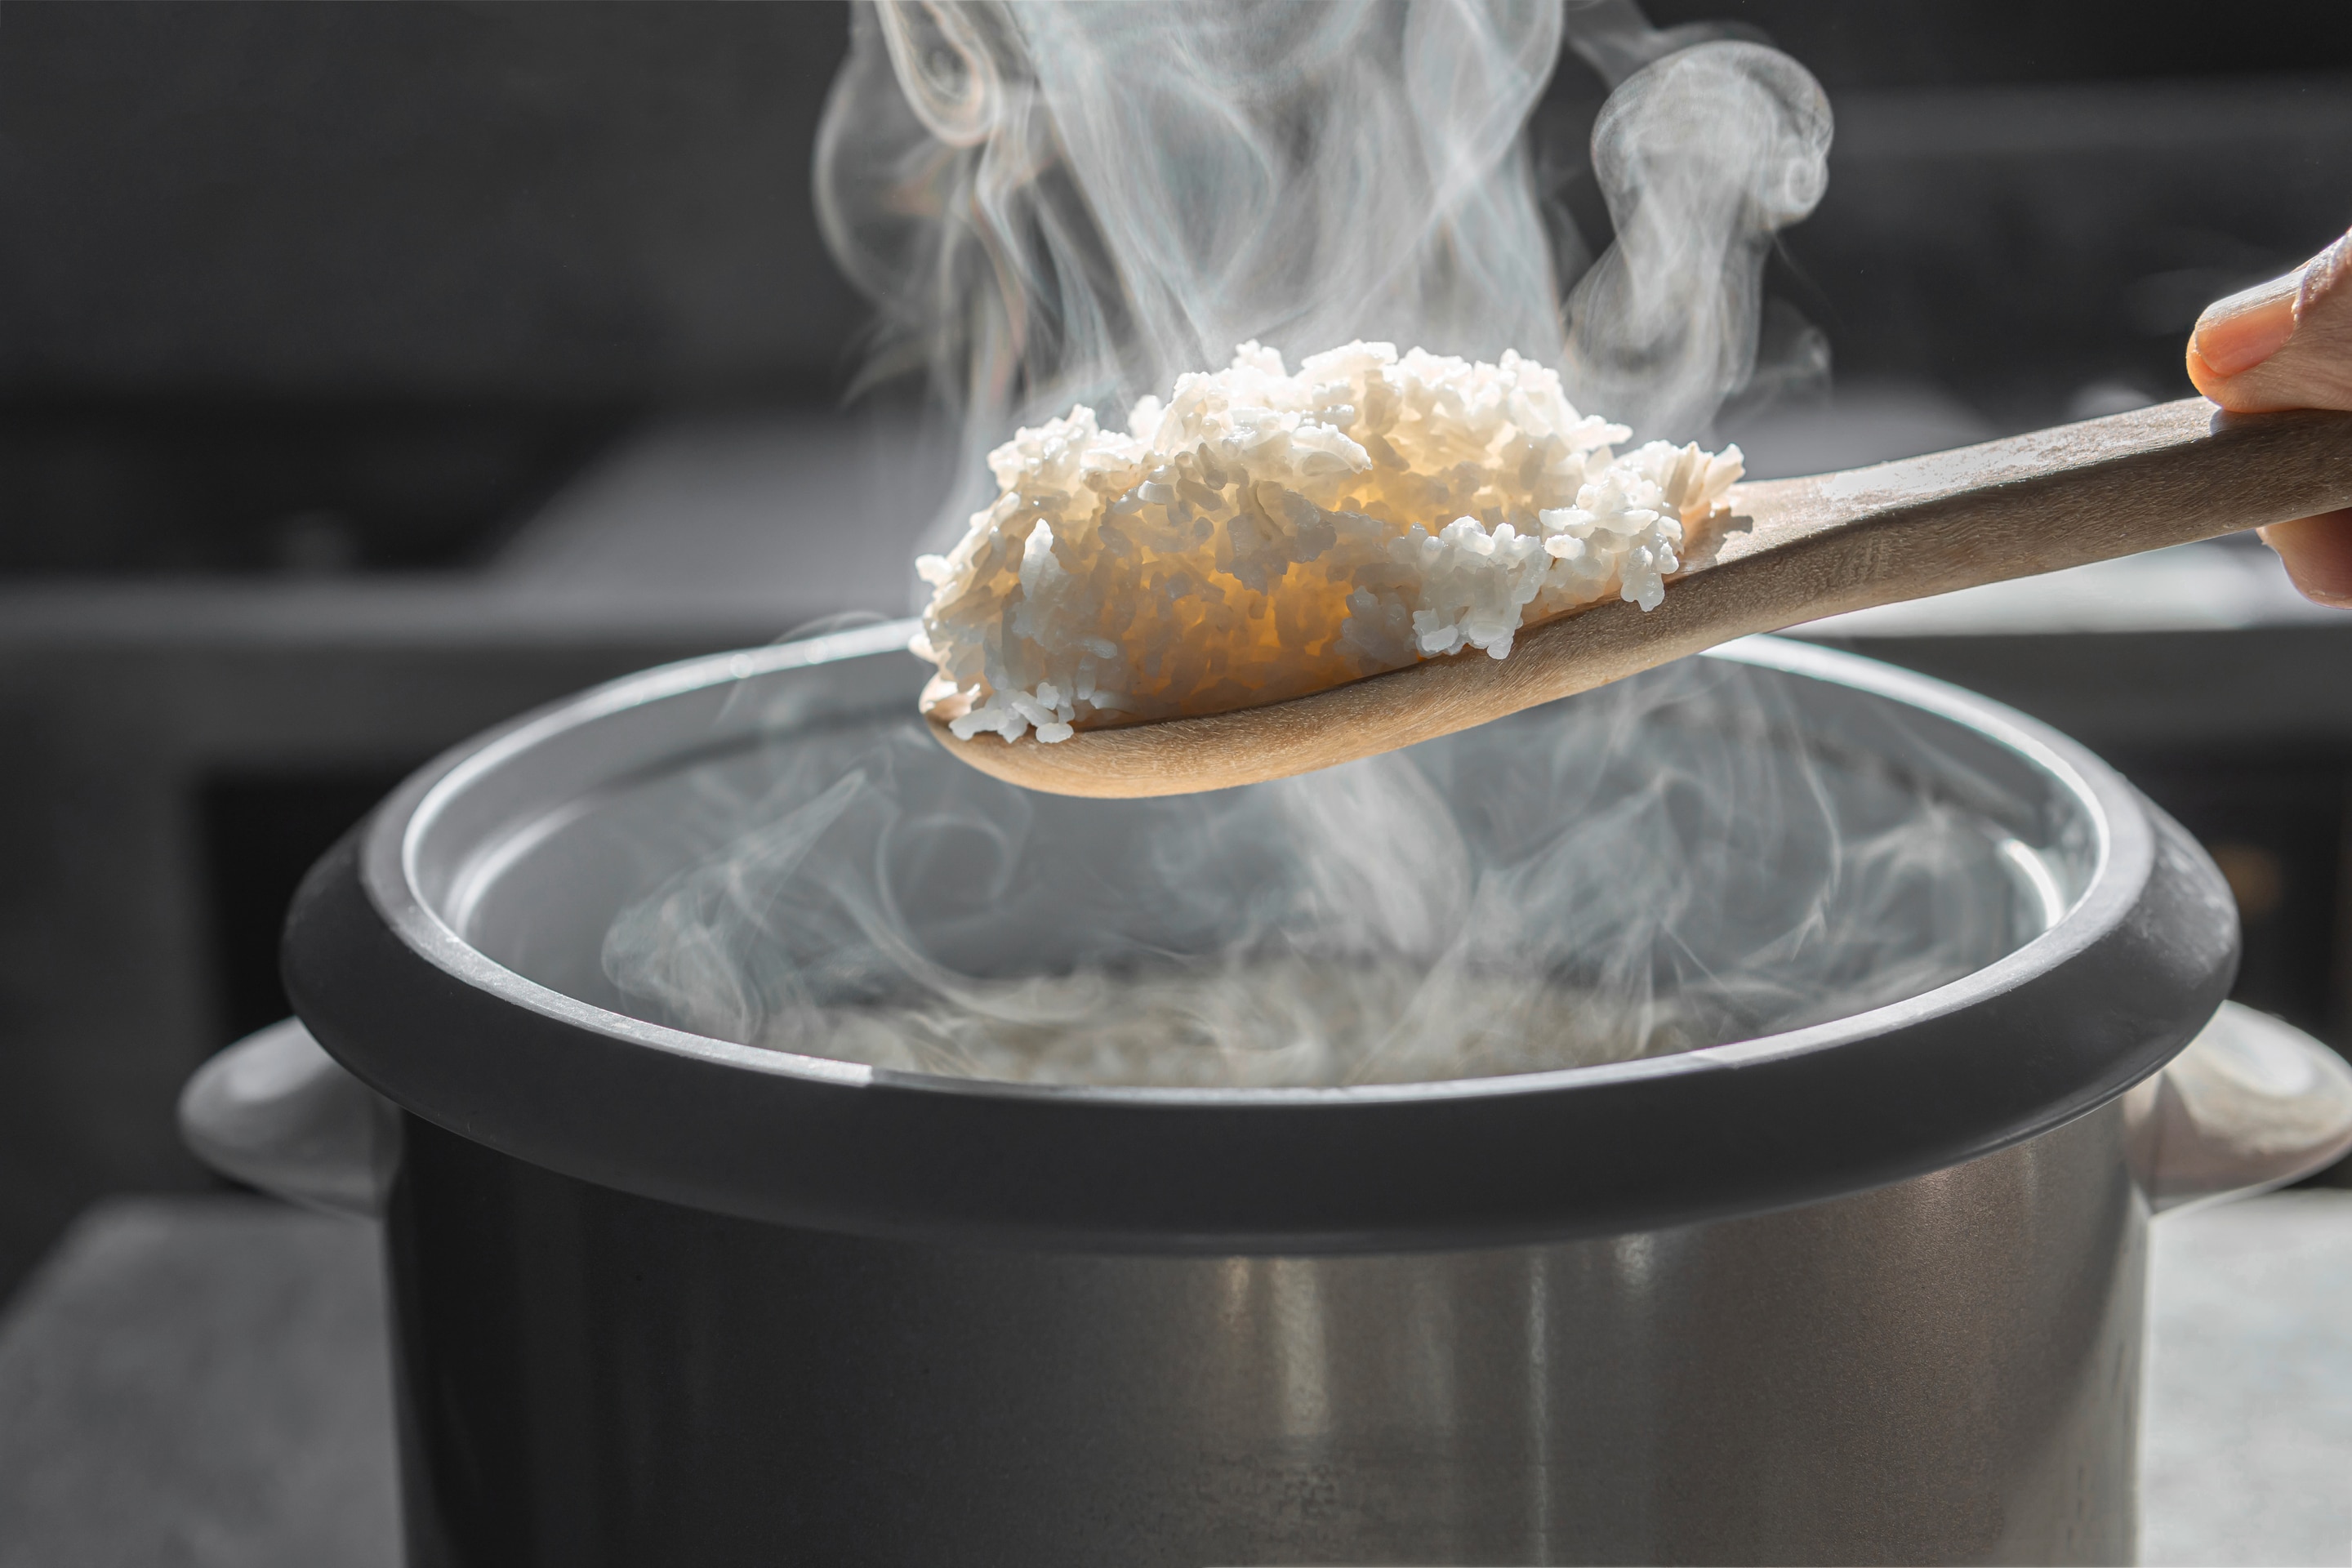
Step 1: Cook the Arborio Rice
Begin by rinsing the arborio rice under cold water to remove excess starch. In a pot, combine the rinsed rice and broth, bringing it to a gentle boil. Once boiling, reduce the heat to low, cover the pot, and let it simmer for about 18-20 minutes. The goal here is to achieve a creamy consistency reminiscent of risotto. The rice should absorb all the liquid, and you may want to add salt and pepper for seasoning.
Step 2: Prepare the Cheese Mixture
Once the rice is cooked, transfer it to a large mixing bowl and let it cool for about 15-20 minutes. Once cool, incorporate the grated Parmesan cheese, diced mozzarella, and peas (if using). Stir well until all ingredients are evenly coated. This cheese mixture acts as a delicious surprise filling and enhances the overall flavor of the **italian rice balls recipe**.
Step 3: Forming the Rice Balls
With your hands slightly damp, take a handful of the rice mixture and form it into a ball. Aim for a size similar to a golf ball. Make an indentation in the center and add about a teaspoon of additional mozzarella cheese. Then, seal the rice around the cheese and gently shape it into a perfect sphere. Repeat this process until all rice and cheese mixtures are used.
Step 4: Prepare the Breading Station
For the breading process, set up three shallow dishes. In the first dish, add flour; in the second, beat the eggs; and in the third, place breadcrumbs. Take each rice ball, roll it first in flour, then dip it in the egg mixture, and finally coat it in breadcrumbs. This creates a crispy outer layer once fried.
Step 5: Frying the Rice Balls
In a deep frying pan, heat vegetable oil over medium heat. The oil should be about 2 inches deep; test its readiness by dropping in a breadcrumb if it sizzles immediately, the oil is hot enough. Carefully lower the rice balls into the oil, frying them in batches to avoid overcrowding. Cook the balls for about 3-4 minutes or until golden-brown and crispy. Once cooked, place the rice balls on a paper towel-lined plate to absorb excess oil.
Step 6: Serve and Enjoy!
Serving your freshly made Italian rice balls is the best part! They can be enjoyed warm or at room temperature. Pair them with marinara sauce for drizzling or dipping, creating a delightful balance of flavors. These rice balls can work as a fantastic appetizer for gatherings or a creative side dish for any meal.
Storage Tips for Leftovers
If you have any leftover rice balls, store them in an airtight container in the refrigerator. To maintain their crispy texture, reheat them in the oven at 350F (175C) for about 10-15 minutes before serving. Alternatively, they can also be frozen before frying. Just coat them in breadcrumbs and place them in a freezer-safe container. When ready to eat, fry them directly from the freezer without thawing.
Experimenting with Variations
While our **italian rice balls recipe** provides a classic approach, feel free to experiment with various fillings and flavorings. You could try adding sauted mushrooms, herbs like basil or parsley, or even spicy ingredients like jalapeos for a kick. The beauty of rice balls lies in their adaptability so get creative!
Cleaning Your Cookware
After the cooking adventure, its essential to keep your cookware clean. Use a quality cookware cleaner to maintain your frying pan and other kitchen tools. Additionally, preserving and conditioning your cutting board ensures it stays in optimal condition for future cooking escapades.
Final Thoughts
This authentic **italian rice balls recipe** is sure to impress and satisfy anyone who tries them. Their crunchy exterior contrasts beautifully with the creamy, cheesy center, making them a treat for all senses. So roll up your sleeves and give this recipe a try! Don’t forget to visit Sushi and Rice for more delicious recipes and culinary inspiration. You won’t regret diving into the world of Italian cooking with your own homemade rice balls!
As an Amazon Associate, I earn from qualifying purchases.
——————————————————————————————————–
Disclosure: This post contains affiliate links. As an Amazon Associate I earn from qualifying purchases, but there will be no extra charges to you. Thank you for your support!