 by
by If you’re searching for a foolproof way to make delicious, fluffy rice at home, look no further! The Instapot rice recipe is here to revolutionize your cooking routine. Say goodbye to undercooked or overcooked rice, and hello to perfectly cooked, aromatic grains that pair beautifully with sushi, curries, and any number of delicious dishes. In this comprehensive guide, we delve deep into everything you need to know about cooking rice in your Instapot, why its advantageous, various types of rice you can use, essential tips for achieving the best results, and delicious recipes to accompany your newfound culinary skills.
Why Choose the Instapot for Cooking Rice?
The Instapot is more than just a trendy kitchen gadget; its a game changer for rice lovers everywhere! If youre wondering why you should rely on the Instapot for your rice cooking endeavors, consider the following benefits. Firstly, the convenience factor is simply unmatched. With the Instapot, you can set it and forget it. Once you’ve added your ingredients, simply select the cooking mode, and the machine does the rest! Plus, the pressure cooking technology seals in moisture, flavors, and nutrients, resulting in rice thats not just tasty but also healthy. Most home cooks can appreciate an appliance that minimizes active cooking time while maximizing results. The high-pressure cooking reduces cooking time significantly; for example, white rice takes just about 4-6 minutes, brown rice around 22-28 minutes, and wild rice can be ready in about 25-30 minutes.
Types of Rice: Which Is Best for Your Instapot Rice Recipe?
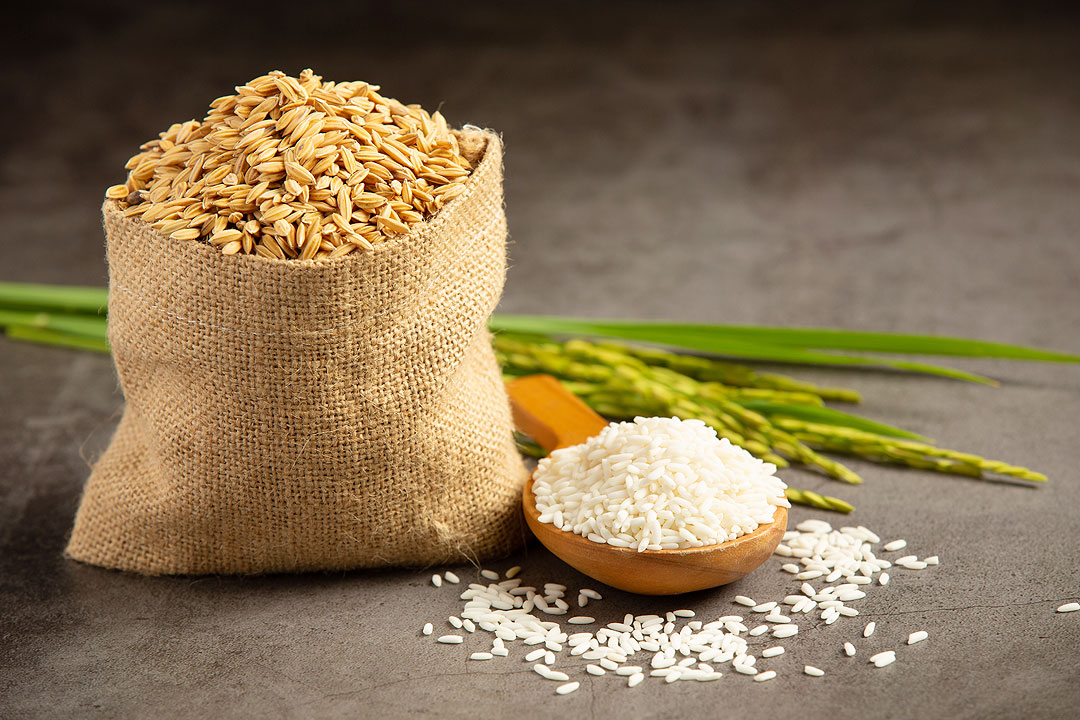
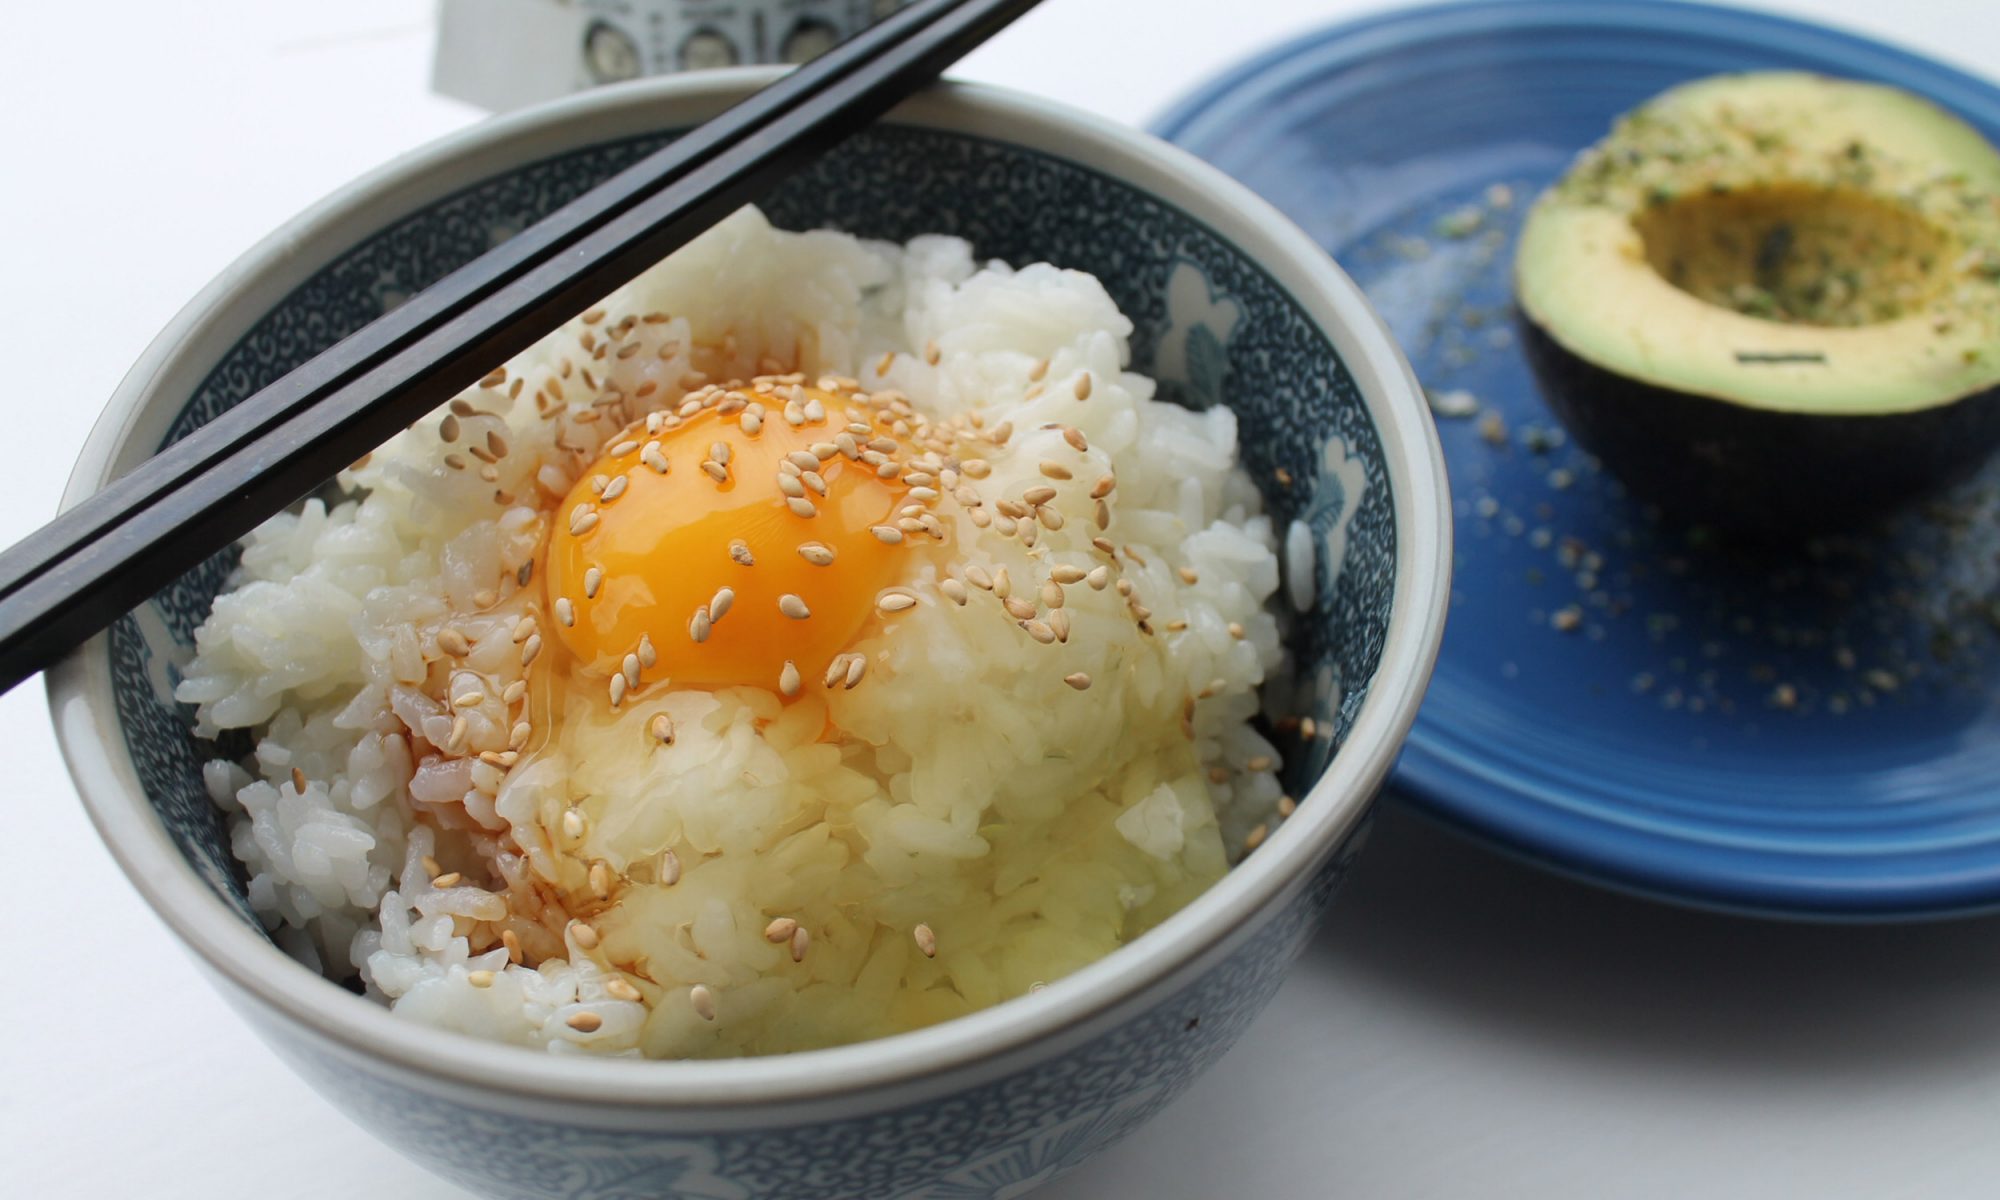
One of the amazing things about the Instapot is its versatility when it comes to various types of rice. Whether you’re a fan of traditional white rice or prefer a nuttier flavor profile from brown rice or wild rice, the Instapot can handle it all! Here’s a breakdown of the most popular types of rice you might want to try: White Rice: This is the most common rice used in sushi; it cooks quickly and tends to take on flavors well. Brown Rice: With a chewy texture and a nuttier flavor, brown rice is a whole grain that offers more fiber and nutrients compared to white rice. The cooking time is slightly longer, but the results are worth it! Wild Rice: Not technically rice but rather a grass, wild rice has a unique flavor and a delightful chewiness, making it a wonderful option for salads and side dishes. Basmati Rice: This long-grain rice is fragrant and airy, often used in Indian cuisine. It can be a delightful addition to your Instapot repertoire. Jasmine Rice: Known for its delicate fragrance and slightly sticky texture, jasmine rice pairs excellently with Asian dishes and can effortlessly elevate your meals. No matter what type you choose, just be sure to adjust the water-to-rice ratio appropriately as different varieties have different hydration needs.

How to Make the Perfect Instapot Rice Recipe: Step by Step
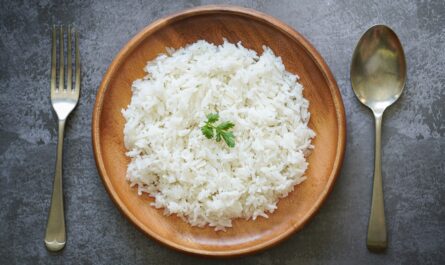
Now that you know the ins and outs of cooking rice in your Instapot, lets get to the fun part: the actual Instapot rice recipe! The steps are simple, making this a perfect recipe for beginners and veteran cooks alike. Heres the fundamental method for making perfect rice: **Step 1**: Gather Your Ingredients. For one cup of rice, you will need one cup of water (adjust the ratios for your desired quantity). Its always best to rinse the rice under cold water before cooking. This step helps remove excess starch, which can lead to gummy rice. If you plan on adding flavors, consider including broth instead of water, as well as some spices or herbs. **Step 2**: Add the Ingredients to the Instapot. Pour your rinsed rice and the measured water (or broth) directly into the Instapot. Make sure to add a pinch of salt and any other spices you desire, such as garlic powder or onion powder. **Step 3**: Select the Cooking Settings. Close the lid firmly, ensuring the vent is set to the sealing position. Select ‘Pressure Cook’ and choose the appropriate time based on the type of rice you’re using (generally, white rice takes around 4-6 minutes, while brown rice takes about 22-28 minutes). **Step 4**: Let the Pressure Release Naturally. Once the cooking time is up, its crucial to let the pressure release naturally for around 10 minutes before switching the vent to ‘venting’ to release any remaining pressure. This step is significant for achieving fluffy rice, as it allows the rice to sit and absorb any additional moisture. **Step 5**: Fluff and Serve. After all the pressure has been released, carefully open the lid and fluff the rice using a fork. If you have cooked any flavored rice or added bits like sauted vegetables or herbs, now is the time to integrate those flourishes for a delightful side. Youre now ready to enjoy perfect rice with any dish!
Essential Tips for Cooking Rice in the Instapot
While the process of cooking rice in your Instapot is relatively straightforward, there are some tried-and-true tips and tricks that can elevate your results. First, always rinse your rice before cooking it. This step eliminates excess starch and prevents sticky, gummy rice. Experimenting with fat can also bring out rich flavors; try sauting a bit of oil or butter in the pot before adding your rice and water to take your dish to another level. Another great tip is to add flavor enhancers such as chicken or vegetable broth instead of plain water. This little adjustment can make a significant difference in the depth and richness of your rice. You might even enjoy tossing in a bay leaf or a pinch of saffron for aromatic rice that does justice to your main course. Aside from these, make it a habit to check the manufacturers instructions that come with your Instapot, as this can shed more light on specific settings suited for different types of rice.
Meal Ideas to Pair with Instapot Rice
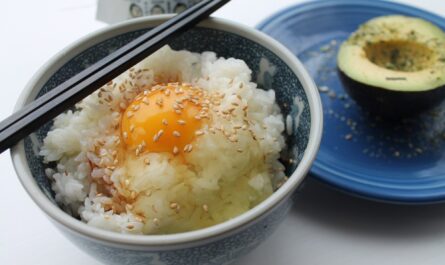
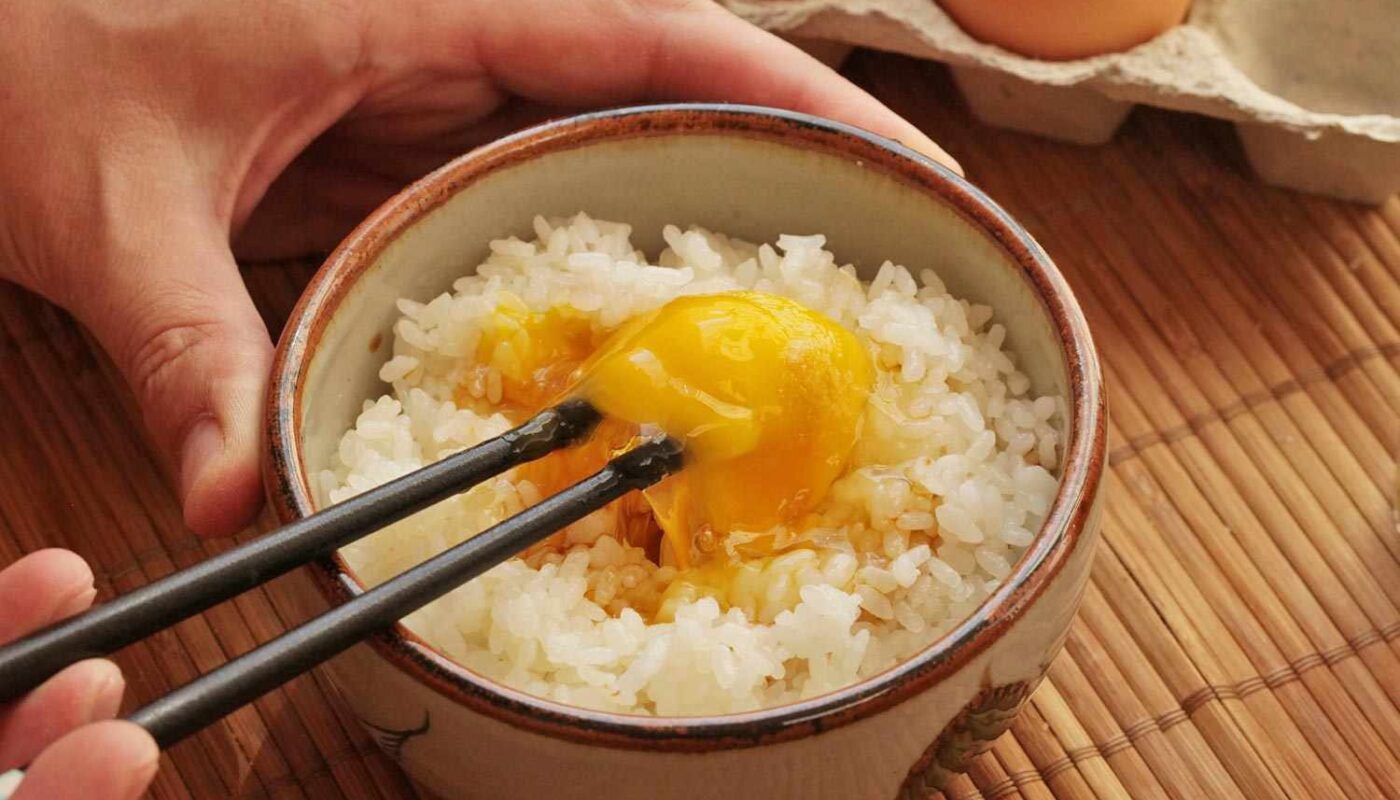
Once you’ve mastered the Instapot rice recipe, you may be wondering how to incorporate this versatile grain into different meals. Rice is one of the most accommodating staples, making it an ideal base for various dishes! Here are a few meal ideas that pair beautifully with perfectly cooked rice: **Sushi**: Create your homemade sushi rolls with the fluffy white rice you’ve just made! You can follow the instructions for making easy sushi from one of our other articles. **Curry**: Serve your rice alongside a hearty curry, whether its chickpea curry, chicken tikka masala, or even a coconut curry with shrimp. The rice will absorb all the delicious sauces and flavors. **Stir-fry**: Incorporate leftover vegetables and protein into a quick stir-fry. Using day-old rice gives you a different texture that works wonders in fried rice preparations. Or, stir-fry fresh ingredients and incorporate them into freshly cooked rice for a simple meal. **Rice Bowls**: Create customizable rice bowls! Start with a base of rice and layer it with your favorite proteins, vegetables, and sauces for a delicious and nutritious meal. **Stuffed Peppers**: Mix cooked rice with ground meat or beans for a wholesome stuffing for bell peppers, then bake them until theyre tender for a complete dish. The creative options are limitless!

Clean Up Made Easy: Caring for Your Cookware
After happily cooking and enjoying your delicious meals, its essential to maintain the condition of your cookware, ensuring they last for years! A few basic practices can help prolong the life of your pots. Start by cleaning your Instapot and utensils immediately after use, as food residue can harden and stick if left for too long. A non-abrasive sponge and warm soapy water work wonders, followed by rinsing thoroughly. For more stubborn stains or odors, consider using specialized cookware cleaners to keep everything spotless. Your cutting boards also require the same level of attention; regularly treat them with a cutting board conditioner to maintain their surface and prolong their lifespan. For more tips on cleaning your cookware, you can check this informative article on how to clean your Dutch oven.
Storage Tips for Leftover Rice
If you find yourself with leftover rice, dont let it go to waste! Storing cooked rice correctly can yield delicious meals later in the week. Allow the rice to cool completely before transferring it to an airtight container. You can store your cooked rice in the refrigerator for about 3-4 days. If you want to keep it longer, consider freezing your rice! Portion it into freezer-safe bags, remove excess air, and itll last for around 6 months in the freezer. Reheating rice is simple: add a bit of moisturewater or brothand cover it while warming on the stove or in the microwave to restore its fluffy texture.
Frequently Asked Questions
Readers often come with a plethora of queries regarding cooking rice in an Instapot. Here were addressing some of the most asked questions to set you on the right path! **Can I cook brown rice in my Instapot?** Absolutely! Brown rice will take longer to cook than white rice, but the Instapot is perfect for it, allowing even moisture distribution. **Why is my rice sticky?** Sticky rice typically results from not rinsing the rice before cooking, resulting in excess starch remaining on the grains. Always rinse and drain your rice before cooking to avoid this issue. **Can I cook quinoa in my Instapot?** Yes! Quinoa cooks similarly to rice in the Instapot; the water-to-quinoa ratio is generally 1:1. It cooks quickly, so keep an eye on it! **What if I forgot to soak my rice?** No worries! You dont have to soak your rice before cooking it in an Instapot. However, it may retain a bit more firm texture without soaking. If you prefer, just rinse it thoroughly before cooking.
If youre passionate about sushi dishes, you may appreciate our post on Easy Cooked Sushi Recipe. Cooking sushi rice can be an art to master, but with the right techniques and your Instapot, youll be on your way to delicious rolls in no time!
As an Amazon Associate, I earn from qualifying purchases.
——————————————————————————————————–
Disclosure: This post contains affiliate links. As an Amazon Associate I earn from qualifying purchases, but there will be no extra charges to you. Thank you for your support!