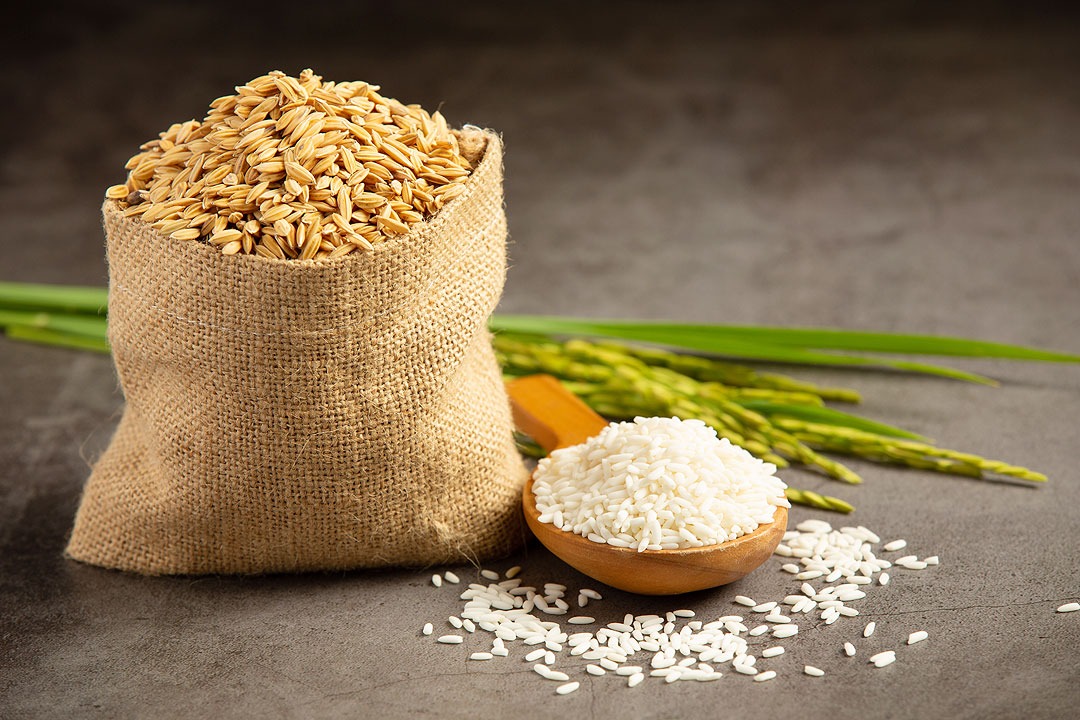
Welcome to the exciting world of brewing at home! If you’re searching for a unique beverage that will tantalize your taste buds, look no further than this rice lager recipe. This innovative recipe utilizes rice as the primary ingredient, drawing inspiration from the traditional methods used in **Japanese brewing**. Not only does this lager offer a light and refreshing taste, but it also pairs perfectly with **sushi** and other delicacies. In this comprehensive guide, we’ll delve deep into the intricacies of making your own rice lager, discussing everything from ingredients and techniques to troubleshooting tips and pairing suggestions.
Understanding Rice Lager: Origins and Characteristics
Rice lager is a fascinating beverage that showcases the versatility of rice in brewing. Originating in Japan, where rice is a staple ingredient in numerous dishes, it embodies the rich cultural heritage of the region. While many beers are brewed using malted barley, rice lager uses fermented rice, resulting in a clean, crisp flavor profile. This refreshing drink typically boasts a lighter body than traditional beers and exhibits a delicate aroma, making it an excellent accompaniment to various meals. Understanding the essence of rice lager will enhance your brewing experience and appreciation for this exquisite beverage.
Essential Ingredients for Your Rice Lager Recipe
Main Ingredients
- Rice – The star ingredient. Choose a high-quality short-grain rice for authenticity.
- Water – The quality of your water affects the flavor significantly, so opt for filtered or spring water.
- Yeast – A good option is lager yeast; look for a strain that is tolerant of low temperatures.
- Hops – Use a delicate hop variety to maintain the lager’s clean taste.
- Adjuncts – Consider using corn or additional flavoring agents to customize your brew.
The quality and freshness of your ingredients directly impact your final product’s flavor. Invest time in sourcing the best rice and hops available, as this will set the foundation for a successful brew. Home brewing novices often overlook this step, but it cannot be stressed enough that choosing high-quality ingredients will significantly elevate your rice lager.
Necessary Cookware and Tools for Brewing Rice Lager
To successfully whip up your own rice lager recipe, you will need specific tools. Below is a list of essentials that will streamline your brewing process:
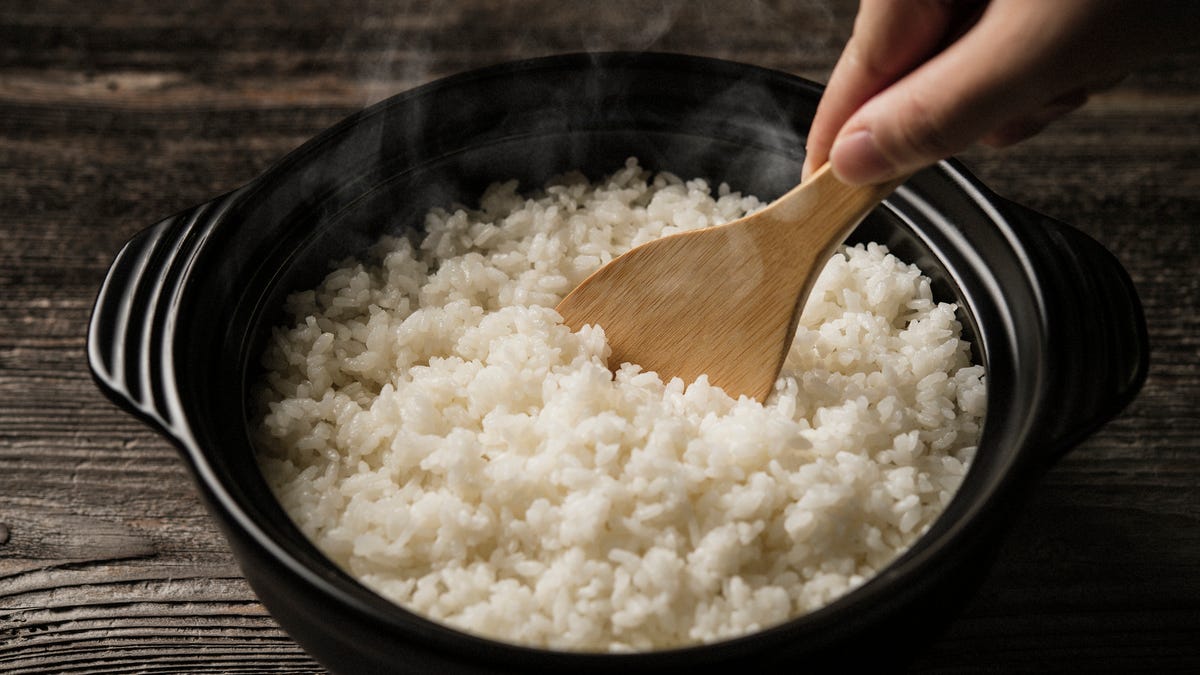
- Rice Cooker – A reliable rice cooker is essential for cooking your rice to perfection, ensuring even cooking and the right consistency.
- Sushi Knife – While not commonly used in brewing, a sharp sushi knife will be useful when preparing your ingredients.
- Cutting Board – A sturdy cutting board is necessary for prep work, particularly when you need to chop hops or adjuncts.
Having the right cookware not only makes brewing easier but also enhances the overall experience. Additionally, ensure that you maintain your tools by using a cookware cleaner and a cutting board conditioner to keep everything in top shape!
Step-by-Step Guide to Brewing Rice Lager
Now that you’ve gathered your ingredients and cookware, it’s time to get brewing! Each step is crucial for a successful fermentation process, so follow these carefully:
1. Prepare the Rice
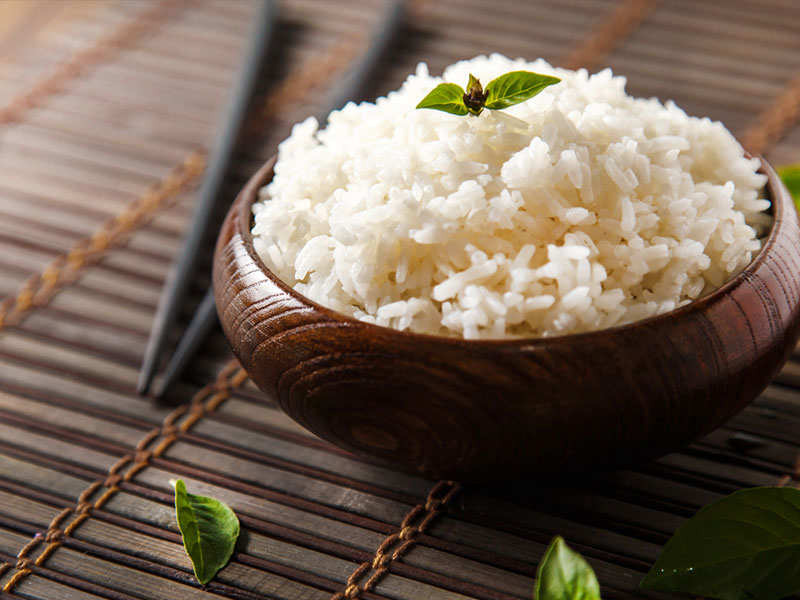
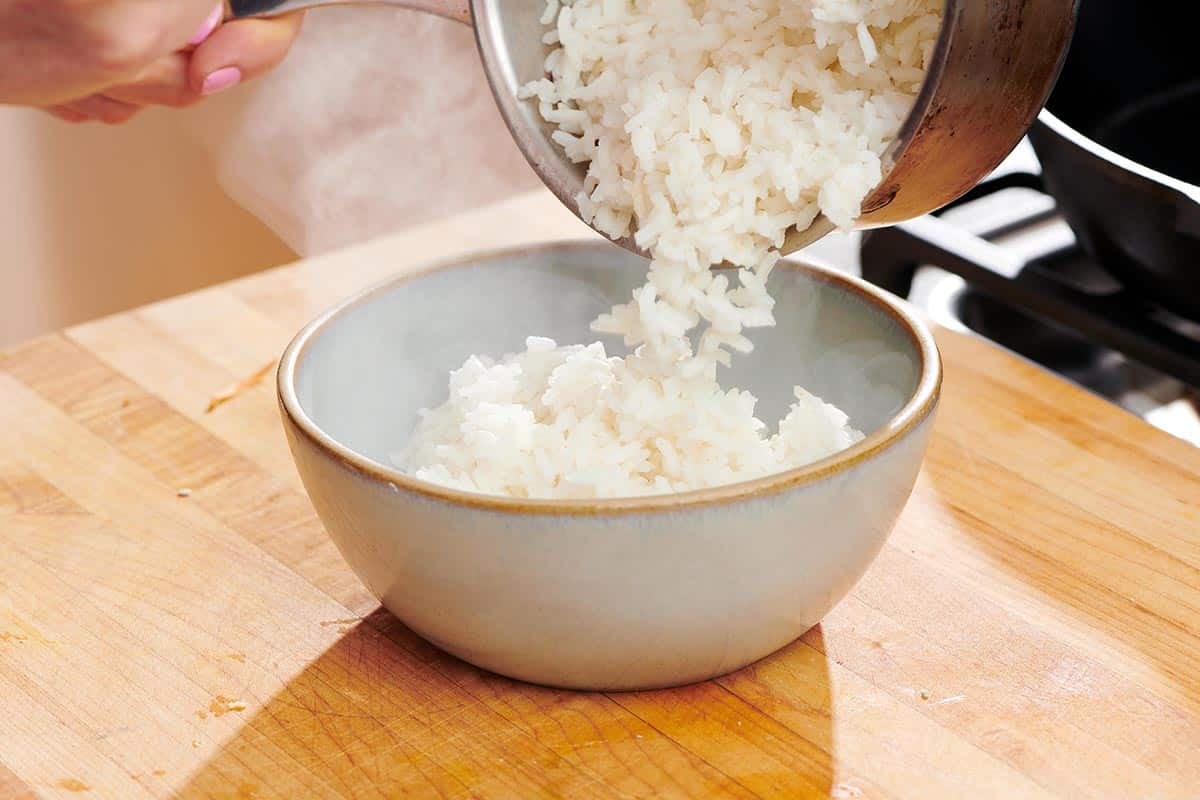
Begin by rinsing the rice thoroughly under cold water to remove excess starch. This step is vital, as a starchy rice can lead to clumping and affect the fermentation process. Once rinsed, add the rice to your rice cooker with the appropriate amount of water, typically two cups of water for every cup of rice. Cook according to your rice cooker’s instructions until the rice is fluffy and tender. This cooked rice will serve as the base for your lager, providing the sugar necessary for fermentation.
2. Cooling the Rice
Once the rice is cooked, allow it to cool to room temperature. You can spread it on a clean cutting board or baking sheet for quicker cooling. Cooling the rice is crucial because if you add hot rice to your fermentation vessel, it could kill the yeast, preventing fermentation entirely. Aim for around 70F (21C) or lower to maintain optimal yeast health.
3. Mixing Ingredients
Once your rice is at the appropriate temperature, transfer it to a fermentation vessel. Add your filtered water at a ratio of about 1:3 with the rice. Next, pitch the yeast according to the manufacturer’s instructions. If youre experimenting with hops or adjuncts, now is the time to fold those into the mixture. Make sure everything is well-mixed so the yeast can work its magic on all the sugars present.
4. Fermentation
Seal your fermentation vessel tightly to create a controlled environment for the yeast to thrive. If you have an airlock, attach it to ensure no unwanted air enters while allowing gases to escape. Store the fermentation vessel in a dark, cool place, ideally around 55F to 60F (13C to 16C) for lagers. Depending on the yeast strain, fermentation can take anywhere from one to three weeks. Regularly check for signs of fermentation, such as bubbling in the airlock. Patience is key during this stage!
5. Bottling Your Rice Lager
After fermentation is complete, carefully siphon the rice lager into clean, sterilized bottles, leaving some space at the top for carbonation. Adding a small amount of *priming sugar* at this stage can create natural CO2, giving your lager the necessary fizziness. Cap your bottles tightly and place them in a cool, dark environment for another week to allow carbonation to develop.
6. Enjoying Your Brew
After waiting for proper carbonation, it’s finally time to enjoy your homemade rice lager! Chill your bottles in the refrigerator before serving, and pour slowly into a glass to minimize foam. You should be greeted with a beautifully clear, refreshing rice lager; the perfect *pairing* for sushi, tempura, or even grilled chicken. With every sip, you’ll appreciate the effort and care that went into crafting your own beverage.
Pairing Suggestions for Your Rice Lager
The light and crisp nature of rice lager makes it a fantastic companion to various dishes. Consider these pairings for an exceptional dining experience:
- Sushi – Our rice lager pairs perfectly with sushi rolls, enhancing the flavors of fresh fish and veggies.
- Tempura – The lightness of rice lager complements the delicate crunch of tempura beautifully.
- Grilled Meats – Marinated grilled chicken or pork can balance the smoothness of your lager.
- Salads – Pair with refreshing salads that include citrus-based dressings.
These pairings not only enhance the meal but showcase the versatility of rice lager as it serves a broad range of flavors and textures.
Troubleshooting Common Issues When Brewing Rice Lager
Even for seasoned brewers, challenges may arise during the brewing process. Here are some common issues faced when creating a rice lager recipe along with troubleshooting tips to help you conquer them:
- Sour or Off Flavors – This can occur due to contamination, often from improper sanitation. Always ensure all equipment and ingredients are sanitized before use.
- Flat Lager – If your rice lager isnt carbonating, ensure that you added enough priming sugar and check for proper sealing on the bottles.
- Too Much Yeast Sediment – During bottling, careful siphoning can help minimize sediment transfer. Consider using a *secondary fermentation vessel* for even clearer results.
These issues may seem daunting, but with practice and attention to detail, you will learn to navigate them efficiently!
Final Thoughts on Brewing Rice Lager
The process behind crafting your own rice lager may seem intricate, yet with dedication and the right approach, it can be highly rewarding. By following this comprehensive rice lager recipe, you can experience the true joy of home brewing, culminating in a delightful beverage that showcases your skills. As you continue to explore various brewing techniques, remember that practice makes perfect. Embrace the journey, and dont shy away from experimenting with flavors and ingredients.
If you want to discover even more exhilarating recipes, dont forget to check out Rice Flour Bread, Easy Rice Noodles, and Italian Rice Balls to inspire your culinary adventures.
As an Amazon Associate, I earn from qualifying purchases.
——————————————————————————————————–
Disclosure: This post contains affiliate links. As an Amazon Associate I earn from qualifying purchases, but there will be no extra charges to you. Thank you for your support!

