 by
by Welcome to the ultimate guide on the ‘insta pot rice recipe’. Are you tired of struggling to make perfect rice every time you cook? Do you want to impress your friends and family with your culinary skills? This recipe is designed for everyonefrom beginners venturing into the world of cooking to seasoned chefs who are looking for efficient methods of cooking rice. Rice is a staple food in many cultures, but achieving that fluffy, perfectly cooked texture can sometimes feel like a daunting task. Fortunately, with the introduction of the Insta Pot, cooking rice has never been easier! In this detailed guide, we will walk you through the streamlined process of using an Insta Pot to achieve rice perfection.

Why Choose the Insta Pot for Rice Cooking?
The Insta Pot has gained immense popularity in kitchens worldwide due to its versatility and efficiency. This multi-functional cooker not only allows you to make rice but can also prepare soups, stews, yogurt, meats, and even desserts, all with the simple press of a button. Features such as pressure cooking, slow cooking, and sauting make it a game changer in meal prep, especially for busy individuals who still want to enjoy wholesome meals. Now, lets dive right into our fascinating insta pot rice recipe to maximize your cooking skills!
Ingredients You’ll Need
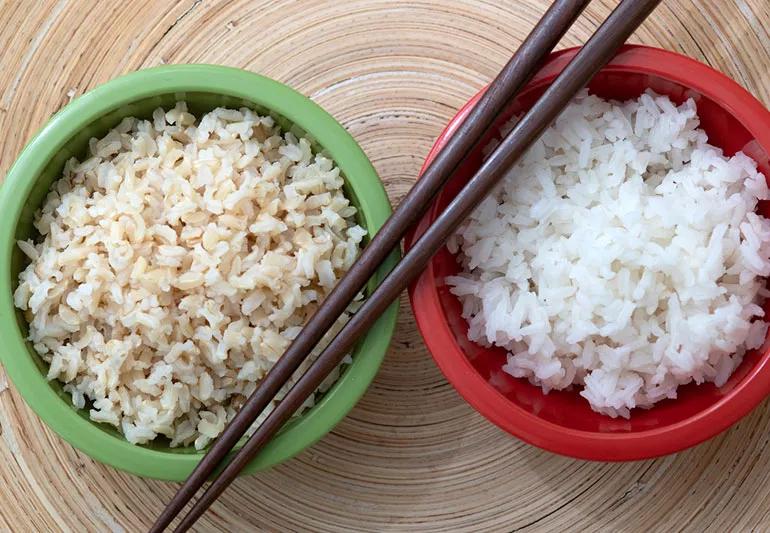
- 2 cups of rice (Basmati, Jasmine, Long Grain, or Short Grain)
- 2 cups of water (or broth for added flavor)
- 1 tablespoon of olive oil or butter
- Salt to taste
- A splash of lemon juice (optional, for added flavor)
Preparing Your Ingredients
Preparation is essential when it comes to cooking rice. The first step in our ‘insta pot rice recipe’ is to gather your ingredients and cookware. Make sure you have a reliable rice cooker, a sharp sushi knife for chopping any vegetables or aromatics that you might want to add, and a sturdy cutting board for safe food preparation. Rinse the rice under cold water in a fine mesh strainer until the water runs clear. This process removes excess starch, which can lead to overly sticky rice. Rinsing also helps remove impurities that may be present in the grain.
Setting Up the Insta Pot
Before you start cooking, its crucial to understand how to set up your Insta Pot correctly. Start by plugging in the device and making sure that the inner pot is properly seated. Add the rinsed rice, water or broth, and any flavor enhancers you desire such as olive oil, salt, or a splash of lemon juice. Each of these ingredients plays a vital role in building layers of flavor in your rice. The olive oil or butter not only adds richness but also helps prevent the rice from sticking together. Mastering the right proportions2 cups of rice to 2 cups of liquidis key to achieving fluffy, separated grains.
Cooking Your Rice
Now it’s time to initiate the cooking process! With your ingredients in place, close the lid of the Insta Pot securely. Make sure the steam valve is set to sealing and choose the ‘Rice’ function, which automatically adjusts the cooking time based on the amount of rice and liquid in the pot. Generally, the cooking time for white rice is about 12 minutes at high pressure, while brown rice will require closer to 22 minutes. Once the cooking cycle is complete, allow the Insta Pot to naturally release steam for about 10 minutes before switching the valve to venting for any remaining pressure. This process ensures that your rice is fully cooked and retains its fluffy texture.
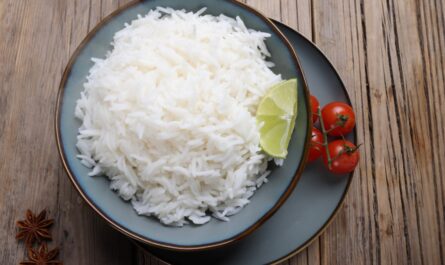
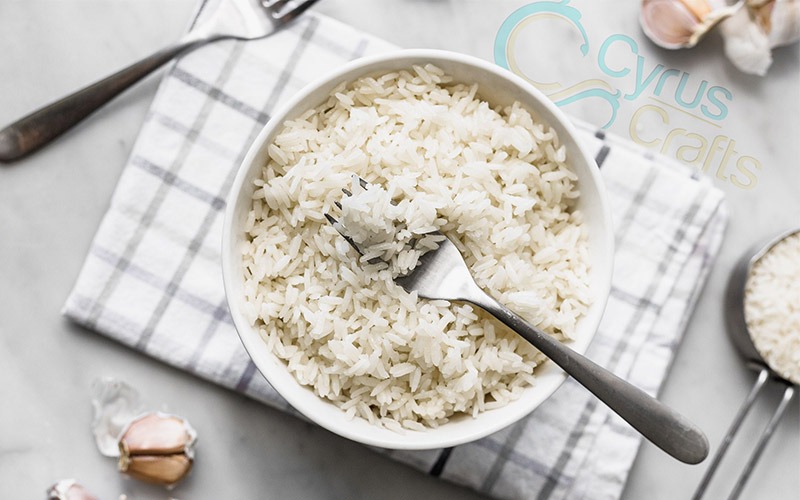
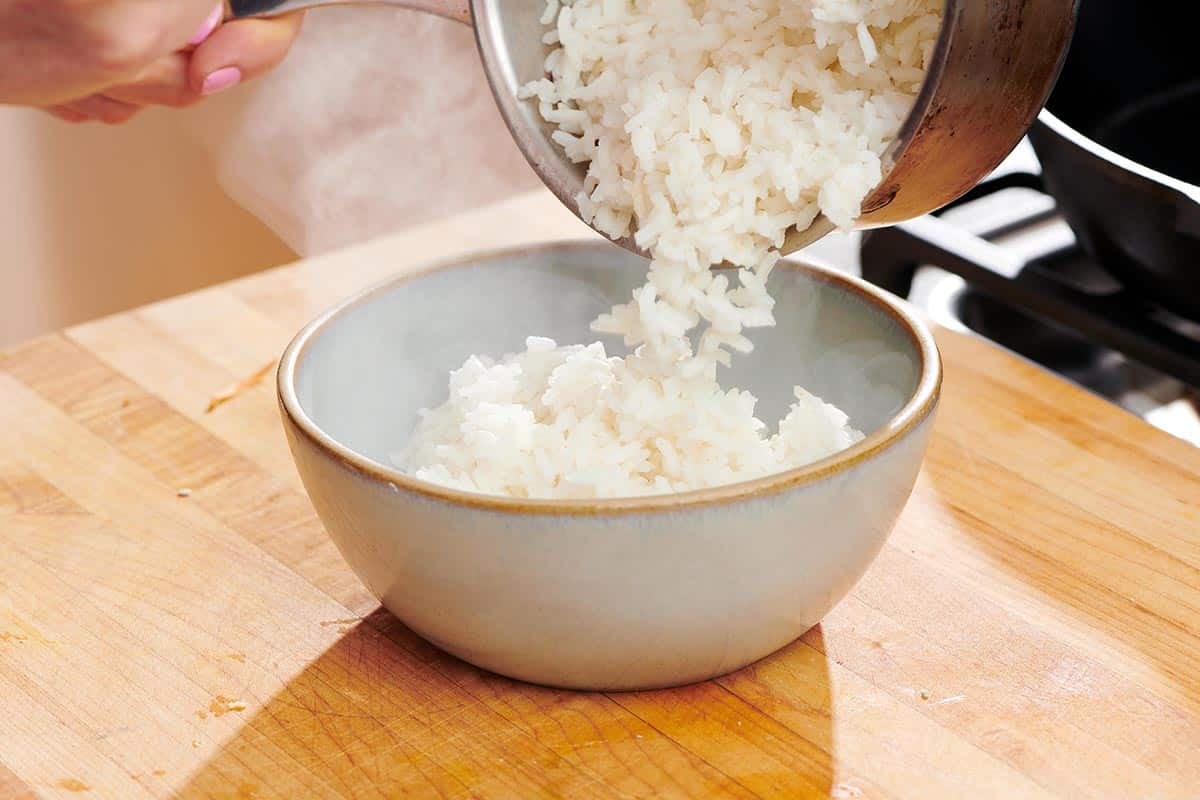
Fluffing and Serving The Rice
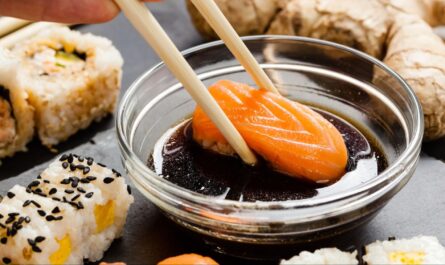
When your Insta Pot signals that its done cooking, carefully open the lid and marvel at the perfect grains of rice nestled inside. Take a fork or a rice paddle to gently fluff the rice, separating any clumps. At this stage, you can add additional seasonings or herbs based on your personal preference. Fresh chopped parsley, cilantro, or even toasted sesame seeds can elevate your rice dish further. Serving suggestions include pairing your fluffy rice with grilled vegetables, curry dishes, or as a base for delicious sushi rolls. Its versatile enough to accommodate a range of meals, fitting well into any cuisine.
Storing Leftover Rice
If you happen to have leftovers, store them in an airtight container and keep them in the refrigerator for up to four days. Rice can also be frozen, allowing you to enjoy your delicious creation at a later date. Simply portion it into freezer-safe containers and reheat as needed. Make sure to add a splash of water when reheating to prevent drying out. Leftover rice can also be transformed into an entirely new dish such as fried rice or rice pudding! The opportunities are endless when it comes to utilizing your perfectly cooked insta pot rice.
Cleaning Your Cookware
After an enjoyable meal, it’s essential to clean your cookware properly to maintain its longevity. Using a suitable cookware cleaner can make this task hassle-free. Make sure to read the instructions on the cleaner for best practices and ensure that your cookware remains in top condition. For wooden cutting boards, applying cutting board conditioner regularly will protect the wood and keep it from warping. The right care can extend the life of your kitchen essentials significantly.
Explore More Rice Recipes
Want to dive deeper into the world of rice dishes? Explore delicious options such as Red Beans and Rice, Easy Rice Noodle Recipe, and Italian Rice Balls. Each recipe is an opportunity to experiment with different flavors and preparations, transforming humble rice into a culinary masterpiece.
As you gather your ingredients and start mastering your insta pot rice recipe, remember that learning to cook is a journey. Embrace the challenges, celebrate your successes, and most importantly, enjoy the process! Your kitchen adventures have just begun, and with every meal, youre one step closer to becoming a rice aficionado!
As an Amazon Associate, I earn from qualifying purchases.
——————————————————————————————————–
Disclosure: This post contains affiliate links. As an Amazon Associate I earn from qualifying purchases, but there will be no extra charges to you. Thank you for your support!