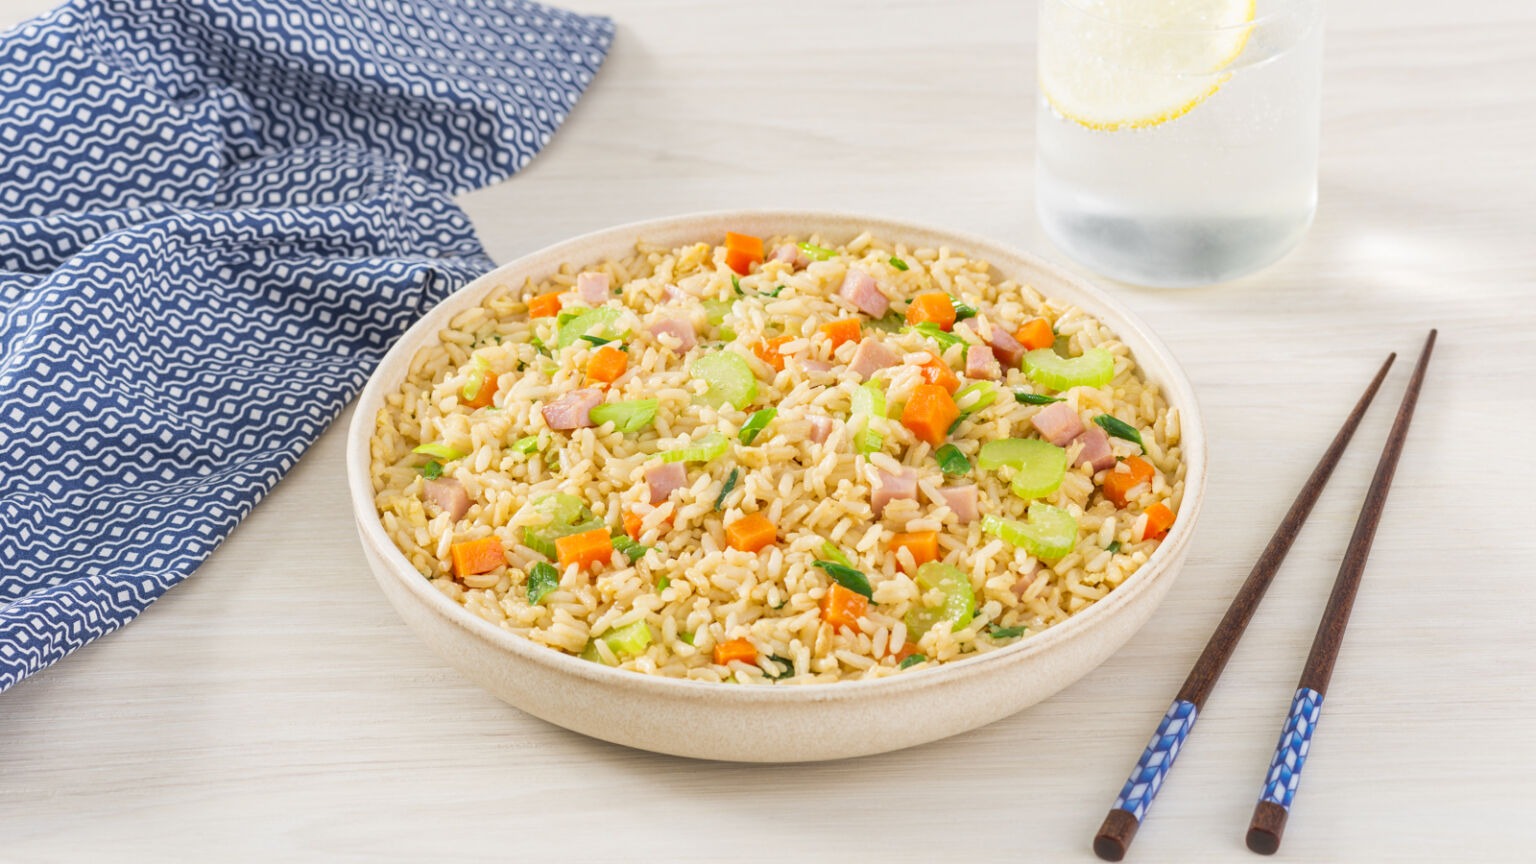
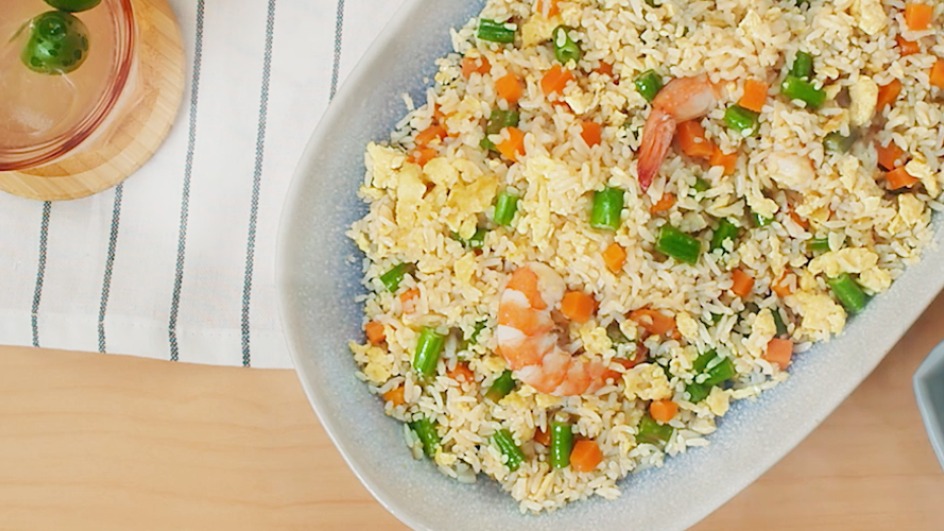
Are you ready to dive into the world of Japanese culinary delights with my delectable hibachi fried rice recipe? This amazing dish not only serves as a fantastic side but can also be a filling main course, perfect for any occasion. With its origins anchored in Japanese teppanyaki cooking, hibachi fried rice encapsulates an explosion of flavors and textures that will transport you straight to a Japanese steakhouse. Let’s embark on this culinary adventure and learn how to whip up this crowd-pleaser right in your kitchen!

What Makes Hibachi Fried Rice Special?
The magic of hibachi fried rice lies in its bold flavors, crispy texture, and the art of preparation. Traditionally cooked in a hibachi grill, small diced vegetables, and perfectly cooked rice come together with the addition of soy sauce and often a hint of sesame oil. The key ingredients create a savory, satisfying dish that can complement numerous mains or stand alone as a glorious meal. It’s the kind of dish that mesmerizes diners with both its taste and the theatrical cooking style, offering sizzling sounds and smokey aromas that tantalize the senses.
Ingredients for Hibachi Fried Rice
- 3 cups of leftover cooked rice (preferably day-old)
- 2 tablespoons vegetable oil
- 1 tablespoon sesame oil
- 1 cup chopped onions
- 1 cup mixed vegetables (carrots, peas, and corn)
- 2 eggs, beaten
- 2-3 tablespoons soy sauce (adjust to taste)
- 1 teaspoon garlic powder
- Salt and pepper to taste
- Green onions for garnish
When preparing the hibachi fried rice recipe, sourcing the right ingredients is crucial to achieving an authentic flavor. Make sure to use day-old rice; this allows the rice grains to dry a bit and helps to prevent the dish from becoming mushy. Fresh rice tends to clump together, while day-old rice separates more easily when cooking.

Essential Cookware for Cooking Hibachi Fried Rice
Every aspiring chef needs reliable tools to make the cooking process efficient and enjoyable. Heres a rundown of essential cookware that will help you achieve perfect hibachi fried rice:
- Rice Cooker – A good rice cooker helps you achieve perfectly cooked rice with minimal effort.
- Sushi Knife – An excellent knife will make chopping vegetables a breeze.
- Cutting Board – A sturdy cutting board is vital for safely chopping your vegetables.

How to Prepare Hibachi Fried Rice: Step-by-Step Instructions
Now that we have our ingredients and essential cookware ready, lets dive into the detailed preparation steps to make this incredible hibachi fried rice recipe. Follow along for a delicious journey!
1. Prep Your Ingredients
Start by organizing all your ingredients before you begin cooking. Chop the onions and mixed vegetables into uniform pieces for even cooking. Cooked rice should be clumpy but not sticky, so break up any clumps with a fork or your fingers before you start. This step is crucial in ensuring that your hibachi fried rice achieves that brilliant texture and flavor balance.
2. Heat the Cooking Surface
If you have a hibachi grill, now is the time to fire it up! Otherwise, a large skillet or wok will do just fine. Heat the vegetable oil over medium-high heat until it starts to shimmer. This indicates the oil is hot enough for cooking without burning. Proper heat is paramount to achieving a delightful sear on the ingredients.
3. Saut the Onions and Vegetables
Add the chopped onions to the hot oil and saut until they become translucent. After a couple of minutes, toss in the mixed vegetables and stir-fry for an additional 2-3 minutes. At this stage, you should begin to smell the fragrant aromas wafting from the pan, signifying that everything is coming together beautifully.
4. Create Space and Scramble the Eggs
Now, push the sauted vegetables to one side of the pan, creating space for the beaten eggs. Pour the eggs into the empty space and scramble them gently until they are just cooked through. Once the eggs are set, mix everything together in the pan, ensuring an even distribution of flavors and colors.
5. Add the Rice and Seasonings
Carefully add the prepared rice into the pan, mixing everything thoroughly. Add the garlic powder, soy sauce, and sesame oil, then season with salt and pepper to taste. The amount of soy sauce can be adjusted based on your preference; however, be mindful not to overdo it, as it could make the dish too salty. Stir-fry the mixture for another 3-4 minutes, allowing all the components to meld together while the rice gets heated.
6. Finishing Touches
Finally, garnish your hibachi fried rice with sliced green onions before serving. Their bright color and mild flavor add an uplifting touch to the dish, both visually and in taste. At this point, feel free to add any additional proteins, like shrimp or chicken, if you wish to enhance the meal further.

Tips for Perfect Hibachi Fried Rice
As you embark on your hibachi fried rice journey, remember that preparation is vital for success. Here are some helpful tips to take your cooking to the next level:
- Use leftover rice: Day-old rice works best as it is a little dry and less sticky compared to fresh rice.
- Cook over high heat: High heat gives your rice that signature hibachi-style flavor and texture.
- Experiment with proteins: Besides vegetables, feel free to add grilled chicken, shrimp, or beef to make the dish a complete meal.
- Serve immediately: For the best flavor and texture, serve your fried rice right after its cooked.
Cleanup and Maintenance of Your Cookware
After enjoying your tantalizing hibachi fried rice, it’s essential to clean your cookware properly. Tools like the cookware cleaner can help you maintain your pots and pans. Additionally, dont forget to use a cutting board conditioner to extend the life of your cutting board, ensuring it remains in tip-top shape for your next culinary adventure.
Explore More with Delicious Rice Recipes
If you enjoyed making this hibachi fried rice, you might want to try other rice recipes from our collection. Some recommended articles for your next cooking spree include:
If you want more cooking insights and tips, check out this guide to seasoning cast-iron pans that offers comprehensive care for your cookware.
As an Amazon Associate, I earn from qualifying purchases.
——————————————————————————————————–
Disclosure: This post contains affiliate links. As an Amazon Associate I earn from qualifying purchases, but there will be no extra charges to you. Thank you for your support!


