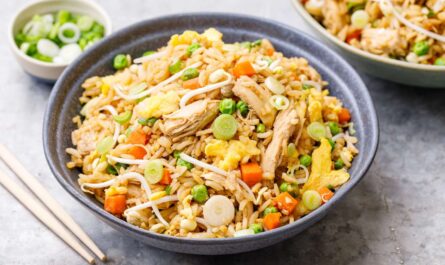
Crispy fried rice recipe is more than just a dish; its a celebration of flavors, textures, and the endless creativity of the kitchen. Imagine this: perfectly cooked rice that has been transformed into a delightful medley of crispy bits, flavorful vegetables, and protein of your choice. As we dive deep into the art of making crispy fried rice, well explore not only the ingredients and cooking methods but also share essential tips, tricks, and possible variations that make this dish a unique masterpiece every time you make it. By the end of this article, youll not only be equipped with a practical recipe but also gain insights into why and how every element contributes to making your fried rice truly crispy and satisfying.
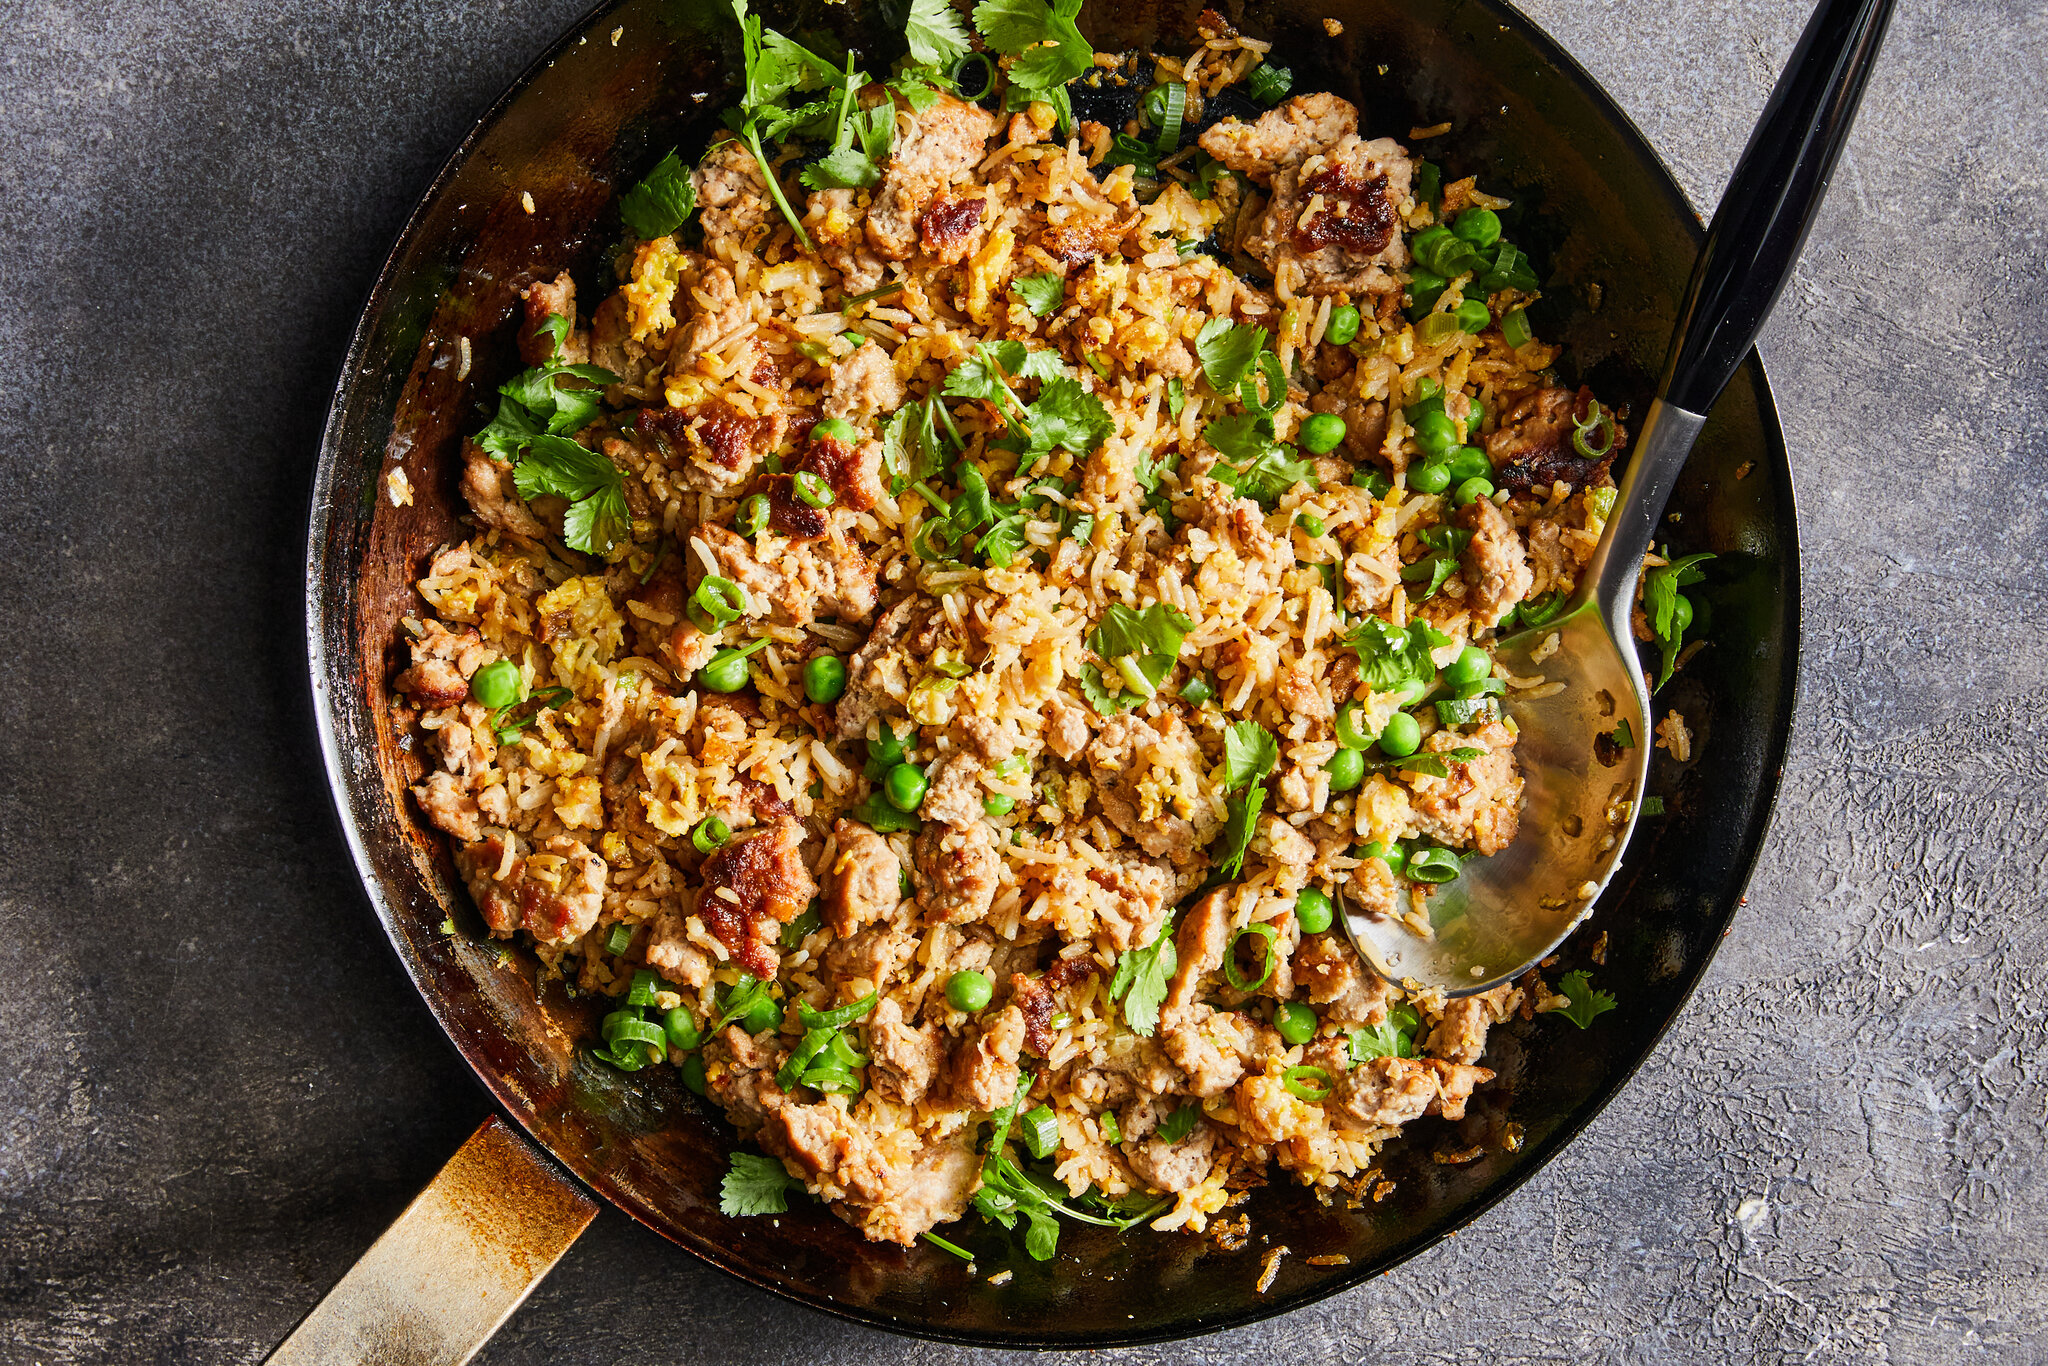
What You Need for an Irresistible Crispy Fried Rice
Ingredients:
- 3 cups of day-old rice (preferably Jasmine or Basmati)
- 1 cup of mixed vegetables (peas, carrots, and corn)
- 1/2 cup of diced protein (chicken, shrimp, or tofu)
- 2 tablespoons of soy sauce
- 1 tablespoon of sesame oil
- 3 cloves of garlic, minced
- 2 green onions, sliced
- 1 tablespoon of oyster sauce (optional)
- Salt and pepper to taste
- Oil for frying (vegetable or canola)
Essential Cookware for Making Crispy Fried Rice
To achieve the best results with your crispy fried rice recipe, having the right cookware is paramount. Heres a list of essential tools to make your cooking experience seamless:
- Rice Cooker – Perfect for cooking your rice to fluffy perfection.
- Knife – A good quality knife for chopping vegetables efficiently.
- Cutting Board – A sturdy board to prepare your ingredients.
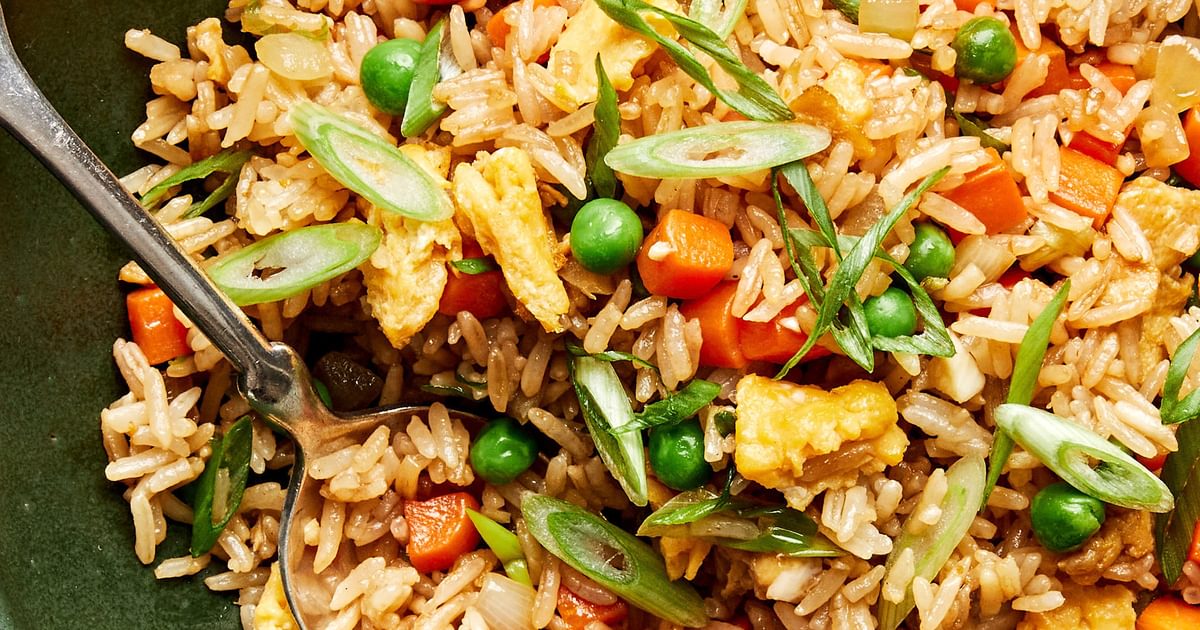
Step-by-Step Instructions to Make Crispy Fried Rice
1. Preparing the Rice
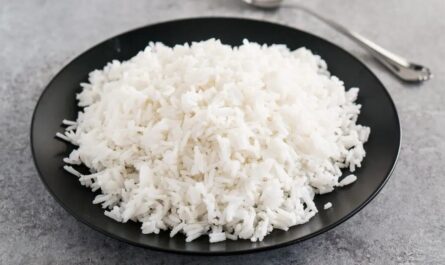
The first step in our crispy fried rice recipe is to ensure that your rice is prepared correctly. Using day-old rice is highly recommended because freshly cooked rice can be too moist and sticky, making it difficult to get that perfect crispiness. If you dont have leftover rice, you can prepare it fresh but allow it to cool on a baking sheet for about an hour. This helps reduce the moisture content.
2. Gather Your Ingredients
Before you start cooking, gather all your ingredients as this will make the cooking process smoother. You can customize your fried rice by adding vegetables like bell peppers, broccoli, or snap peas, and your choice of protein like chicken, shrimp, or even a vegan alternative such as tofu. Making this dish versatile is part of the fun!
3. Heat the Pan
Using a large skillet or a wok, heat up about 2 tablespoons of oil over high heat. Its crucial to ensure that your pan is hot enough; this will help in creating that delicious crispy texture. Cast iron or non-stick pans work wonderfully for this recipe.
4. Saut the Aromatics
Once your pan is hot, add the minced garlic and saut for about 30 seconds, just until fragrant. This adds rich flavor to your fried rice. Be cautious not to burn the garlic; it can turn bitter and affect the overall taste.
5. Add the Vegetables and Protein
At this point, add your diced protein and vegetables, stirring frequently. Cook until the protein is cooked through and the vegetables are tender yet still vibrant in color. This usually takes about 3-4 minutes.
6. Incorporate the Rice
Now, its time to add the day-old rice. Break up any clumps of rice gently using your spatula. Spread the rice out in the pan and let it fry undisturbed for about 2 minutes. This helps to create that crispy texture on the bottom. After that, stir and repeat for another couple of minutes.
7. Season the Rice
As the rice sizzles in the pan, its time to add your sauces. Drizzle in the soy sauce and sesame oil, and if youre using oyster sauce, add that too. Stir to combine all the flavors evenly throughout the rice.
8. The Final Crisp
For the ultimate crunch factor, add a little more oil if necessary and continue to cook on high heat. Every now and then, let the rice sit without stirring for about 1-2 minutes. This will allow some of the rice to get golden brown and crispy, ensuring a delightful bite every time.
9. Garnish and Serve
Final touches: sprinkle the sliced green onions on top and season with salt and pepper to taste. Serve your crispy fried rice hot, and watch as your friends and family rave about your culinary skills.
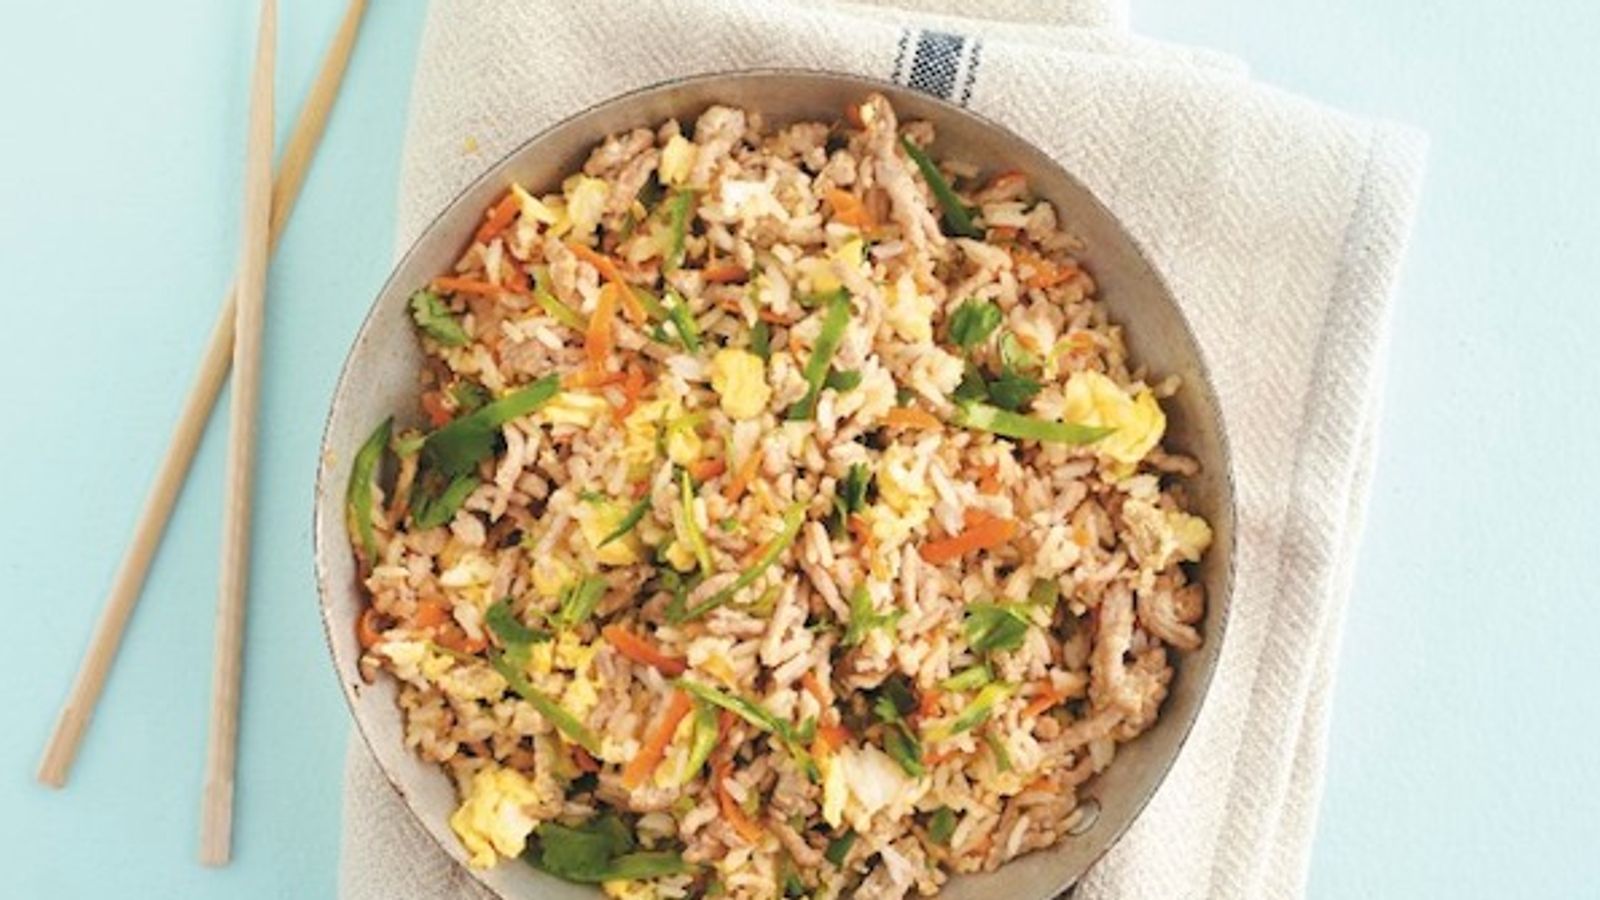
Variations to the Classic Fried Rice
Once you master the basic crispy fried rice recipe, feel free to experiment with various ingredients. Some variations could include:
- Kimchi Fried Rice: Add cooked kimchi and gochujang for a spicy kick.
- Seafood Fried Rice: Incorporate shrimp, scallops, and squid for a delectable seafood twist.
- Vegan Fried Rice: Replace any meat with tofu and add additional veggies such as bell peppers and baby corn.
- Thai Fried Rice: Use Thai flavors like lime juice and fresh herbs for a refreshing take.
Cleaning Your Cookware
Once the magical dining experience is over and its time to clean up, using the right cleaners is essential. For your cookware, make sure you have a good quality cookware cleaner on hand to keep your pans in pristine condition. Don’t forget to use a cutting board conditioner for your cutting board to ensure it stays sanitized and bacteria-free.
Conclusion
Creating the perfect crispy fried rice is an art that anyone can master with a little practice. From understanding the essential ingredients to utilizing the proper techniques and cooking tools, your endeavor in the kitchen promises to yield a delightful dish that is not only satisfying but also highly customizable. As weve explored, you can play around with various ingredients and find the combination that works just for you. So gather your ingredients and start cooking. This crispy fried rice recipe awaits you, ready to become a beloved staple in your kitchen!
As an Amazon Associate, I earn from qualifying purchases.
For further insights into rice cooking techniques, dont miss out on articles like the Rice Loopholes Recipe or the Insta Pot Rice Recipe. You will surely find incredible tips and variations that will elevate your rice dishes to the next level.
For more tips on frying techniques, check out this helpful resource from Bon Apptit: How to Use a Cast Iron Skillet.
——————————————————————————————————–
Disclosure: This post contains affiliate links. As an Amazon Associate I earn from qualifying purchases, but there will be no extra charges to you. Thank you for your support!

