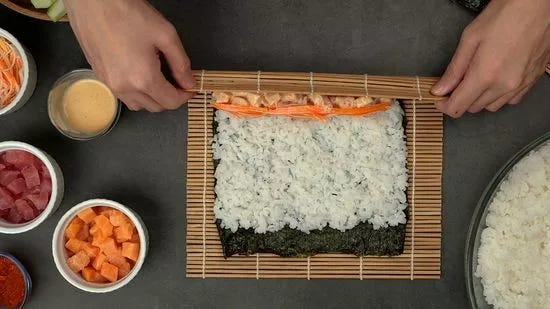
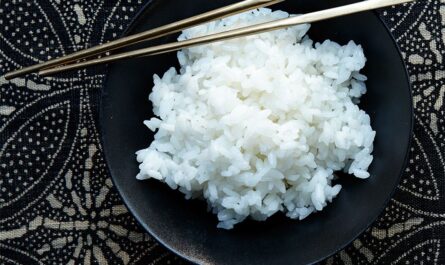
Creating authentic sushi rice is an art that bridges the gap between raw ingredients and the exquisite experience of savoring sushi. In this comprehensive guide, we will delve deep into the steps necessary to perfect an authentic sushi rice recipe, ensuring that you achieve the same quality as a top-notch sushi restaurant right in your kitchen. This journey begins by understanding the ingredients and techniques required to make impeccable sushi rice.
Ingredients Necessary for Authentic Sushi Rice
- 2 cups of sushi rice
- 2 cups of water
- cup of rice vinegar
- cup of sugar
- 1 teaspoon of salt
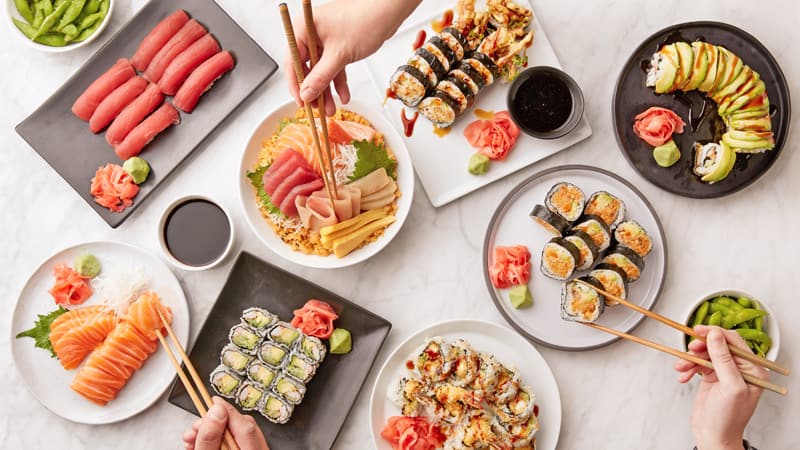
Essential Equipment to Prepare Sushi Rice
While you can technically prepare sushi rice with basic kitchen tools, using specialized equipment can make the process smoother and more authentic:
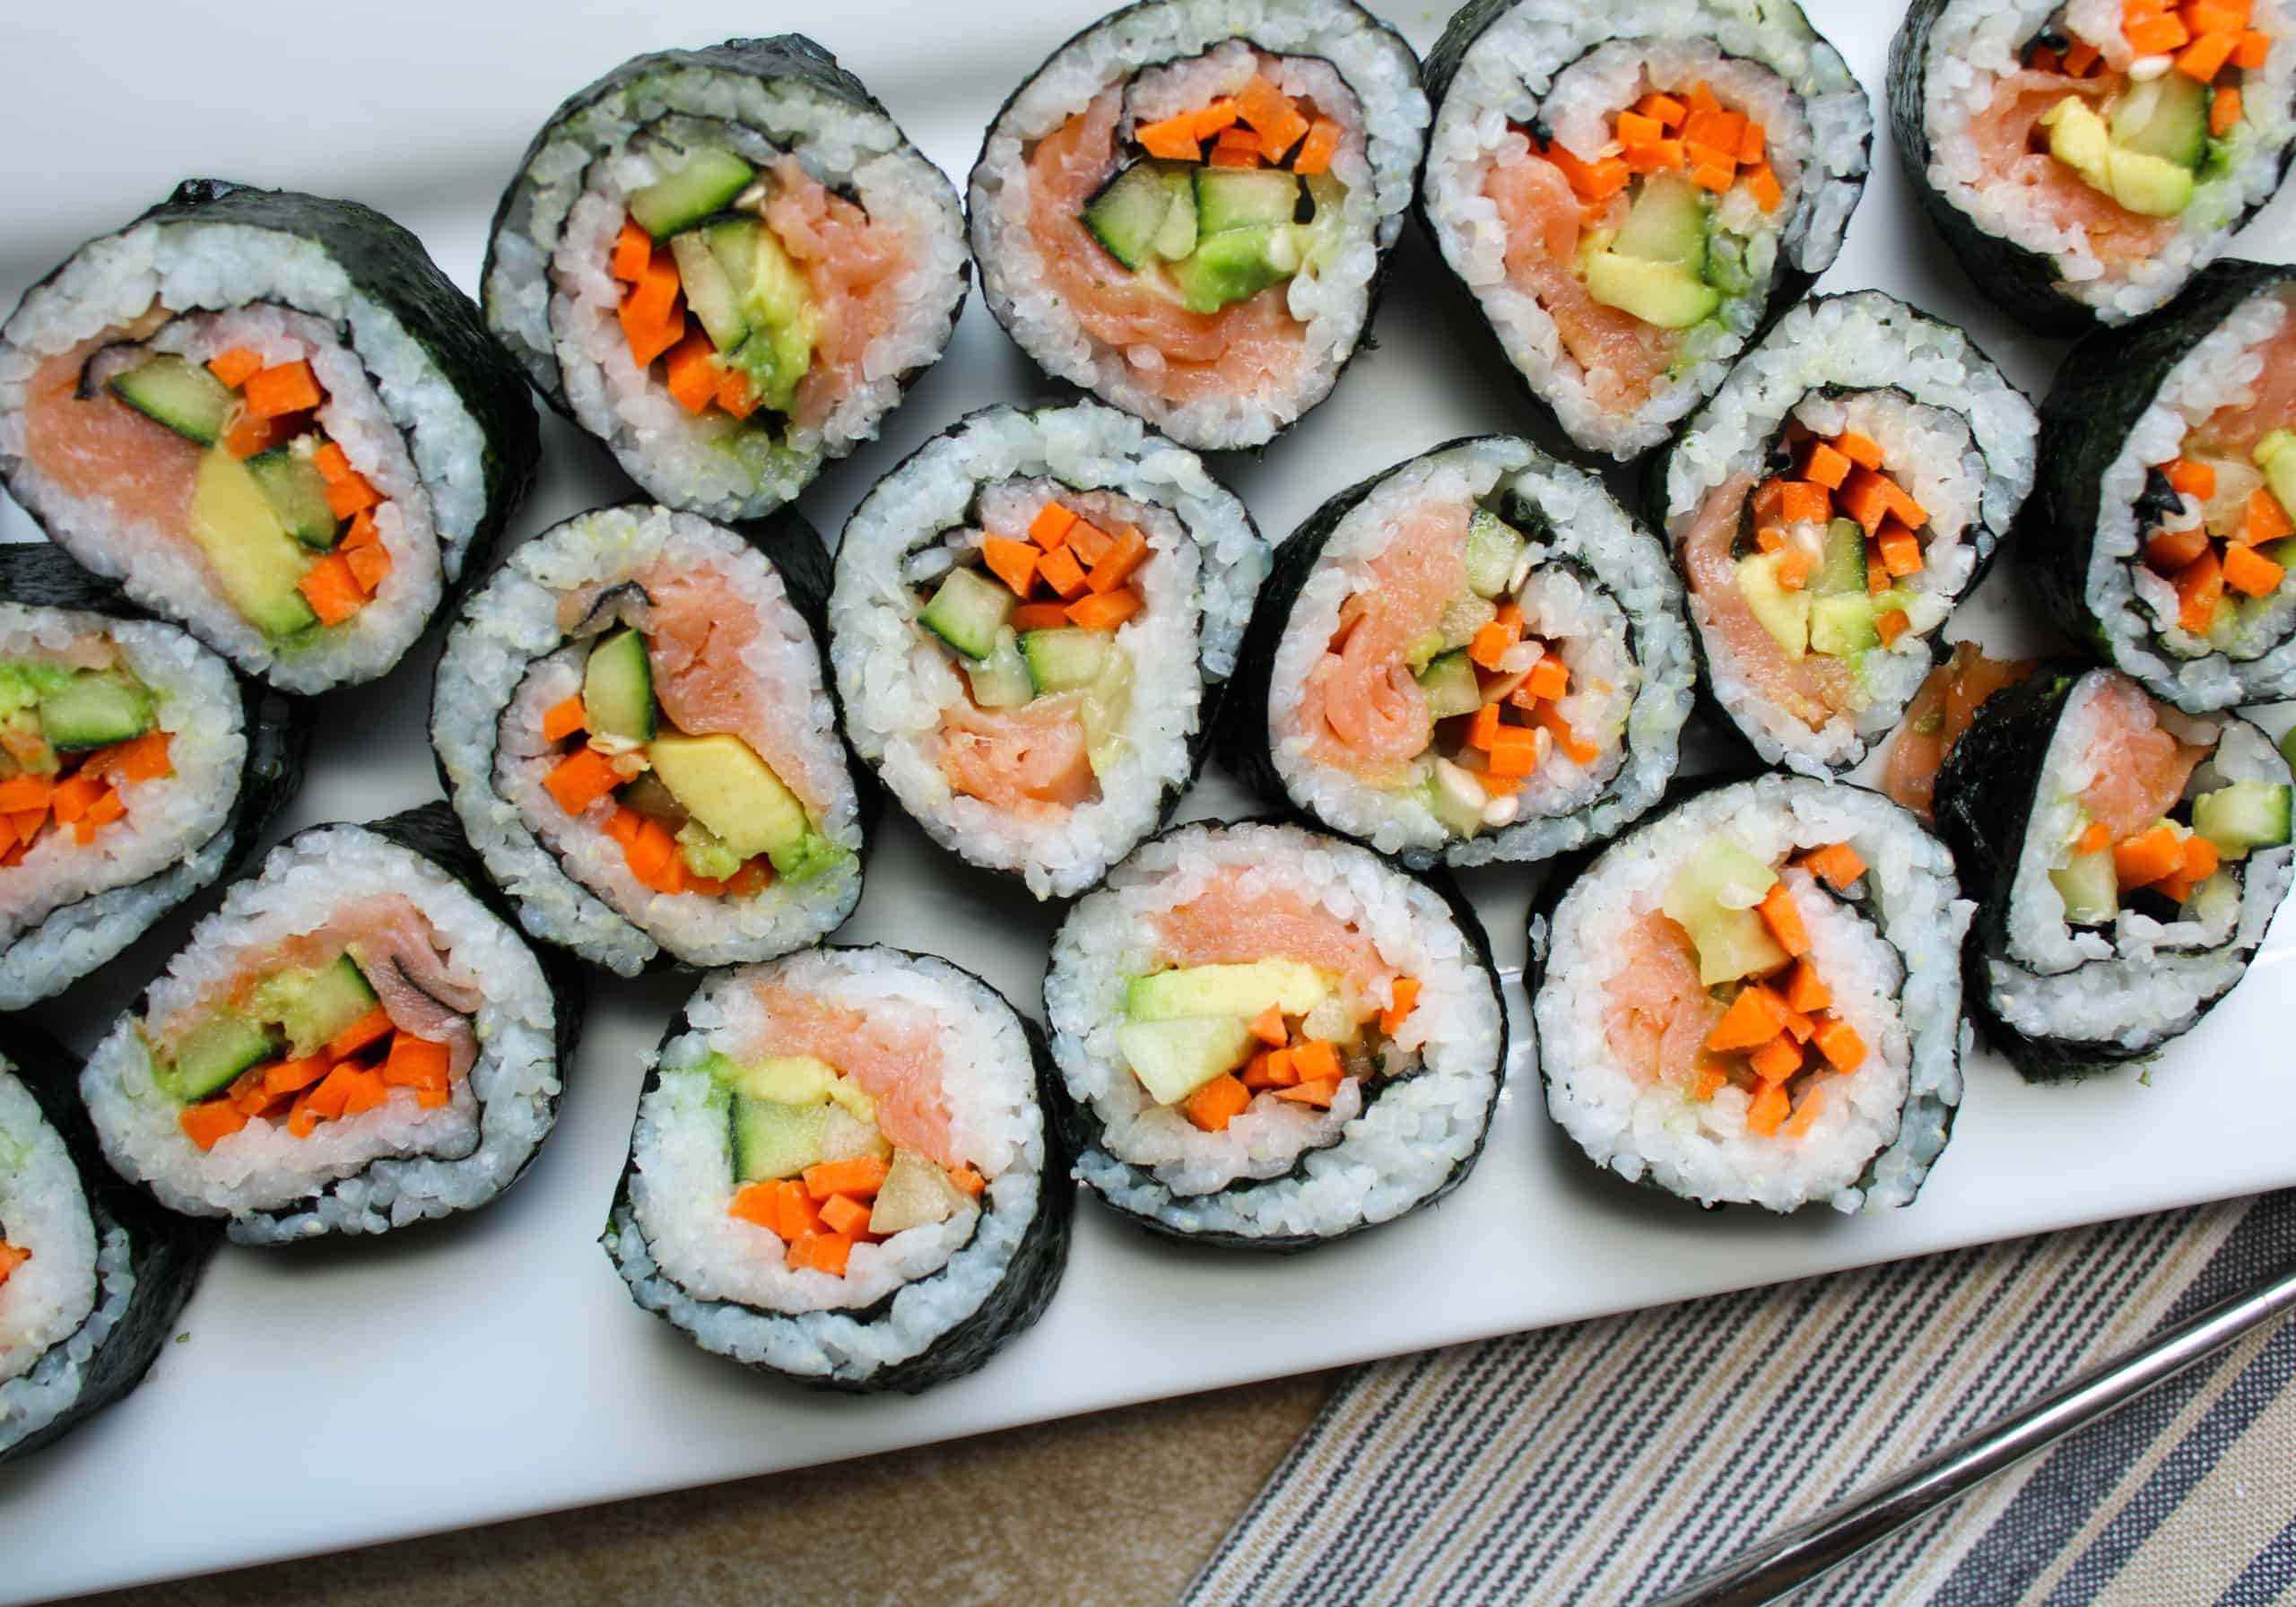
Preparation Steps
Step 1: Rinsing the Rice
The first and most crucial step is rinsing the rice to remove excess starch. Place the 2 cups of sushi rice in a strainer and rinse under cold water until the water runs clear.
Step 2: Soaking the Rice
After rinsing, soak the rice in 2 cups of water for about 30 minutes. This soaking process allows the rice to absorb water evenly, resulting in a more even texture upon cooking.
Step 3: Cooking the Rice
Transfer the soaked rice and water to a rice cooker and initiate the cooking process. Using a rice cooker ensures an even cook and is highly recommended for achieving the best results.
Step 4: Seasoning the Rice
While the rice is cooking, combine cup of rice vinegar, cup of sugar, and 1 teaspoon of salt in a small saucepan over low heat. Stir until the sugar and salt are completely dissolved. Do not let the mixture boil. Allow it to cool to room temperature.
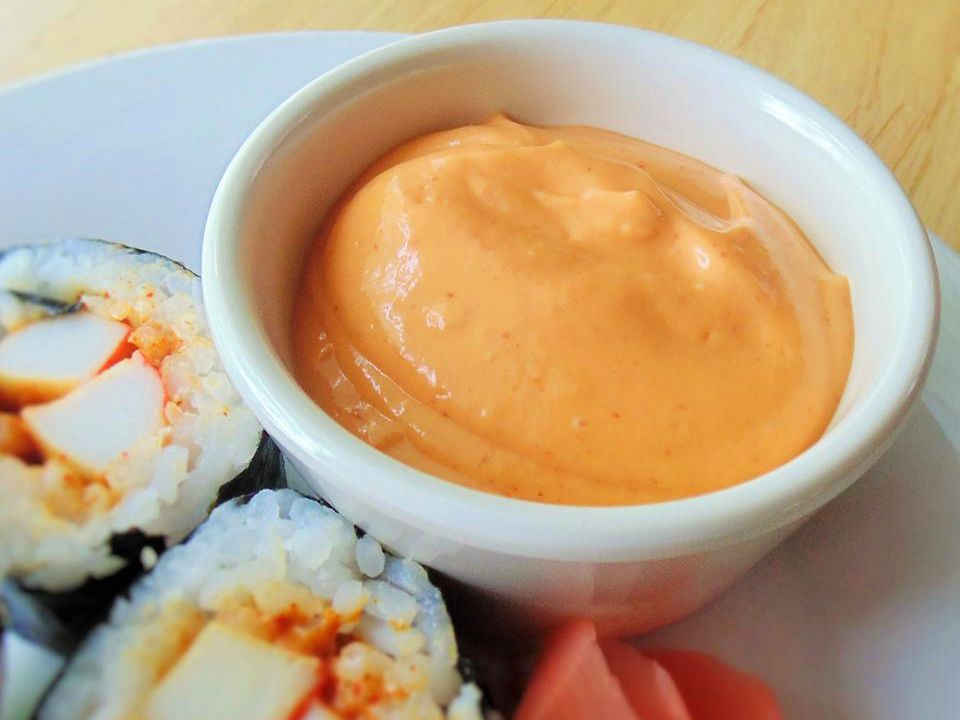
Combining the Rice and Seasoning
Once the rice is cooked, transfer it to a large cutting board or sushi rice tub, preferably made of wood or a non-reactive material to avoid altering the rice’s flavor. Gradually add the vinegar mixture to the rice while gently mixing using a sushi knife. Be careful not to mash the rice; the goal is to separate the grains and evenly coat them with the seasoning.
Cooling the Rice
As you mix, use a paper fan or anything similar to help the rice cool down more quickly. This process not only cools the rice but also gives it a nice, glossy appearance. The rice should be sticky but not mushy, each grain retaining its shape.
Making Sushi
With your perfect sushi rice ready, you can now move on to making various types of sushi such as Nigiri, Maki, and Temaki. The beauty of sushi is its versatility. You can use a sushi making kit to create perfectly rolled sushi. Check out these recipes: Volcano Roll, Deep-Fried Sushi, Lobster Roll.
Serving Your Sushi
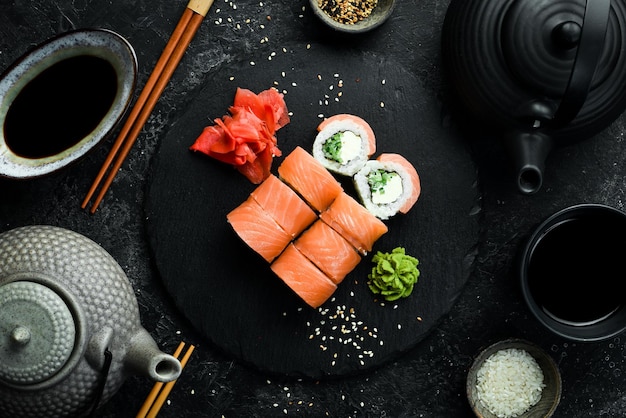
When it comes to serving sushi, presentation is key. Arrange your sushi pieces on a clean plate or sushi platter. Garnish with pickled ginger, wasabi, and soy sauce. The aesthetic of your presentation can elevate the dining experience, making it as enjoyable visually as it is to the palate.
Cooking Tip
Always make sure your knives are sharp when cutting the sushi rolls. A sushi knife made specifically for this purpose can provide cleaner cuts, maintaining the integrity of both the filling and the sushi rice structure.
Clean-Up and Maintenance
After enjoying your delicious sushi, its crucial to clean your cookware properly to maintain their longevity and performance. For instance, you can use a cookware cleaner to remove tough residue from your rice cooker and knives. Additionally, applying cutting board oil will help keep your cutting board in top condition.
As an Amazon Associate, I earn from qualifying purchases.
Further Learning
For more detailed instructions and fascinating reading on sushi traditions, check out this guide on cast iron recipes. This resource provides insights into making traditional recipes more effectively, which can further enhance your sushi-making skills.
Enjoy this journey of creating authentic sushi rice and leveling up your culinary skills. Remember, the key to mastering sushi rice lies in patience, practice, and the right ingredients and equipment. Happy cooking!

