Welcome, fellow food lovers! Today, we are diving deep into a delicious, aromatic world with our **burnt garlic fried rice recipe** that is sure to tantalize your taste buds and become a staple in your culinary repertoire. The essence of this dish lies not just in its heartwarming flavor but also in its inspiration and anticipation for what comes next on your dinner table.

What is Burnt Garlic Fried Rice?
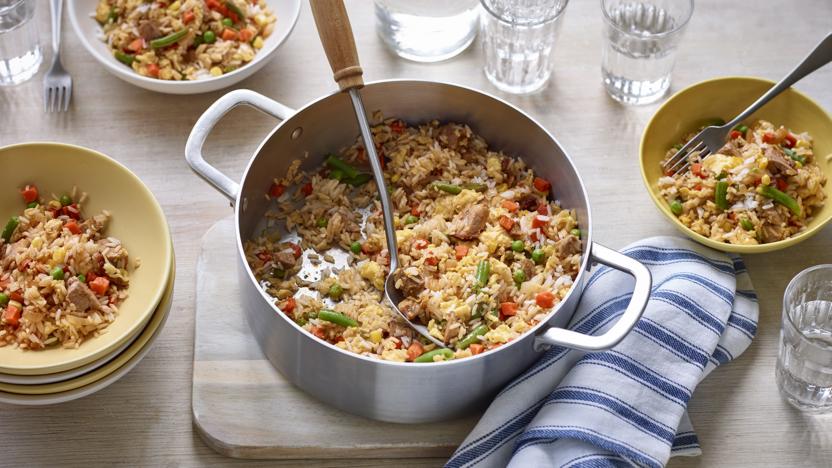
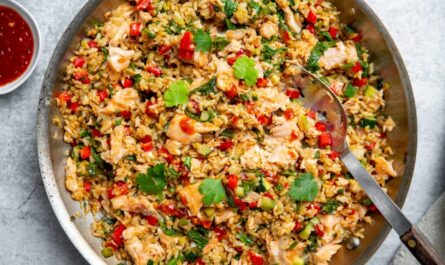
**Burnt garlic fried rice** is a delightful and simple dish that highlights the beauty of fried rice while introducing an irresistible nutty taste and fragrance, courtesy of the garlic. This dish is a great way to use leftover rice, transforming it into an exciting meal option. The burnt garlic packs a punch with its smoky flavor, enticing your senses the moment it hits the skillet. The crispy, golden bits of garlic sprinkled throughout the rice create an incredible contrast with the soft, tender grains, making every bite an adventure.
Why You Should Make This Recipe
Beyond taste, making your own burnt garlic fried rice allows you to control the ingredients and customize the dish according to your preferences. This recipe caters to everyonebe it a busy family looking for a quick meal or a single person searching for an easy way to impress friends or simply satisfy cravings. Plus, it’s incredibly versatile: you can add vegetables, proteins, or even go vegetarian with just a twist of seasoning. Simply put, the possibilities are endless!
Ingredients You Will Need
Essential Ingredients:
- 2 cups of leftover cooked rice (preferably day-old)
- 6-8 cloves of garlic, finely chopped
- 2 tablespoons of vegetable oil (or any oil of your choice)
- Salt, to taste
- Freshly ground black pepper, to taste
- 2-3 green onions, chopped (for garnish)
- Optional: soy sauce or chili sauce for added flavor
Cookware You Will Need:
- Rice Cooker – Helps in preparing perfect rice every time
- Knife – A sharp knife ensures a clean chop for your garlic and green onions
- Cutting Board – Choose a suitable cutting board that suits your style
How to Make Burnt Garlic Fried Rice
Now, lets get down to the cooking part! Follow these simple yet effective steps to master your own burnt garlic fried rice. Its vital that you have all your ingredients prepped and ready before you start, as this will keep the cooking process smooth and enjoyable.
Step-by-Step Instructions:
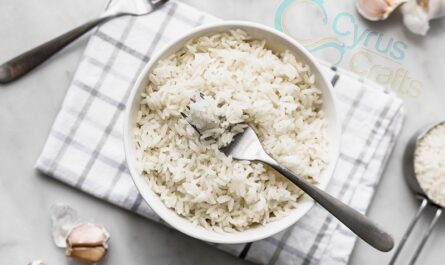
Step 1: Prepare the Rice – Ensure your leftover rice is cool and separated. If youre using freshly cooked rice, spread it out on a tray to allow it to cool entirely before proceeding to the next step. Cooling prevents the grains from sticking together, which is crucial for achieving that perfect fried rice texture.
Step 2: Garlic Preparation – Finely chop your garlic. The key to glory in this dish lies in the burnt garlic. You want it crushed, but not overly minced that it turns into a paste.
Step 3: Heat the Oil – In a wok or heavy skillet, add vegetable oil and let it heat over medium heat. When the oil is hot, introduce the chopped garlic. Keep an eye on it; you want to fry the garlic just until its golden, creating an enchanting aroma.
Step 4: Frying the Rice – Once the garlic is beautifully browned, add in the cooked rice while stirring to combine. This is where the magic happens as the rice absorbs those garlicky flavors. Stir continuously to ensure even cooking, taking care not to let any garlic bits burn too much.
Step 5: Seasoning – Add salt and freshly ground black pepper to taste. At this stage, if you would like to enhance the flavor even further, this is the time to drizzle in a little soy sauce for a savory touch or chili sauce for a kick.
Step 6: Final Touches – Stir everything together, allowing the rice to fry for a few more moments until heated through. Once done, garnish with freshly chopped green onions and serve immediately!
Tips and Tricks for Perfect Burnt Garlic Fried Rice
Here are some helpful tips to ensure your **burnt garlic fried rice** turns out beautifully every time:
- Day-Old Rice Works Best: The texture of day-old rice is firm, preventing clumping during frying. If you dont have day-old rice, spread freshly made rice on a sheet tray to cool and dry out.
- Maintain High Heat: Keeping the cooking temperature high will help in achieving that ‘burnt’ garlic without overcooking your rice.
- Customize to Your Liking: Feel free to add any vegetables like peas, carrots, or bell peppers, or protein such as chicken, shrimp, or tofuto make it a meal.
- Use a Wok for Even Cooking: A wok is the best choice for frying rice as it allows for excellent heat distribution, which means perfectly cooked rice.
How to Serve Burnt Garlic Fried Rice
Your **burnt garlic fried rice** can be served as a main dish or a side dish. It pairs beautifully with a variety of proteins, making it versatile for different dining experiences. You can serve it alongside grilled meats, stir-fried vegetables, or even with a soft-boiled egg on top for a heartier option. Enjoy it on its own or get creative with your plating. Either way, your taste buds will sing with delight!
Cleanup After Cooking
After indulging in this sumptuous meal, the cleanup phase shouldnt be neglected. Its vital to ensure that your cookware remains in pristine condition. You can easily find a suitable cookware cleaner and cutting board conditioner to keep everything looking new for your future culinary adventures.
As an Amazon Associate, I earn from qualifying purchases.
Conclusion
In conclusion, the **burnt garlic fried rice recipe** not only delivers an explosion of flavor but also stands as an emblem of how simple ingredients can come together to create something truly remarkable. You can tailor this dish to fit your dietary preferences or experiment with various ingredients on hand. Whichever path you take, I encourage you to embrace the fun in experimentation and enjoy the process as you create a comforting meal that fills you up and warms your soul.
For more delicious recipes similar to this, explore our tutorial on steak and shrimp fried rice, or dive into Gordon Ramsays fried rice recipe to spice up your cooking repertoire. Happy cooking!


