 by
by From the attractively arranged platter to the scrumptious taste, the Easy California Roll Sushi Recipe has become a beloved favorite for sushi enthusiasts and novices alike. There’s a reason why people are drawn to this delectable treat when they think of sushi. Not only is it delicious, but it’s also surprisingly simple to make at home. In this article, we’ll delve into the origins, benefits, and most of all, the step-by-step process to perfecting your very own California Roll Sushi.
The Origins of the California Roll
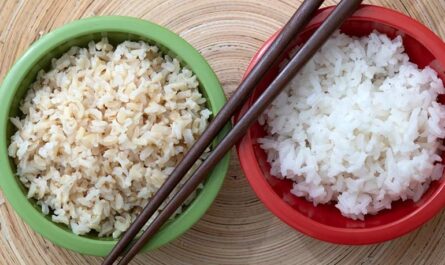
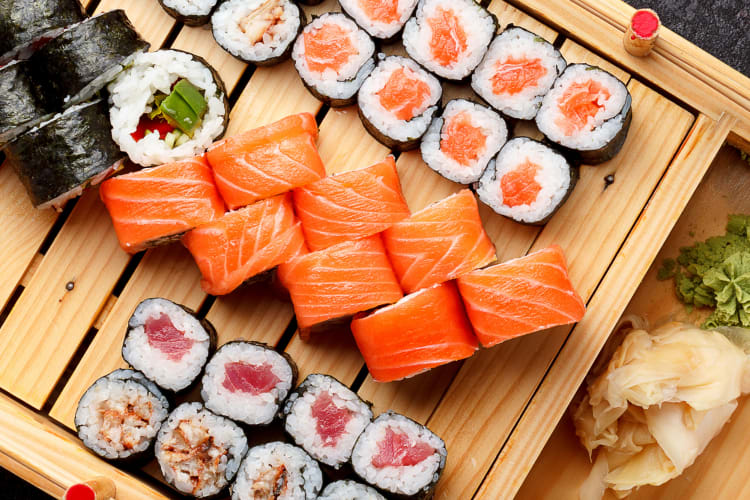
The California Roll is an iconic American sushi creation. Unlike traditional Japanese sushi, which commonly uses raw fish, the California Roll combines flavors that were more familiar to western palates. The roll is typically made with crab stick, avocado, cucumber, and seasoned rice, wrapped with seaweed (nori), and often sprinkled with sesame seeds or fish roe.
Why Make California Roll Sushi at Home?
Preparing the Easy California Roll Sushi Recipe at home can be an incredibly rewarding experience. Not only does it give you full control over the ingredients and their quality, but it also provides a fun, culinary journey. You’ll quickly find that once you get the hang of the basics, making sushi can become a relaxing and enjoyable activity. If you’re looking to entertain, impress, or simply treat yourself to some delicious homemade sushi, the California Roll is a fantastic place to start.
Key Ingredients and Tools
Before we dive into the making of the Easy California Roll Sushi Recipe, let’s first gather all the essential ingredients and tools you’ll need:
Ingredients
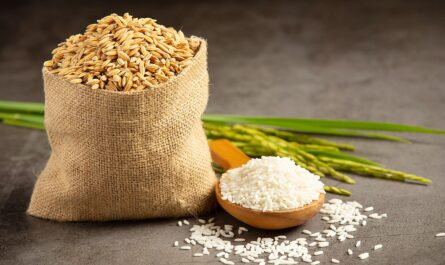
- 2 cups sushi rice
- 1/4 cup rice vinegar
- 2 tbsp sugar
- 1 tsp salt
- 4 sheets nori (seaweed)
- 1 avocado, thinly sliced
- 1 cucumber, julienned
- 8 crab sticks
- 2 tbsp sesame seeds
Tools
Step-by-Step Guide to Making the Easy California Roll Sushi Recipe
Rinse and Cook the Sushi Rice
The foundation of any sushi roll is the rice. For your Easy California Roll Sushi Recipe, you’ll want to start by thoroughly rinsing 2 cups of sushi rice in a strainer until the water runs clear. This helps remove excess starch. Cook the rinsed rice in a rice cooker according to the manufacturer’s instructions.
Season the Rice
Once the rice is cooked, transfer it to a wooden or plastic container (avoiding metal containers, as they can react with the vinegar). In a small saucepan, combine 1/4 cup of rice vinegar, 2 tbsp sugar, and 1 tsp salt. Heat the mixture until the sugar and salt are dissolved, then pour it over the rice. Gently fold the rice to coat it with the vinegar mixture, being careful not to mash the grains. Allow the rice to cool to room temperature.
Prepare the Ingredients
While the rice is cooling, prepare the fillings. Slice the avocado and cucumber into thin strips. If you’re using crab sticks, cut them to the same length as the nori sheets. Having all ingredients prepped and ready will make the rolling process smoother.
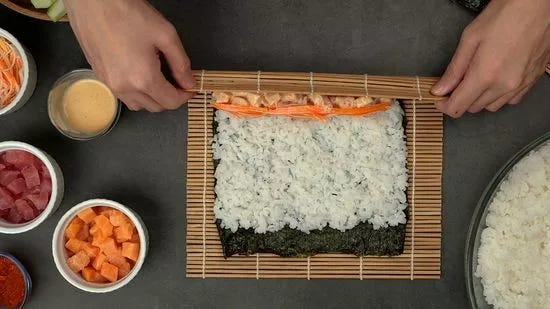
Assemble the California Roll
Place a sheet of nori on a bamboo sushi mat, shiny side down. With wet hands, spread a thin layer of seasoned rice over the nori, leaving a 1-inch border at the top. Sprinkle sesame seeds over the rice. Carefully flip the nori so the rice side is facing down. Arrange the avocado, cucumber, and crab sticks along the edge nearest you. Using the bamboo mat, begin rolling the sushi away from you, pressing gently but firmly to form a tight roll. Keep rolling until you reach the nori border. Moisten the edge with a bit of water to seal the roll.
Pro Tips for Perfect Sushi Rolls
Don’t be discouraged if your first few rolls aren’t perfect. Sushi making requires practice and patience. Here are a few expert tips to help you out:
- Keep a bowl of water nearby to keep your hands wet while handling the rice. This prevents the rice from sticking to your hands.
- To achieve even slices, use a sushi knife moistened with water before each cut.
- If you want to get creative, feel free to experiment with additional fillings like mango, cream cheese, or different types of fish.
Serving and Enjoying Your California Roll
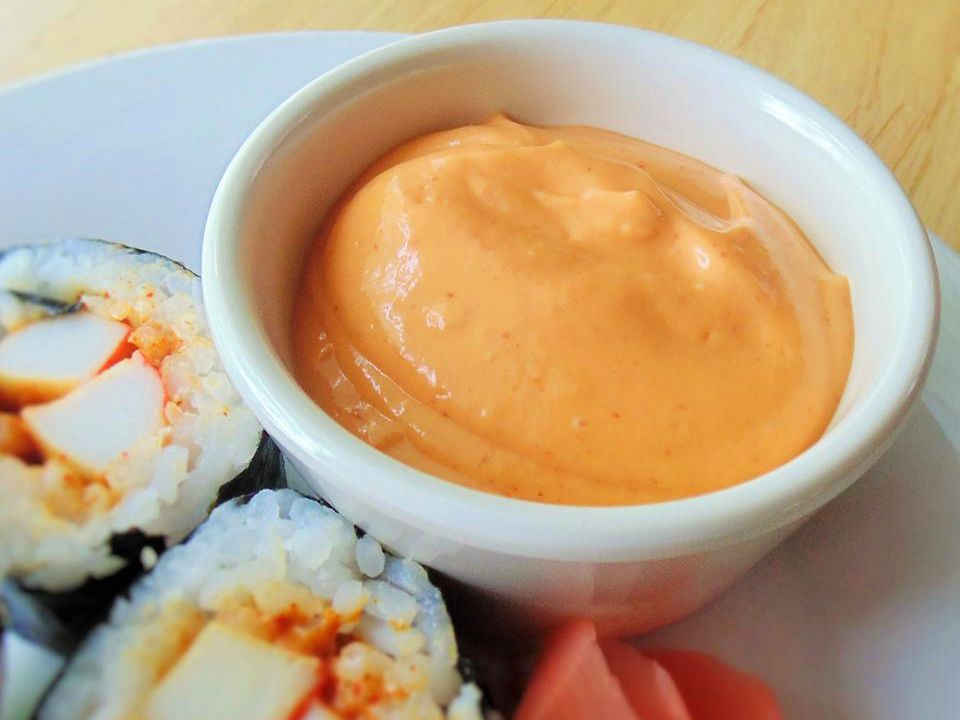
Once you have your sushi rolls ready, it’s time to cut and serve them. Using a moist sushi knife, cut each roll into 6-8 pieces. Arrange the slices attractively on a plate garnished with pickled ginger, wasabi, and a small dish of soy sauce for dipping.
Pairing Your Sushi
Your homemade California rolls pair perfectly with a variety of dishes. For a full Japanese meal experience, serve them alongside miso soup, seaweed salad, or gyoza. You can find more inspiration for Japanese meal pairings in other recipes like the Deep-Fried Sushi Roll or the Hawaiian Roll Sushi.
Storage and Leftovers
If by some miracle you have any leftover sushi, store it in an airtight container in the refrigerator for up to 24 hours. However, for the best experience, sushi is always best enjoyed fresh.
Cleaning Up
After enjoying your sushi feast, it’s time for clean-up. Make sure to clean your tools and cookware thoroughly to maintain their quality. Using a cookware cleaner and cutting board oil will help prolong the life of your sushi-making equipment.
Conclusion
The Easy California Roll Sushi Recipe is simple yet satisfying, making it a must-try for sushi lovers of all skill levels. From the confidence of creating your own sushi from scratch to the joy of sharing your creations with loved ones, the process is as much about the journey as it is the destination. So why not roll up your sleeves and give it a go? For more sushi inspirations, feel free to explore other recipes like the Lobster Roll Sushi or the indulgent Volcano Roll Sushi.
As an Amazon Associate, I earn from qualifying purchases.