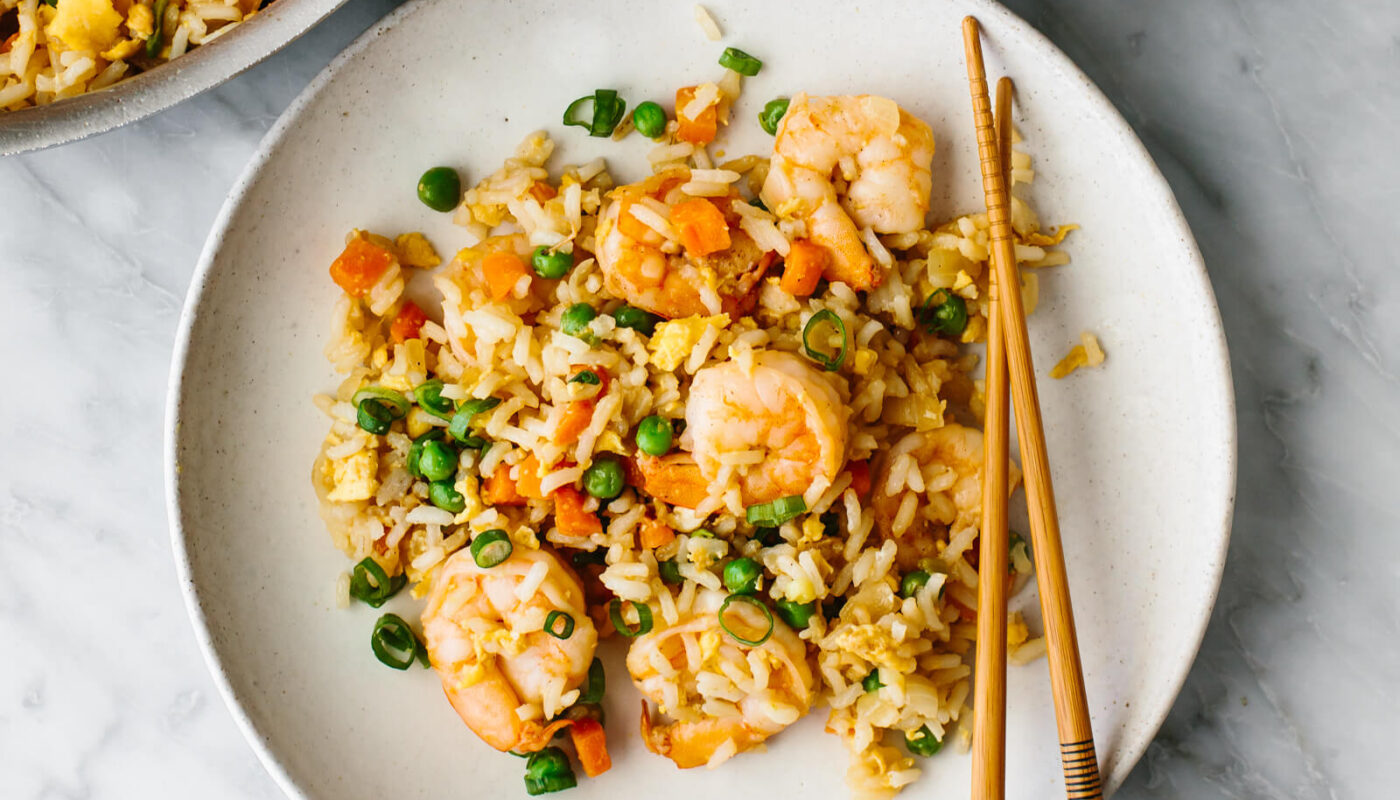
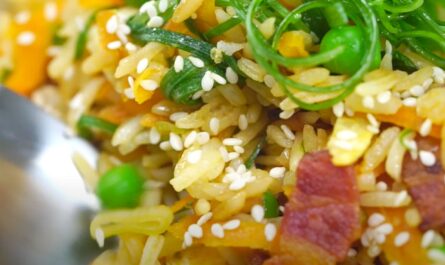
Are you ready to explore a delicious and satisfying dish that brings culinary delight straight to your dining table? This article unveils our ultimate fried rice recipe with fresh rice, a dish thats not only a go-to meal for many but also a creative canvas for culinary arts. Making fried rice from scratch is not just about mixing a few ingredients; its about transforming simple ingredients like **rice**, **vegetables**, and a blend of **seasonings** into an irresistible feast. This rice dish is a staple in many cultures, beloved for its versatility, flavor, and ease of preparation.
Why Fresh Rice Matters in Fried Rice
Using fresh rice is critical to achieving the best flavor and texture in your fried rice. But what does ‘fresh rice’ really mean? It refers to rice that has been cooked and cooled down, typically at least a few hours prior to frying. The reason fresh rice is essential is that it has the right moisture content. Day-old rice, which many people use, tends to be dryer, making it easier to fry without clumping. However, fresh, cooled rice retains some moisture, creating a tender, flavorful outcome perfect for frying. While using previously cooked rice is a common practice, incorporating fresh rice enhances your dish and offers a balance of taste and texture that can turn a simple meal into a glorious culinary experience.
Gather Your Ingredients for Success
- 2 cups fresh cooked rice (jasmine or basmati)
- 2 tablespoons vegetable oil
- 1 tablespoon sesame oil
- 2 eggs, lightly beaten
- 1 cup mixed vegetables (carrots, peas, and corn)
- 3 green onions, chopped
- 4 cloves garlic, minced
- 3 tablespoons soy sauce
- Salt and pepper to taste
Each ingredient plays a fundamental role in achieving the perfect fried rice. The **vegetable oil** offers a good frying base while the **sesame oil** gives that distinct Asian aroma. The **eggs** add protein and richness, and the **mixed vegetables** ensure a burst of color and nutrients in every bite.
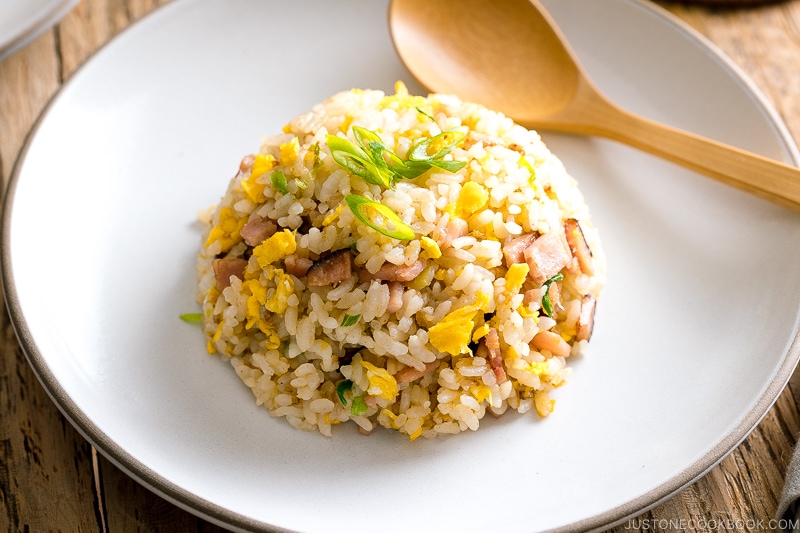
Prep Your Cookware
Before diving into the cooking process, having the right cookware makes all the difference. A rice cooker is an essential tool for achieving perfectly cooked rice that holds its shape. A sturdy knife is crucial for evenly chopping all veggies and proteins. Dont forget a reliable cutting board to make the chopping process not only efficient but also safe.
Preparation Steps: Getting Ready to Cook
Before you start cooking your fried rice, a little preparation sets you up for success. Start by ensuring that all your ingredients are chopped and ready to go. This includes breaking up any clumps in your fresh rice if it was in the fridge to cool. Next, gather your seasoning saucesthis includes soy sauce and any additional sauces you wish to add later on.
Cooking Your Fried Rice
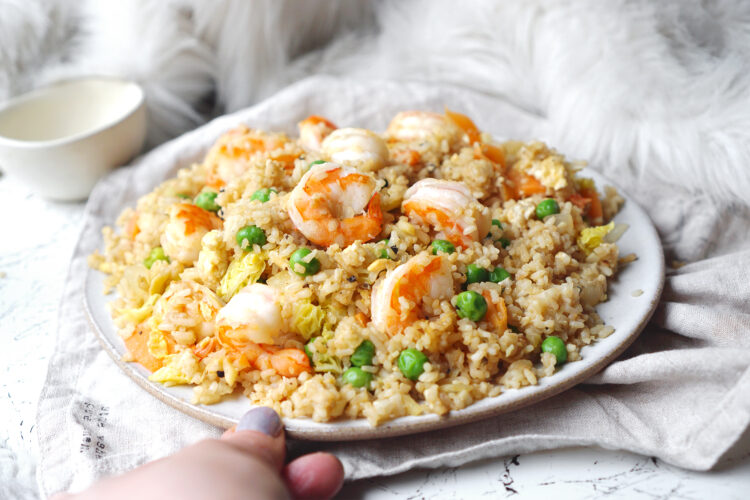
Now that all your ingredients are prepped, its time to begin! First, take a large skillet or a wok and heat it on medium-high heat. Once hot, add vegetable oil, swishing it around to coat the pan evenly. Pour in the beaten eggs and **scramble** them quickly. Once cooked, remove them from the pan and set them aside. In the same skillet, add your garlic and let it saut for about 30 seconds until fragrant, but be careful not to burn it.
Next, toss in your mixed vegetables, stirring frequently until they are just tender. Then, add the fresh rice. With a spatula or wooden spoon, begin breaking up any remaining clumps. Its essential to ensure every grain is coated in oil and well-mixed in with the vegetables. Once the rice appears heated through, its time to add the scrambled eggs back to the pan, followed by the soy sauce. Season with salt and pepper according to your taste.
Finishing Touches
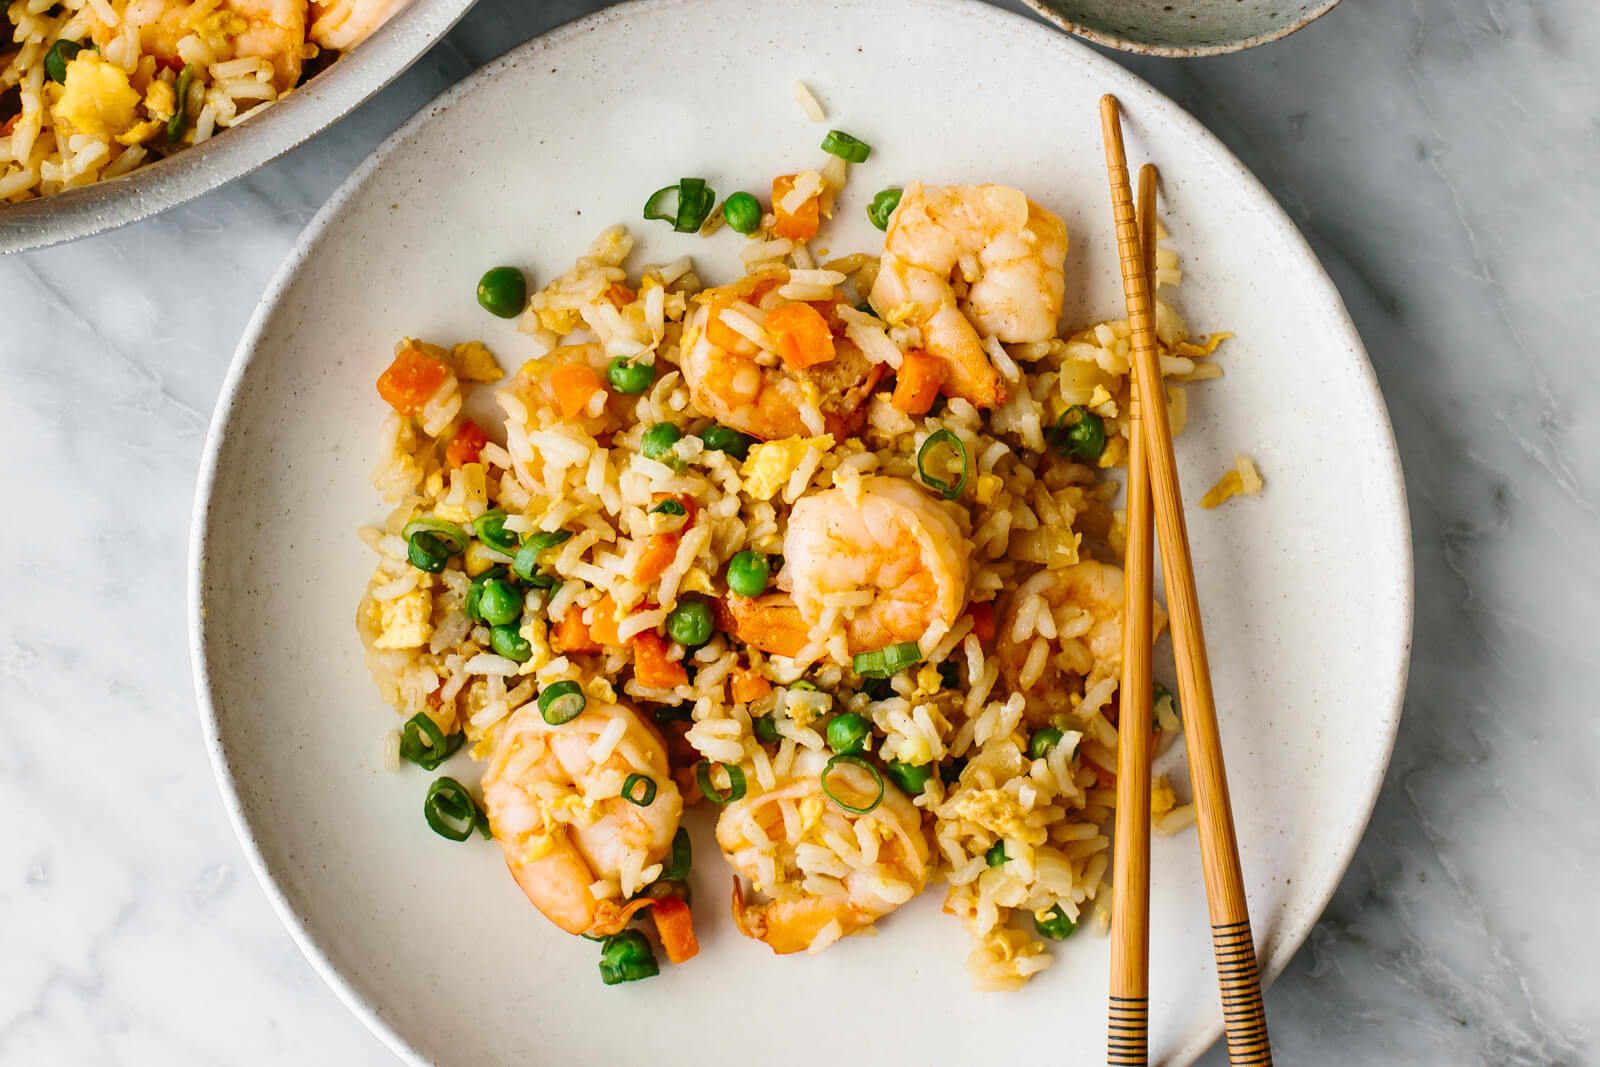
After everything is beautifully combined, toss in the chopped green onions and stir thoroughly for an additional minute. This final touch adds freshness and a mild kick to your dish. One of the best things about this fried rice recipe with fresh rice is how customizable it can be! Feel free to add proteins like chicken, shrimp, or tofu to suit your preferences. Customize it based on what you have on hand, ensuring nothing goes to waste. Just remember that with every addition, adjust the seasoning accordingly.
Serving Your Fried Rice
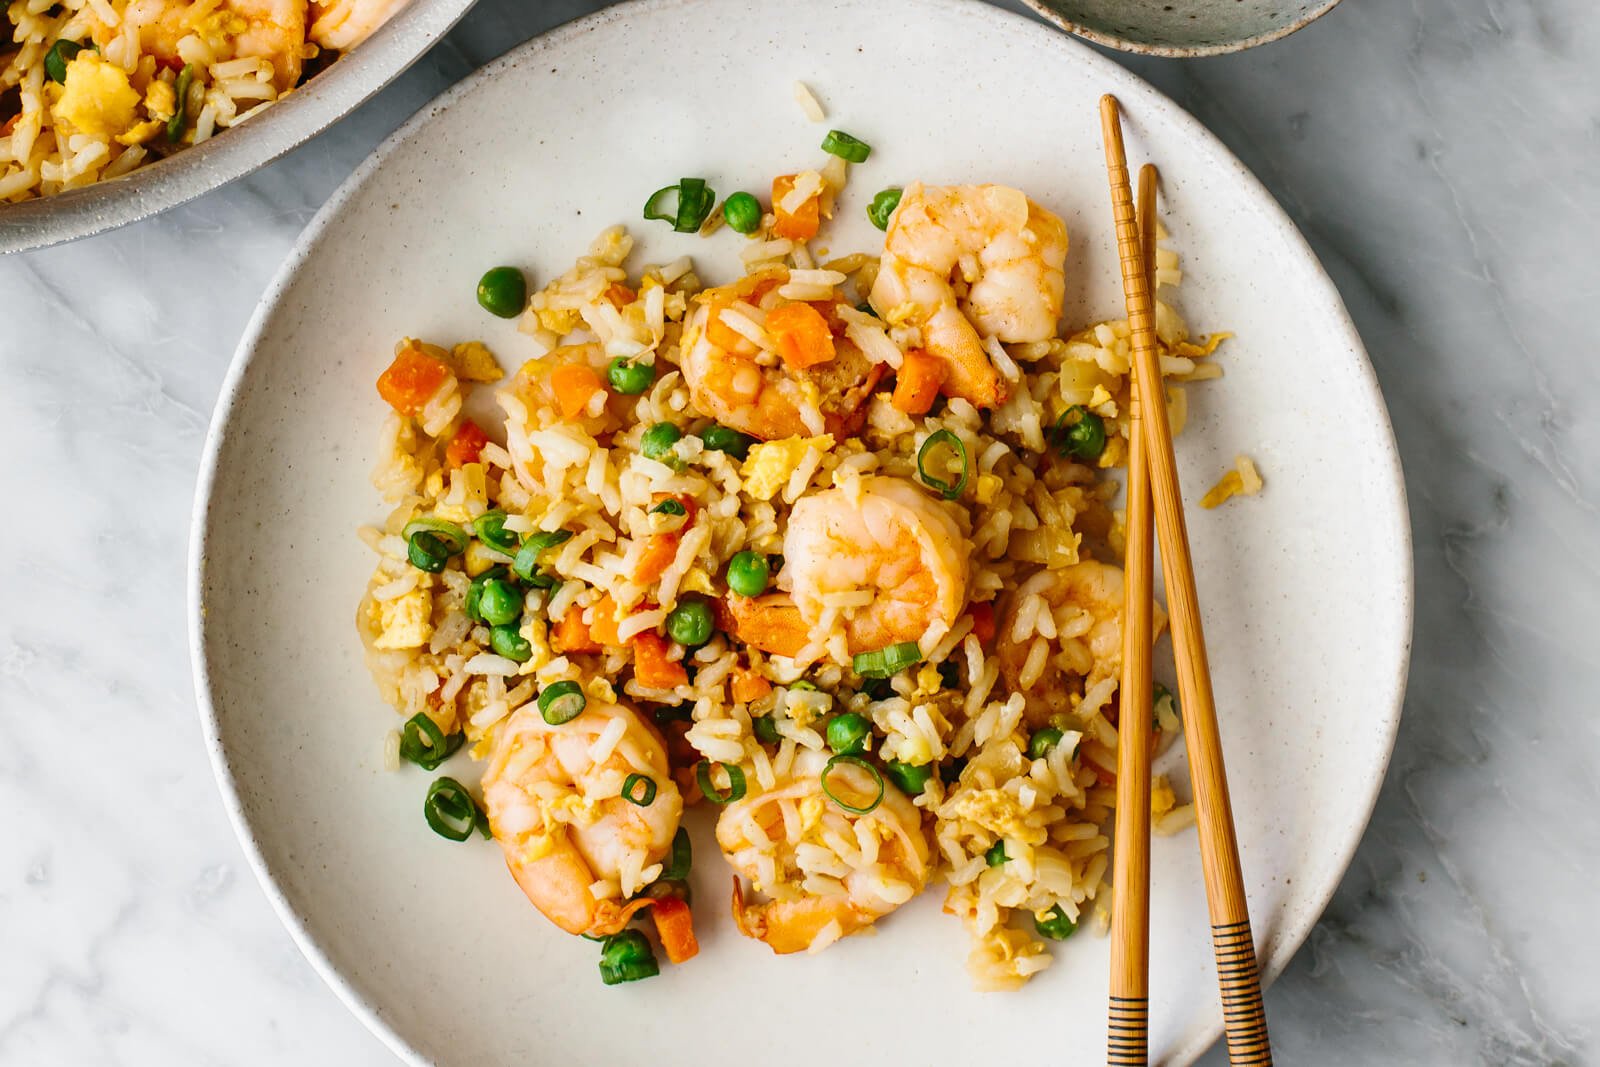
Once you’ve reached the final stage, its time to plate your **fried rice**! The vibrant colors of the mixed vegetables combined with the fluffy rice make for an enticing presentation. You can serve it stylishly in bowls or on plates, perhaps garnished with extra green onions or sesame seeds if you desire. Fried rice is best enjoyed hot, and it can be served as a side dish or as a fulfilling main course. This makes it an excellent recipe for meal prep as well!
Storing Leftovers
If you happen to have any leftovers, storing them properly is crucial to maintaining freshness. Allow the rice to cool entirely before transferring it into an airtight container. It can stay in the refrigerator for up to four days. If you wish to reheat, a quick stir-fry in a pan or a zap in the microwave can bring it back to life!
Cleaning Your Cookware
Cooking can be fun, but cleaning afterward is often the most tedious part! To ensure your skills dont wear thin, use the right cleaning solutions to manage your cookware. Utilizing a cookware cleaner ensures that your pots and pans last for years to come, preserving their quality and performance. Additionally, employing a cutting board conditioner will keep your wooden cutting boards in pristine condition, ready for your next culinary adventure.
In conclusion, this fried rice recipe with fresh rice provides an enriching cooking experience as well as a fabulous meal enjoyed by all. Let your creativity shine through, and its guaranteed that each time you prepare it, it can be unique! Are you ready to impress your friends and family with this delectable dish? Now, gather your ingredients and start cooking!
As an Amazon Associate, I earn from qualifying purchases.
Explore More Fried Rice Recipes
If you enjoyed learning about this fried rice recipe with fresh rice, check out more delicious variations such as the Fish Fried Rice, Tom Yum Fried Rice, and Yellow Fried Rice.

