Theres something magical about sizzling beef fajitas cooked in a seasoned cast iron skillet. Not only do they embody bold Tex-Mex flavors, but theyre also unbelievably simple to prepare right at home. In this guide, well teach you how to cook beef fajitas in a cast iron skillet to maximize flavor and get that restaurant-quality sizzle. Whether youre cooking for family or friends, these fajitas are sure to delight everyone.

Ingredients You Need to Get Started
Before learning how to cook beef fajitas in cast iron skillet, gather the following ingredients:
- 1 pound beef skirt steak or flank steak
- 3 bell peppers (red, green, yellow), sliced
- 1 large onion, sliced
- 2 tablespoons olive oil
- Juice of 2 limes
- 2 teaspoons chili powder
- 1 teaspoon cumin
- 1 teaspoon smoked paprika
- teaspoon garlic powder
- teaspoon salt, or to taste
- Freshly ground black pepper
- Tortillas, for serving
- Your favorite toppings (guacamole, salsa, shredded cheese, sour cream)
Why Use a Cast Iron Skillet?
Cooking beef fajitas in a cast iron skillet offers tremendous advantages. A cast iron skillet distributes heat evenly, which helps achieve a beautiful sear on the beef and locks in flavors. Its also oven safe, making it ideal for finishing the beef with a quick broil if needed.
Seasoning Your Cast Iron Skillet Is Essential
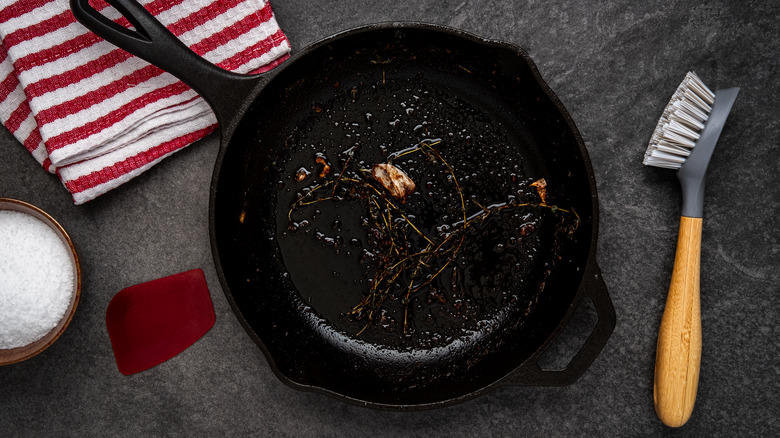
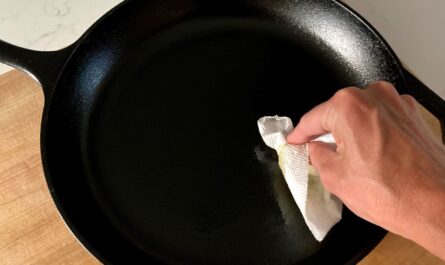
If your cast iron skillet isnt pre-seasoned, take a few moments to do so. A properly seasoned skillet prevents sticking and adds layers of flavor to your dish.
Steps for Perfect Beef Fajitas
Step 1: Marinate the Beef
Marination is key for tender and flavorful fajitas. Combine lime juice, chili powder, cumin, smoked paprika, garlic powder, salt, and pepper in a bowl. Coat the skirt steak in the marinade and let it sit for at least 30 minutes, or up to 24 hours for enhanced flavor.
Step 2: Heat the Skillet
Preheat your cast iron skillet over medium-high heat. Add 1 tablespoon of olive oil to the skillet and let it heat until it shimmers. A hot skillet is necessary to achieve a proper sear on the beef.
Step 3: Sear the Beef
Place the marinated beef in the hot skillet and cook for about 3-4 minutes per side, depending on your preferred doneness. Once done, move the beef to a plate and let it rest for 10 minutes.
Step 4: Cook the Vegetables
Add the remaining olive oil to the skillet. Toss in the sliced onions and bell peppers. Season with a pinch of salt and stir-fry until the vegetables are tender yet crisp, around 4-5 minutes.
Step 5: Slice the Beef
After resting, thinly slice your beef against the grain. This ensures each piece is tender and easy to eat.
Step 6: Combine and Serve
Add the sliced beef back to the skillet and toss it with the cooked vegetables. Heat everything through for 1-2 minutes before serving.
Pro Tips for Cooking Beef Fajitas
- Dont overcrowd the skillet: Sear the beef in batches if necessary to prevent steaming.
- Use fresh ingredients: Fresh lime juice and vibrant peppers elevate the dish.
- Warm your tortillas: Use your cast iron skillet or microwave to lightly warm tortillas before serving.
Serving Suggestions for Your Beef Fajitas
Pair your fajitas with any of these sides for a complete Tex-Mex experience:
- Mexican rice
- Refried beans
- Chips and guacamole
- Fresh pico de gallo
More Cast Iron Skillet Recipes
If youre enjoying using your cast iron skillet, youll love these recipes: Venison Backstrap, 1-Inch Pork Chops, or a Juicy Burger. Your skillet is a versatile cooking tool that opens endless possibilities.
External Inspiration
Looking for more creative recipes? Check out these ultimate cast iron skillet recipes for inspiration.

Common Questions About Beef Fajitas
Whats the best cut of beef for fajitas?
Skirt steak and flank steak are the most popular choices due to their rich flavor and texture. Remember to slice against the grain for tenderness.
Can I use a regular pan?
While a regular pan works, nothing matches the heat retention and flavor boost of a cast iron skillet.
Can I make fajitas ahead of time?
Yes! Prepare the beef and vegetables in advance, then reheat in your cast iron skillet just before serving for optimal flavor.
This article contains affiliate links. We may earn a commission at no extra cost to you.


