If youve been wondering how to cook chicken thighs in cast iron to perfection, youre in the right place! This guide will not only help you master the process, but it will also unlock the mystery behind creating juicy, crispy-skinned chicken thighs every time. Using a cast-iron skillet is a tremendous technique that both beginners and professionals swear by. It combines even heat distribution with a lovely rustic charm, making your cooking experience both functional and delightful.
Whether youre an aspiring chef or just handling a cast-iron skillet for the first time, the beauty of cooking chicken thighs lies in its simplicity, terrific flavor, and the satisfaction of achieving restaurant-quality results at home. Lets tackle this step-by-step to make it easy, fun, and foolproof!

Why Cook Chicken Thighs in Cast Iron?
When it comes to cooking meat, not all cookware is created equal. For chicken thighs, using a cast-iron skillet is almost always a chef-approved decision. Why?
- Even Heat Distribution: Cast-iron skillets heat evenly, ensuring there are no cold spots during cooking.
- Retention of Heat: Once heated, cast iron retains heat for a long time, which is ideal for achieving that crispy skin on chicken thighs.
- Flavor Build-Up: Cast iron infuses dishes with exceptional flavor, especially when they are well-seasoned over time.
Step-by-Step Guide on Preparing Chicken Thighs
1. Choosing the Right Chicken Thighs
Fresh, bone-in, and skin-on chicken thighs are recommended for best results. They are fantastic for flavor and incredibly easy to cook.
2. Prepping Your Cast-Iron Skillet
Start by preheating your cast-iron skillet on medium heat. A properly heated skillet is key to avoiding sticking and achieving that golden crust on the chicken skin.
3. Season Your Thighs
Generously season the thighs with salt, pepper, garlic powder, and paprika for a bold, balanced flavor profile.
4. The Cooking Process
Step 1: Add a tablespoon of oil (vegetable or avocado oil works best) to the skillet.
Step 2: Place the thighs skin-side down and allow them to sear for about 79 minutes without moving them. This step is critical in achieving crispy skin.
Step 3: Flip the thighs and transfer the entire skillet to a preheated oven at 375F to finish cooking for another 1215 minutes. Use a meat thermometer to check the internal temperature. It should reach 165F for safe consumption.
For more insights into skillet cooking, head over to Juicy Burger Guide.
Common Mistakes to Avoid
Even seasoned cooks can make errors. Heres a quick list to ensure your chicken thighs turn out absolutely terrific:
- Overcrowding the Pan: Place the thighs with enough space between them for proper browning.
- Not Using a Thermometer: Guessing internal temperature might result in undercooked or dry chicken.
Pairing Chicken Thighs with Sides
To create a tremendous meal experience, serve your chicken thighs with creamy mashed potatoes or grilled vegetables for a balanced dinner. You can check out dishes like cast-iron steaks for more inspiration.
Cleaning and Caring for Your Cast Iron
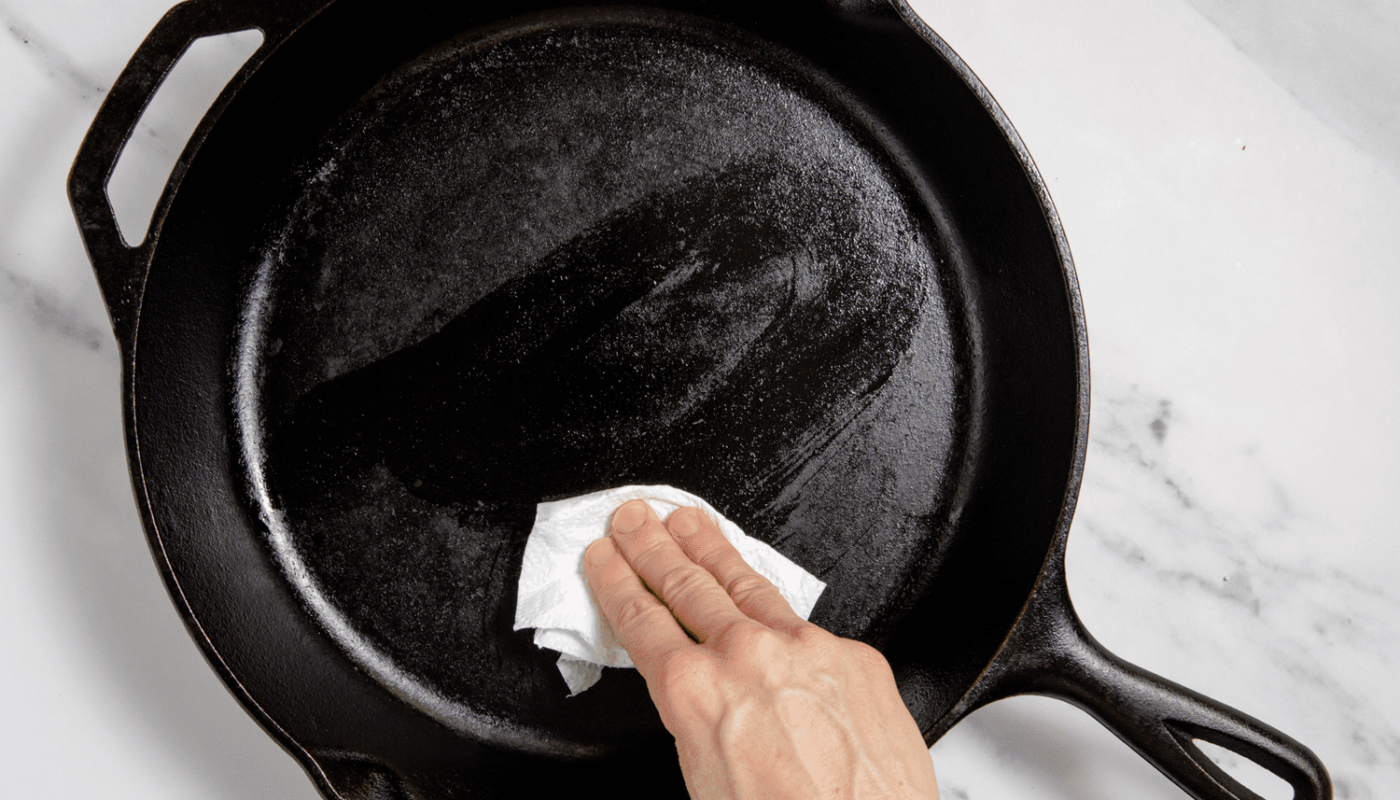
After cooking, make sure the skillet is cool before cleaning. Avoid using soap and instead rely on scrubbing gently with salt and a little water. Dry it immediately to prevent rusting.
FAQs
1. Can I use boneless chicken thighs?
Yes, boneless chicken thighs can be used but may cook faster. Adjust oven time as required.
2. Do I need to preheat my cast-iron skillet?
Absolutely! Preheating avoids sticking and ensures an even and crispy finish.
3. How do I know when the chicken is fully cooked?
Using a meat thermometer is the best way. The internal temperature should read 165F.

Final Thoughts
Cooking chicken thighs in a cast-iron skillet is a delightful way to create a meal that is flavorful, crispy, and cooked to perfection. With these tips, you’ll master the art of simplistically cooking restaurant-worthy dishes at home. Dont forget to explore more ideas like London Broil Cooking or perfectly seared steaks to expand your cast-iron cooking repertoire!
This article contains affiliate links. We may earn a commission at no extra cost to you.


