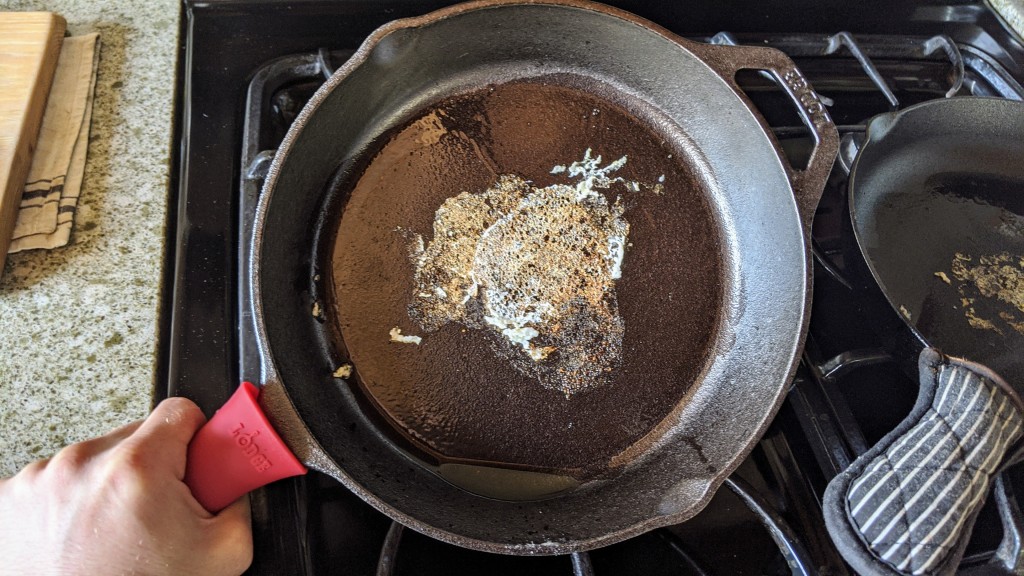
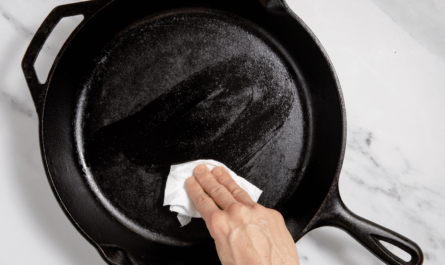
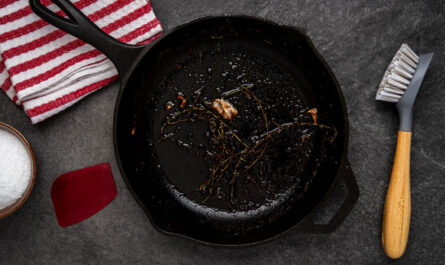
Scrambled eggs are one of the easiest and most versatile breakfast dishes you can make. But cooking them in a cast iron skillet elevates the flavor and texture to a new level. In this article, well guide you through the exact steps on how to cook scrambled eggs in cast iron skillet, sharing tips and tricks that will guarantee perfect results every time.
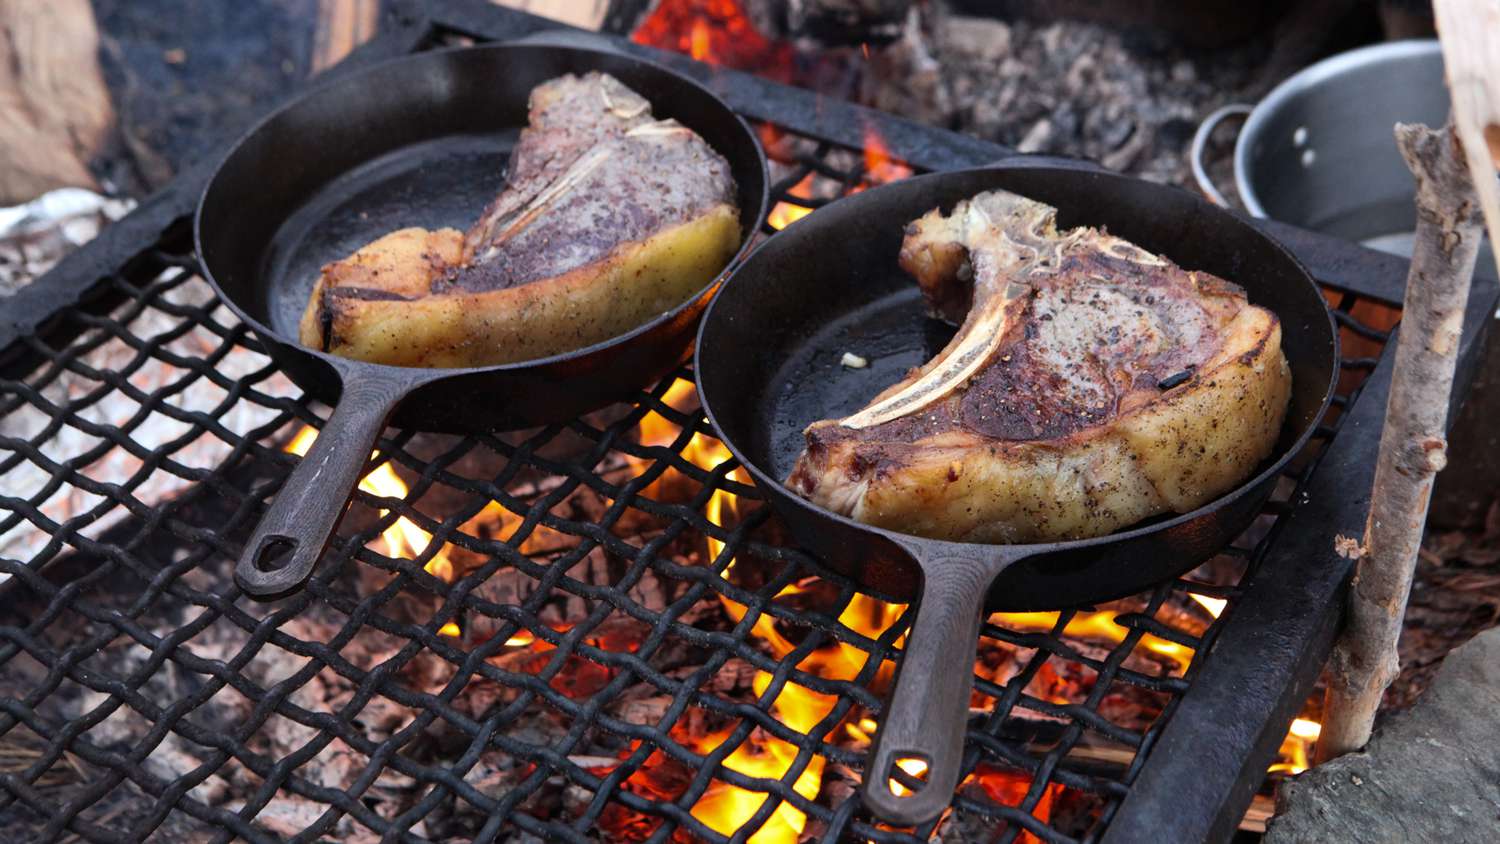
Why Use a Cast Iron Skillet for Cooking Scrambled Eggs?
A cast iron skillet is an excellent tool for cooking because of its tremendous heat retention and even surface temperature. This makes it perfect for dishes like scrambled eggs, where temperature consistency is key. Plus, its ability to add subtle flavors to your eggs will leave you delighted with the final result. If youre curious about cooking other dishes in cast iron skillets, check out venison backstrap tips.
What You’ll Need for Perfect Scrambled Eggs
Ingredients:
- 4 fresh eggs
- 2 tablespoons of milk or cream
- 1 tablespoon of butter
- Salt and pepper to taste
- (Optional) Cheese, herbs, or vegetables
Tools:
- One cast iron skillet
- Spatula
- Mixing bowl
Step-by-Step Process: How to Cook Scrambled Eggs in Cast Iron Skillet
Follow these steps carefully:
Step 1: Preheat Your Cast Iron Skillet
Begin by placing your cast iron skillet on medium heat. Let it heat for about 23 minutes. Cast iron retains heat well, so ensure its not too hot to prevent burning the butter or eggs.
Step 2: Prepare the Egg Mixture
In a mixing bowl, crack the eggs and add the milk or cream. Whisk vigorously until the mixture is well-blended. This step ensures your scrambled eggs will be fluffy and soft.
Step 3: Add Butter to the Skillet
Once the skillet is warm, drop a tablespoon of butter into it and swirl it around. Make sure the butter coats the entire surface of the skillet for a non-stick effect. If you want more cooking tips for skillet dishes, read this guide on juicy burger cooking.
Step 4: Pour in the Egg Mixture
Carefully pour the egg mixture into the skillet. Let it sit undisturbed for 2030 seconds, allowing the bottom to slightly set.
Step 5: Stir Gently with a Spatula
Using a spatula, slowly push the eggs from the edges toward the center. Repeat the process while ensuring you dont over-scramble or overcook. This will help form soft, curd-like textures.
Step 6: Season and Serve Immediately
When the eggs are almost done but still slightly runny, remove the skillet from heat. The residual heat will finish cooking them. Add salt, pepper, and any desired toppings like cheese or herbs before serving.
Common Mistakes to Avoid
- Overheating the skillet: This can cause eggs to burn and stick.
- Overcooking: Scrambled eggs cook quickly dont leave them on the heat too long.
- Skipping the whisk: Proper whisking ensures fluffy eggs.
Benefits of Cooking Eggs in a Cast Iron Skillet
Did you know that cooking in cast iron can enhance the nutritional value of your meal? Trace amounts of iron from the skillet may transfer to your food, offering additional health benefits. If you find this interesting, dont miss these cast iron cooking tips.
FAQ Section
1. Can you cook eggs in a cast iron skillet without sticking?
Yes, by preheating the skillet and using butter or oil, you can minimize sticking.
2. How do you clean a cast iron skillet after making eggs?
Let the skillet cool before washing it with hot water and a scrub brush. Avoid soap.
3. What are the best toppings for scrambled eggs?
Cheese, chopped herbs, diced tomatoes, or avocado are terrific additions.
Conclusion
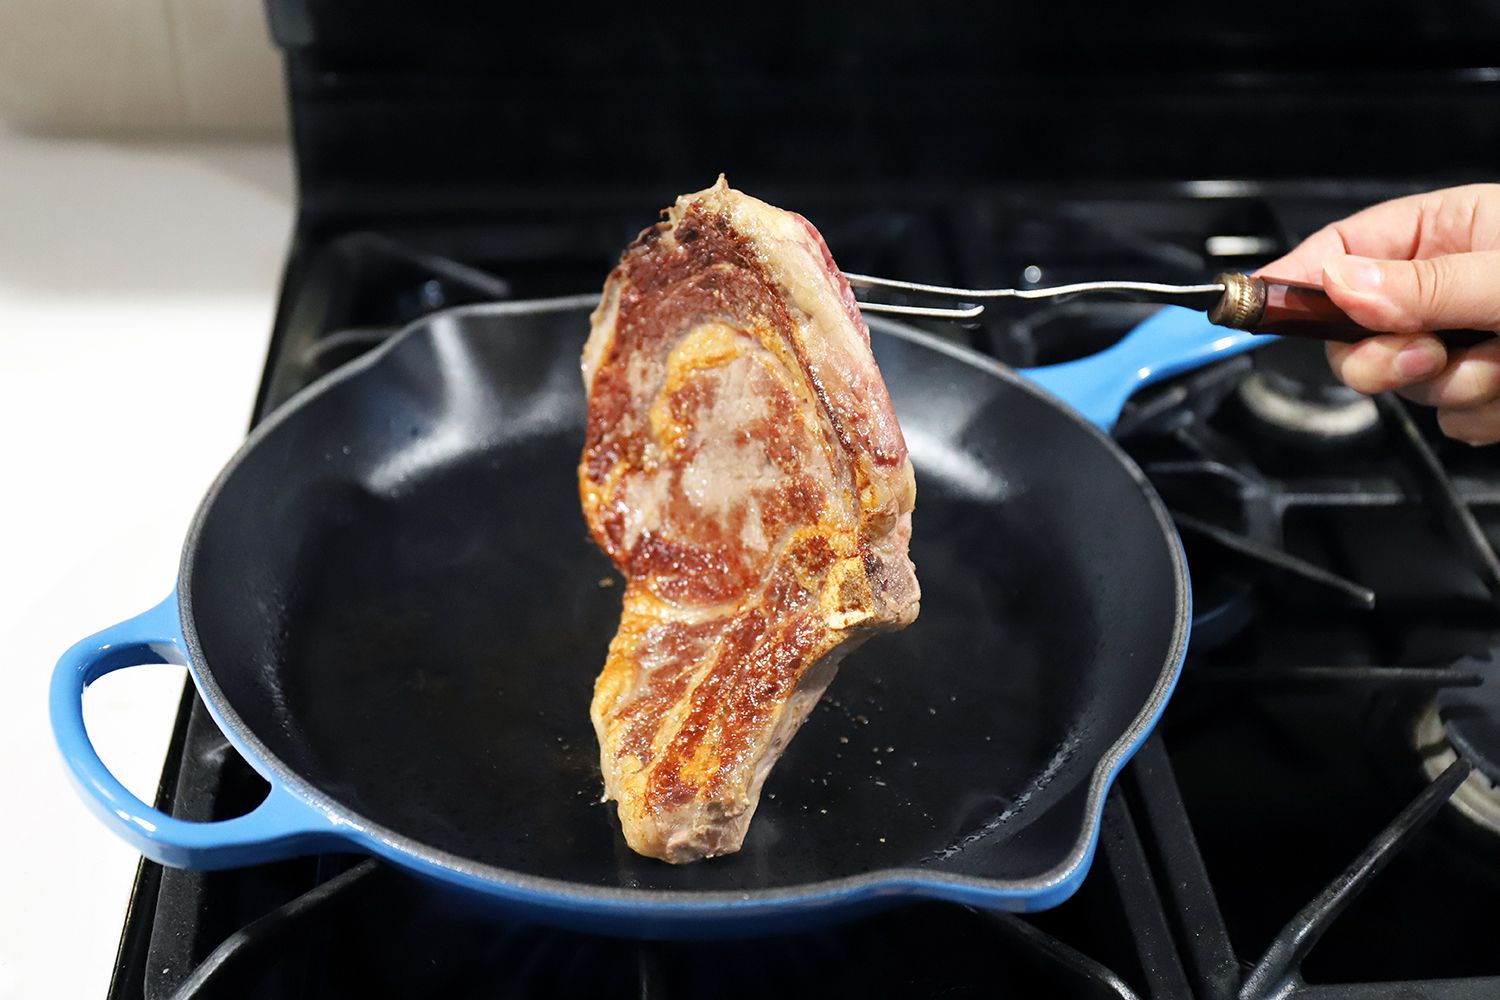
How to cook scrambled eggs in cast iron skillet is a skill every breakfast lover should master. Its simple, quick, and guarantees delicious results. By following the steps in this guide, youll make eggs that everyone around the table will praise. For more exciting cast iron skillet recipes, explore ideas like pork chops!
This article contains affiliate links. We may earn a commission at no extra cost to you.

