
 by
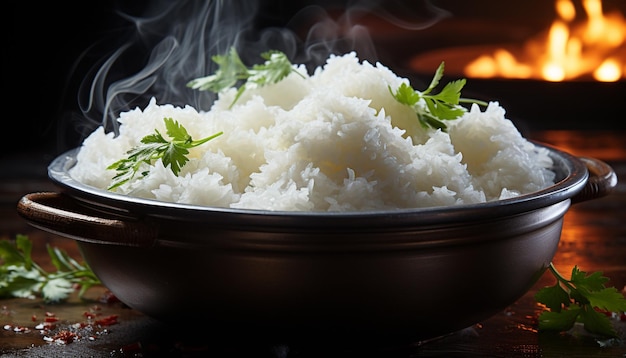
by If you’re a sushi lover, you know that one of the secrets to making great sushi lies in the perfect sushi rice. Understanding how to rinse sushi rice properly is crucial for preparing this essential ingredient. In this article, we will guide you through the process, ensuring that your sushi rice is not only tasty but also has the right texture!
The rinsing process might seem simple, but it plays a key role in washing away excess starch and achieving that ideal stickiness that holds the sushi together. Let’s dive into how you can rinse sushi rice like a pro.
Why Proper Rinsing is Important
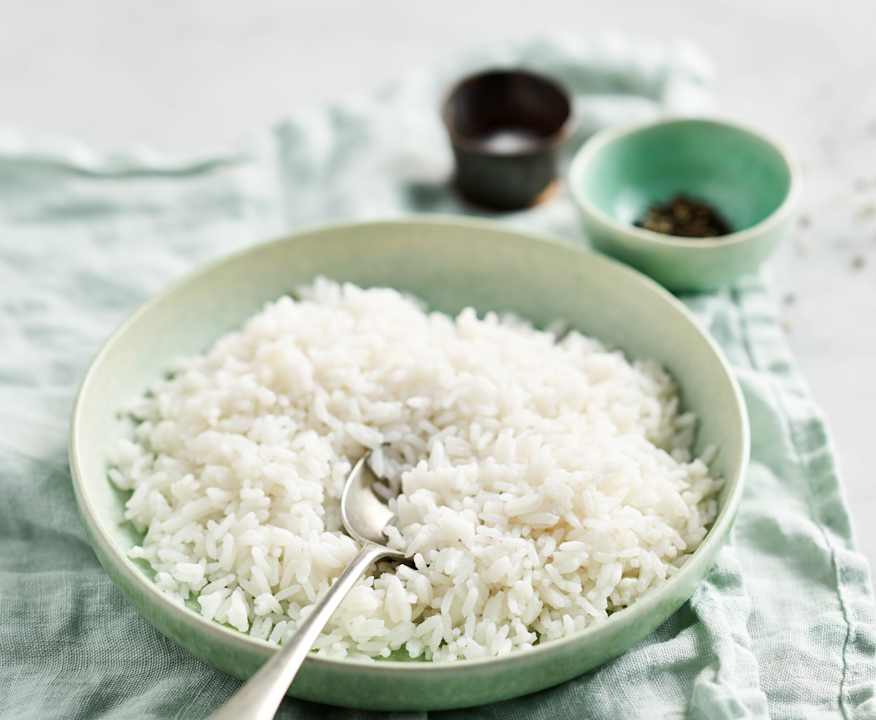
Rinsing sushi rice is important to remove excess starch. Starch can make your rice overly sticky or mushy. If the rice is not rinsed properly, your sushi rolls might fall apart while you’re trying to enjoy them.
In essence, rinsing ensures your rice is clean, leading to a better-tasting dish [source](https://www.thekitchn.com/what-is-short-grain-rice-how-to-cook-it-23152647). For more about why different rice varieties require different preparation methods, this guide on rice types can be insightful.
Essential Equipment
Before diving into the rinsing, ensure you have the following items ready:
- Fine-mesh strainer
- Large bowl for soaking
- Fresh water source
Having the right tools makes the process smoother and yields better results. We recommend visiting a professional sushi kitchen layout for more insights into setting up an efficient cooking space.
Rinsing Process
Step 1: Measure the Rice
Start by measuring the amount of short-grain rice you’ll need. Remember, sushi rice expands when cooked, so plan accordingly. If you’re uncertain about rice types, here’s a useful article about short-grain rice.
Step 2: Initial Rinse
Place the rice in a large bowl and add water until the rice is fully submerged. Gently swirl the rice around with your fingers until the water becomes cloudy. This cloudy appearance is due to the starch being released into the water.
Step 3: Repeat the Rinse
After the initial rinse, pour out the water, ensuring you do not lose any rice in the process. Refill the bowl with fresh water and repeat the process. Typically, you’ll need to rinse the rice 4 to 5 times until the water runs clear.
Step 4: Draining
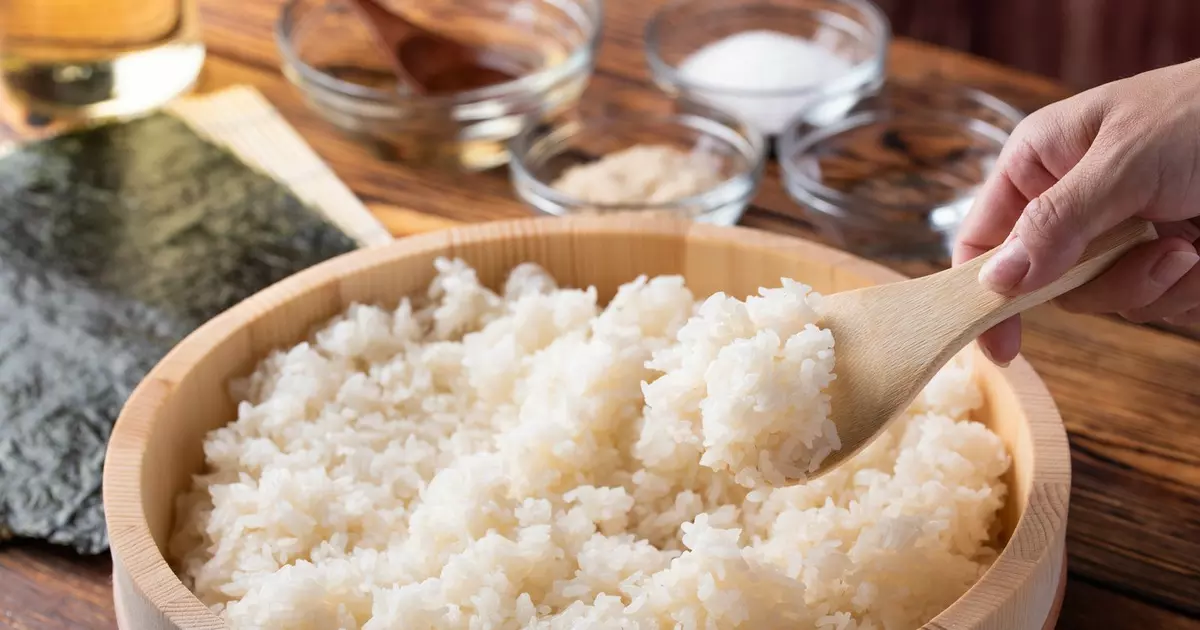
Once the water runs clear, drain the rice using a fine-mesh strainer, ensuring all excess water is removed. Proper drainage allows the grains to remain separate and prevents them from turning mushy.
Preparing Rinsed Sushi Rice for Cooking
After rinsing, you can proceed with the cooking process. It’s essential to use a suitable pot for optimal results. Learn about different pots for sushi rice to get precise cooking results every time.
Frequently Asked Questions
How many times should I rinse sushi rice?
Ideally, rinse the sushi rice 4 to 5 times. Continue rinsing until the water runs clear to ensure all excess starch is removed.
Can I skip the rinsing process?
Skipping the rinsing process is not recommended. Without rinsing, excess starch will remain, leading to overly sticky and mushy rice, which affects the quality of your sushi.
What if my rice is still sticky?
If the rice remains sticky despite rinsing, consider checking if it’s a different rice type. Short-grain rice used for sushi tends to be slightly sticky, but not mushy. Check if you might have gotten the wrong variety.
Understanding how to rinse sushi rice is essential for every sushi enthusiast. With practice and precise methods, your sushi rice will be as impeccable as that of a seasoned sushi master! For additional tips on maintaining clean sushi tools, explore our guide on kitchen maintenance.
This article contains affiliate links. We may earn a commission at no extra cost to you.

