
 by
by Welcome, sushi lovers! If you’ve ever pondered how to wrap sushi in nori for that perfect bite, you’re in the right place. Whether you’re a beginner or a seasoned home chef, mastering this art can elevate your homemade sushi experience. Let’s embark on this delicious journey to create sushi that’s not only tasty but also visually stunning!

Understanding the Basics of Sushi and Nori
Before diving into how to wrap sushi in nori, it’s essential to understand what makes nori so special. Nori is a type of seaweed that plays a crucial role in wrapping sushi.
What is Nori?
Nori is a dried edible seaweed that has been used in Japanese cuisine for centuries. It’s rich in vitamins and minerals, contributing to both the taste and nutritional content of sushi. Learn more about its benefits here.
Gathering Your Sushi-Making Tools
To make sushi at home, you’ll need more than just nori and rice. Let’s look at the essential tools required.
The Sushi Mat
A bamboo sushi mat is crucial for rolling the sushi. It’s flexible yet sturdy, making the process much smoother.
Sharp Knife
A sharp knife ensures clean cuts, important for aesthetics and for the sushi to hold together.
Additional Ingredients
You’ll also need sushi rice, fish (like salmon or tuna), and vegetables, such as cucumbers and avocados. Explore more ingredient options here.
Steps to Prepare Sushi Rice
Sushi rice is the foundation of any good sushi roll. Here’s how to prepare it.
Cooking the Rice
Rinse the rice under cold water until it runs clear. Cook with slightly less water than usual to create the right stickiness, then season with rice vinegar, sugar, and salt.
Cooling the Rice
Spread the cooked rice on a flat surface and let it cool, giving it the perfect texture for rolling.
How to Wrap Your Sushi
Now, let’s put it all together. Here’s how to wrap sushi in nori for a delightful roll.
Positioning the Nori
Lay the shiny side of the nori down on the sushi mat.
Spreading the Rice
Use a spoon to spread a thin, even layer of rice over the nori, leaving a small margin at the top.
Adding the Fillings
Place your preferred fillings in a line on the rice. Be moderate for a neat roll. Learn how to enhance your rolls with different fillings here.
Rolling the Sushi
Using the sushi mat, gently roll the nori over the rice and fillings, applying even pressure to ensure its tight.
Sealing the Roll
Moisten the nori edge with a little water to seal it, ensuring a firm and secure roll.
Cutting and Presenting Your Sushi
Finally, we’ll cut and present your sushi rolls.
Cutting the Rolls
Using your sharp knife, slice the roll into pieces. A light motion helps avoid crushing the roll.
Plating Your Sushi
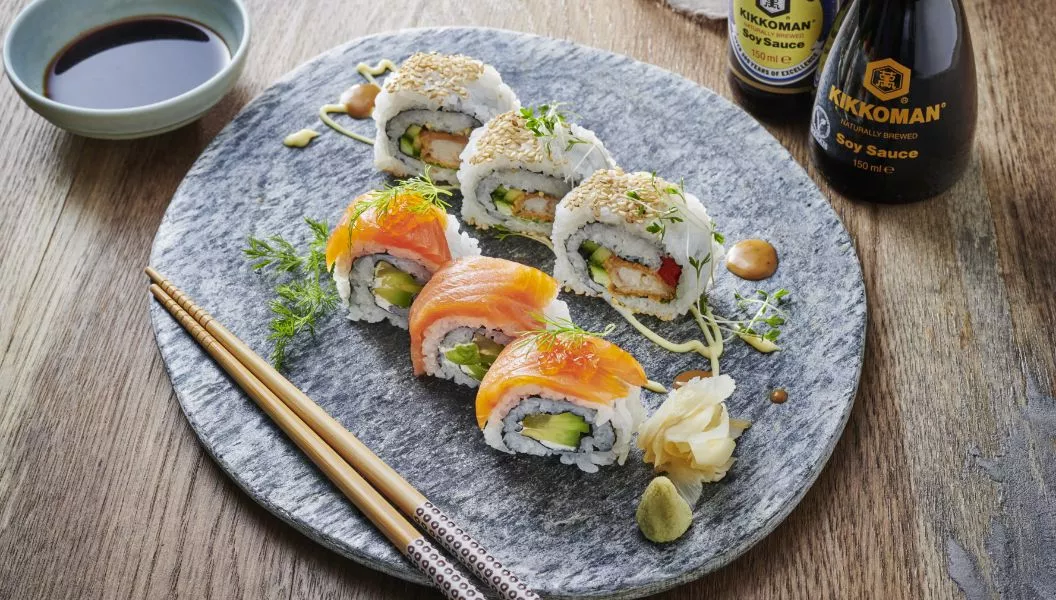
Arrange the sushi pieces on a plate, adding garnishes like pickled ginger and wasabi. For plating tips, visit here.
Common Mistakes and How to Avoid Them
Even with practice, mistakes happen. Heres how to dodge common pitfalls.
Overstuffing Your Roll
Using too much filling may cause the roll to burst. Balance is key.
Overcooked Rice
Overcooked rice can become mushy. Follow rice cooking guides for precision. Check out some methods here.

FAQs
What kind of rice should I use?
**Sushi rice,** also known as Japonica rice, is best due to its stickiness and flavor.
Can I use regular seaweed instead of nori?
It’s best to use **nori** as it’s specifically dried and flavored for sushi making.
Is a sushi mat necessary?
Yes, a sushi mat helps achieve the tightness needed for cohesive sushi rolls.
This article contains affiliate links. We may earn a commission at no extra cost to you.

