 by
by If you are a fan of exquisite flavors and the richness of **Italian cuisine**, you are in for a treat! In today’s article, we will delve into the delightful world of the **’Italian rice ball recipe’**, known as Arancini. These fluffy, golden-brown balls of goodness are a staple in Italian households, often filled with an array of ingredients ranging from proteins to vegetables. So whether you’re throwing a party, meal prepping for the week, or simply craving comfort food, this Italian rice ball recipe is perfect for you. It’s rich in flavor, delightful in texture, and surprisingly easy to make!
:max_bytes(150000):strip_icc()/__opt__aboutcom__coeus__resources__content_migration__serious_eats__seriouseats.com__recipes__images__2016__04__20140416-tamago-kake-gohan-recipe-14-e339a32c00a749a69c8734671068dbdf.jpg)
History of Italian Rice Balls: The Origin of Arancini
The **origin of Arancini**, or Italian rice balls, dates back to the 10th century in Sicily. Initially created by the Arabs, these delicious treats were a way to use up leftover rice. They typically took the form of without fillings. However, as time passed, the recipe evolved, and different **Italian regions** started experimenting with fillings. In fact, the name ‘Arancini’ derives from the Italian word for ‘little orange,’ reflecting their spherical shape and golden color. Enjoying this delicacy isn’t just about taste; its about experiencing a slice of Italian history!
Essential Ingredients for Your Italian Rice Balls
Key Ingredients
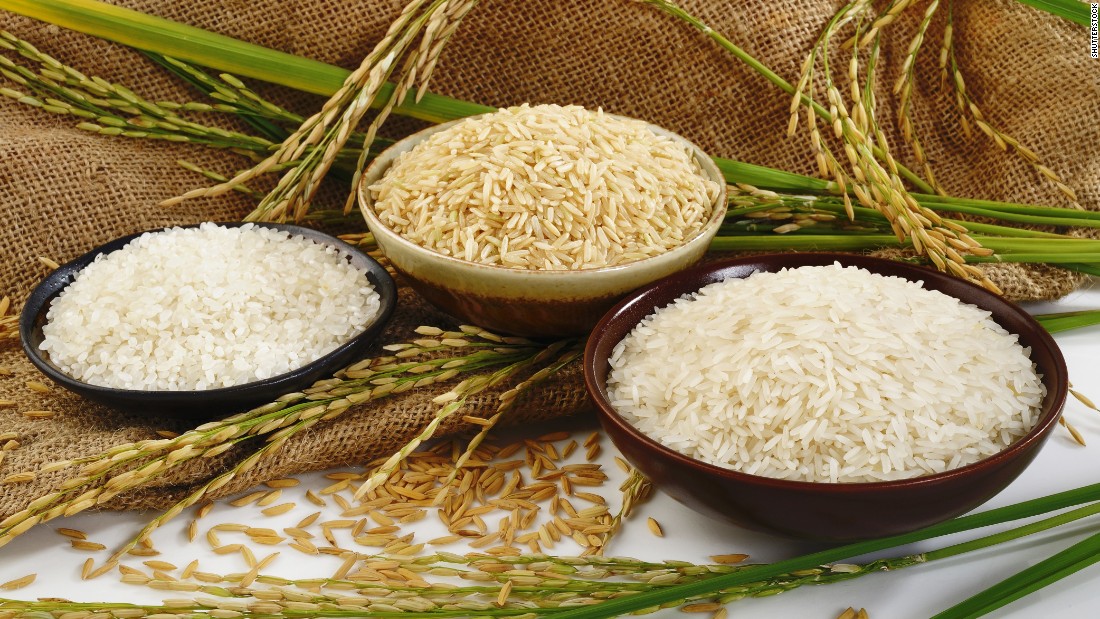
- 2 cups of Arborio rice
- 4 cups of vegetable broth
- 1 cup of diced mozzarella cheese
- 1/2 cup of grated Parmesan cheese
- 1 cup of all-purpose flour
- 2 large eggs
- 2 cups of breadcrumbs
- Salt and pepper to taste
- Vegetable oil for frying
Since we are making **Italian rice balls**, it is crucial to use **Arborio rice** due to its high starch content. This gives the rice its creamy texture, making your Arancini irresistibly fluffy. Additionally, the use of **vegetable broth** instead of water adds extra flavor to the rice base. Mozzarella cheese gives that gooey, melty surprise in the center, while Parmesan provides a delightful depth of flavor.
Choosing the Right Cookware
Cooking **Italian rice balls** can be an enjoyable experience, but having the right tools can make a significant difference. You will find these utensils indispensable:
- Cast Iron Frying Pan – Ideal for achieving golden-brown crispy textures.
- Rice Cooker – Perfect for cooking your Arborio rice to perfection.
- Sushi Knife – Use it for slicing the ingredients finely.
- Cutting Board – Essential for prepping ingredients.
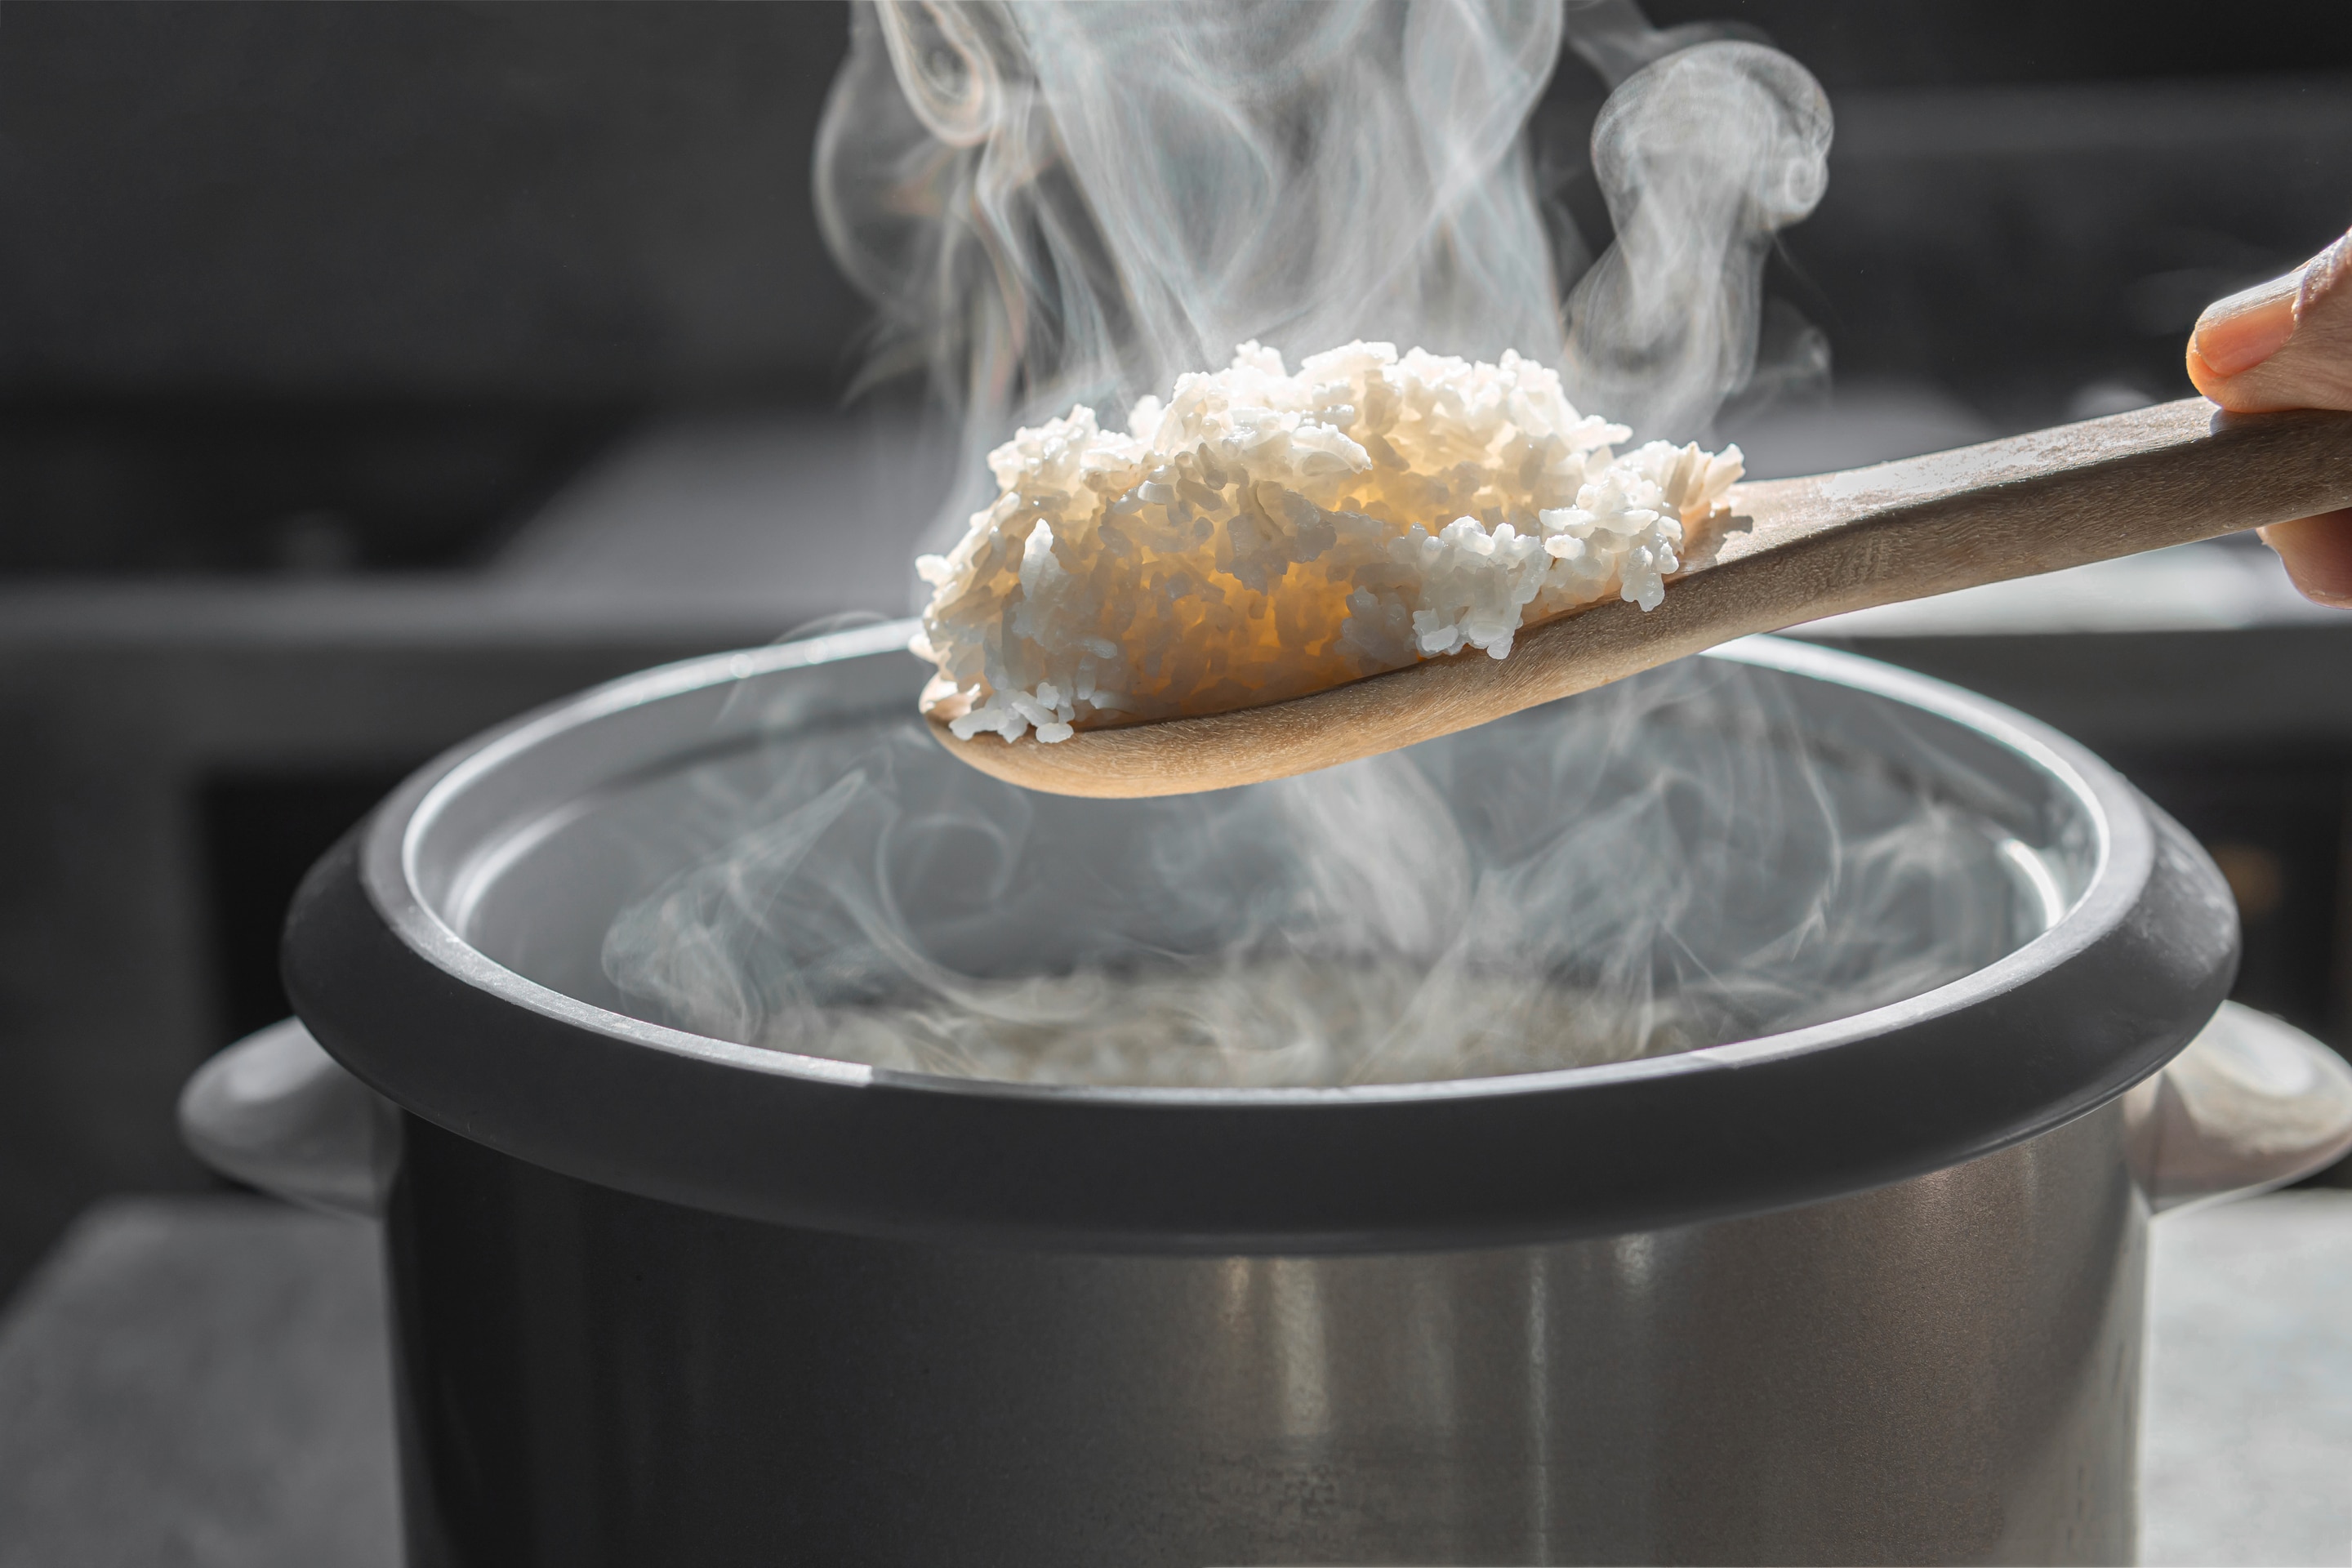
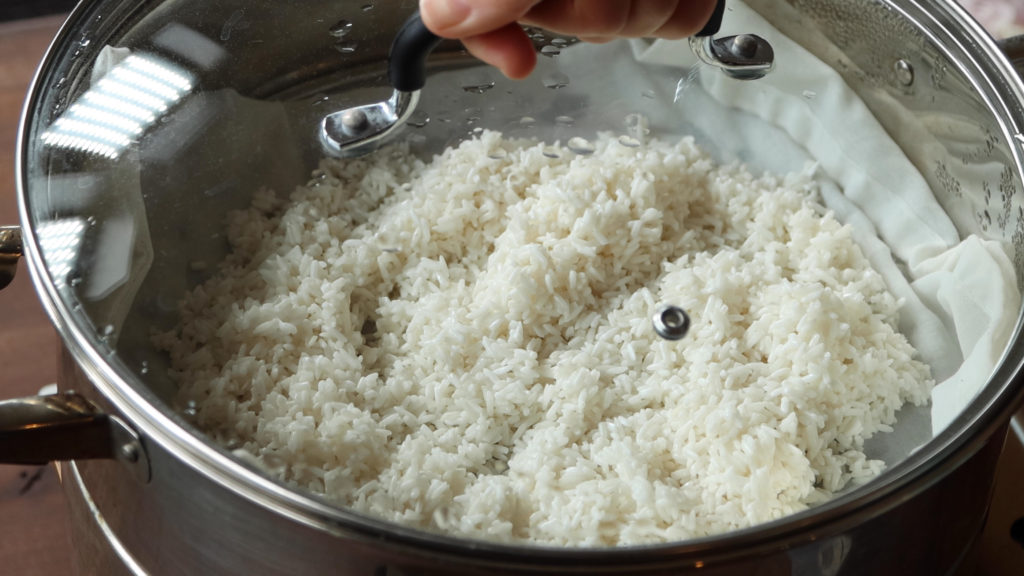
Preparing the Rice for Italian Rice Balls
The first step in making Italian rice balls is cooking the Arborio rice. Start by bringing 4 cups of vegetable broth to a boil in your rice cooker. Once boiling, add 2 cups of Arborio rice, covering with a lid, and reduce the heat to low. Allow the rice to simmer for about 18 minutes. The rice should be al dente and slightly sticky, giving it the right consistency for shaping the balls. Let the rice cool before proceeding to mold the Italian rice balls. Cooler temperatures ensure that the rice doesnt stick too much to your hands while forming the balls.
Making the Filling for Arancini
Apart from the rice base, the filling is just as crucial as the outer layer. You can personalize your **Italian rice ball recipe** through various fillings. One popular option is to use a combination of mozzarella and Parmesan cheese. Simply dice the mozzarella into small cubes and mix it with grated Parmesan. Alternatively, you can create a meat sauce using ground beef, onions, and crushed tomatoes to create a hearty sauce that can add a robust flavor to your white rice base. If you’re feeling adventurous, consider adding sauted mushrooms, peas, or spices to elevate the outer layer and add some extra flavor!
Shaping the Italian Rice Balls
Once the rice has cooled, and your filling is prepared, you can start shaping the rice balls. Wet your hands with water to prevent the rice from sticking to you. Take about a handful of rice, flatten it slightly in your palm, place a spoonful of the filling in the center, and carefully mold the rice around it, creating a round ball. Repeat this process until all your rice and filling are utilized. Ensuring the rice balls are well-formed means you can enjoy consistent bite-sized pieces after frying.
Coating Your Italian Rice Balls
The next step is to coat your rice balls to ensure a crispy exterior. Set up a **coating station** with three bowls: one with all-purpose flour, one with beaten eggs, and the last with breadcrumbs. Start by rolling your rice balls in flour to dust them lightly, then dip them into the beaten eggs, letting the excess drip off. Finally, roll your balls in breadcrumbs until well coated. This triple layer will give your Arancini a crunchy texture that is simply irresistible!
Frying the Italian Rice Balls
Now its time to enjoy the fruits of your labor! Heat a generous amount of vegetable oil in your cast-iron pan over medium heat, allowing the oil to get hot but not smoking. Carefully place the rice balls in the hot oil, being cautious not to overcrowd the pan. Fry them for about 4-5 minutes on each side until they achieve a golden-brown color. As you fry, keep an eye on the heat; if it gets too hot, the outside may brown too quickly without properly cooking the inside. Once theyre fried, use a slotted spoon to transfer the Arancini to a plate lined with paper towels to drain any excess oil.
Serving Suggestions for Italian Rice Balls
Now that your **Italian rice balls** are beautifully fried and golden, the fun part is serving them up! These delicious bites are best enjoyed fresh, but they also hold their texture well for later consumption. Consider serving your Arancini with a rich marinara sauce, drizzling some over the top or providing a dipping option. You can also sprinkle some fresh basil or parsley on top for a burst of color and flavor. Pairing them with a side of crisp salad also adds a refreshing contrast to the savory rice balls!
Storing Leftover Italian Rice Balls
If you happen to have any leftover **Italian rice balls**, don’t worry! They can be stored in an airtight container in the refrigerator for a couple of days. When reheating, consider placing them in an oven to maintain their crispness, or you can quickly reheat them in the air fryer if you have one. Avoid using the microwave as it can make them soggy. Serve warm, and youll feel like you’re enjoying them fresh from the fryer!
Cleaning Your Cookware
After all the fun and flavor, it’s essential to clean your cookware properly. Investing in a quality cookware cleaner specifically designed for cast iron will help preserve your frying pan’s quality over time. For your cutting board, consider treating it to some cutting board conditioner to keep it in excellent shape for your next meal prep!
As you set forth on your journey to create your very own **Italian rice ball recipe**, remember that cooking is as much about learning and experimenting as it is about enjoying the end result. So, gather your ingredients, roll up your sleeves, and embrace the delightful process of making Arancini. When you take that first bite, let the rich flavors overwhelm your senses, bringing you a taste of Italy right in your home. Buon Appetito!
As an Amazon Associate, I earn from qualifying purchases.