 by
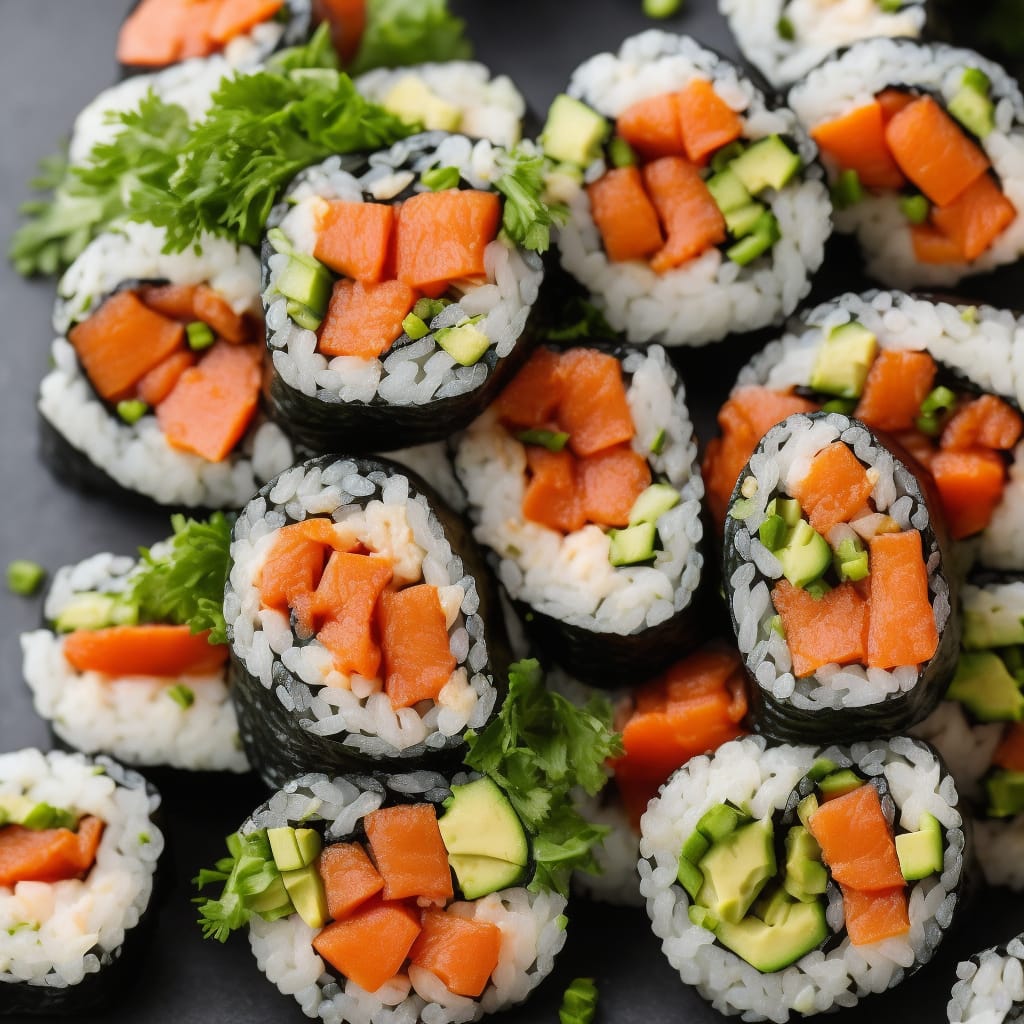
by Sushi lovers, are you ready to take your taste buds on an exciting journey? Today, we’re diving into the world of fusion cuisine with a delectable Mexican sushi roll recipe. Imagine the mouth-watering flavors of Mexico blended with the delicate artistry of Japanese sushi. This brilliant combination offers a unique twist on traditional sushi that will leave you craving for more.
We’ll explore the intricacies of creating a truly memorable Mexican sushi roll, covering everything from the ingredients you’ll need to the step-by-step process of assembling this scrumptious dish. Plus, we’ll share some tips and tricks to ensure your sushi rolls are perfect every time.
Gathering Ingredients
To make the perfect Mexican sushi roll, you’ll need a variety of fresh ingredients. Each ingredient plays a crucial role in creating the unique flavors and textures that define this fusion dish. Here’s a detailed list of what you’ll need:
Ingredients:
- 2 cups of sushi rice
- 2 tablespoons of rice vinegar
- 1 tablespoon of sugar
- 1 teaspoon of salt
- Nori sheets
- 1 ripe avocado, thinly sliced
- 1 small cucumber, julienned
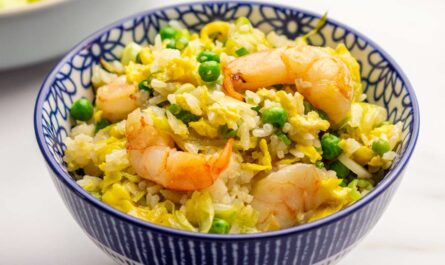
- 200g cooked shrimp, seasoned with chili powder
- 1 cup of fresh salsa
- 1/2 cup of sour cream
- 1 jalapeo, thinly sliced
- Fresh cilantro leaves
- Juice of 1 lime
- Hot sauce (optional)
Essential Tools and Equipment
Before diving into the recipe, it’s essential to gather the right tools and equipment to make the process smooth and enjoyable. Here are some must-have items:

Prepping the Sushi Rice
The first step in making any sushi roll is preparing the sushi rice, which serves as the foundation for the dish. Here’s a detailed process to ensure your sushi rice is perfect every time:
Step 1: Rinse the Rice
Start by rinsing the sushi rice under cold water using a strainer. This helps to remove excess starch and prevents the rice from becoming too sticky. Continue rinsing until the water runs clear.
Step 2: Cook the Rice
Transfer the rinsed rice to a rice cooker and add the appropriate amount of water (usually a 1:1.25 ratio). Turn on the rice cooker and let it do its job. Cooking sushi rice in a rice cooker ensures even cooking and perfect texture.
Step 3: Season the Rice
While the rice is still hot, transfer it to a large mixing bowl. In a separate bowl, combine rice vinegar, sugar, and salt. Stir until the sugar and salt are dissolved. Drizzle the seasoning mixture over the rice and gently fold it in using a silicone spatula. Be careful not to mash the rice. Allow the seasoned rice to cool to room temperature.
Assembling the Mexican Sushi Roll
Now that you’ve prepared the sushi rice, it’s time to move on to assembling the Mexican sushi roll. Follow these steps to create a visually stunning and delicious fusion dish:
Step 1: Prepare the Fillings
Gather all your fillings, including the avocado, cucumber, seasoned shrimp, salsa, and cilantro. Having everything prepped and ready will make the assembly process smoother and more enjoyable. Thinly slice the avocado and julienne the cucumber to ensure they fit well within the roll.
Step 2: Lay Out the Nori
Place a bamboo sushi mat on a flat surface and cover it with plastic wrap. This prevents the rice from sticking to the mat. Place a sheet of nori on the mat, shiny side down. Wet your fingers with water to prevent the rice from sticking to them.
Step 3: Spread the Sushi Rice
Using your wet fingers, spread a thin layer of sushi rice over the nori sheet, leaving a 1-inch border at the top. Be sure to distribute the rice evenly for a consistent roll. The rice layer should be about -inch thick.
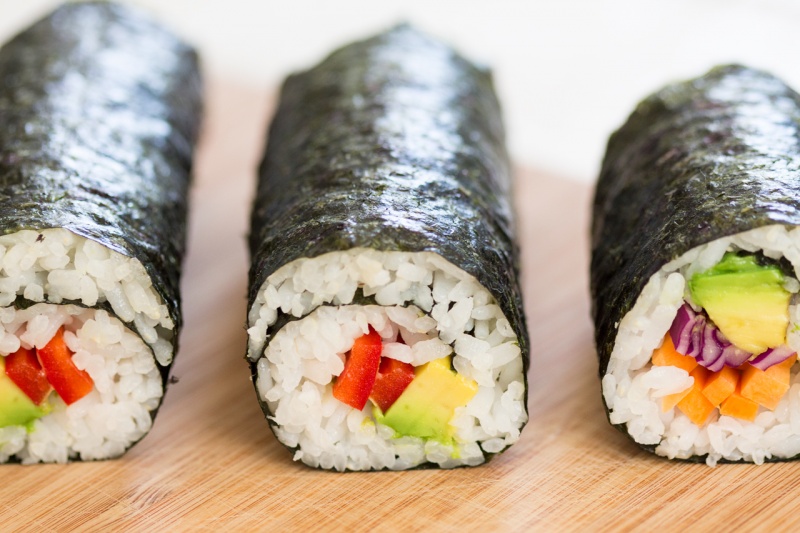
Step 4: Add the Fillings
Lay the thinly sliced avocado, cucumber, and seasoned shrimp horizontally across the center of the rice. Add a spoonful of salsa, a dollop of sour cream, and a few cilantro leaves. For an extra kick, add some thinly sliced jalapeo and a splash of hot sauce if desired.
Step 5: Roll the Sushi
Using the bamboo mat, carefully lift the edge of the nori closest to you and begin rolling it away from you. Use gentle pressure to keep the roll tight and compact. As you roll, ensure the fillings stay in place and the rice adheres to the nori. Once you reach the border, moisten it with water to seal the roll.
Step 6: Slice the Roll
Once your roll is complete, use a sharp sushi knife to slice it into bite-sized pieces. It’s important to clean the knife with a damp cloth between cuts to ensure clean slices. Arrange the pieces on a serving platter for an impressive presentation.
Step 7: Garnish and Serve
To elevate your Mexican sushi roll, garnish it with fresh cilantro leaves, a sprinkle of lime juice, and an extra drizzle of salsa. These finishing touches enhance the flavors and make the dish visually appealing. Serve your Mexican sushi rolls with additional salsa and lime wedges on the side for a customizable dining experience.
Serving Suggestions and Pairings
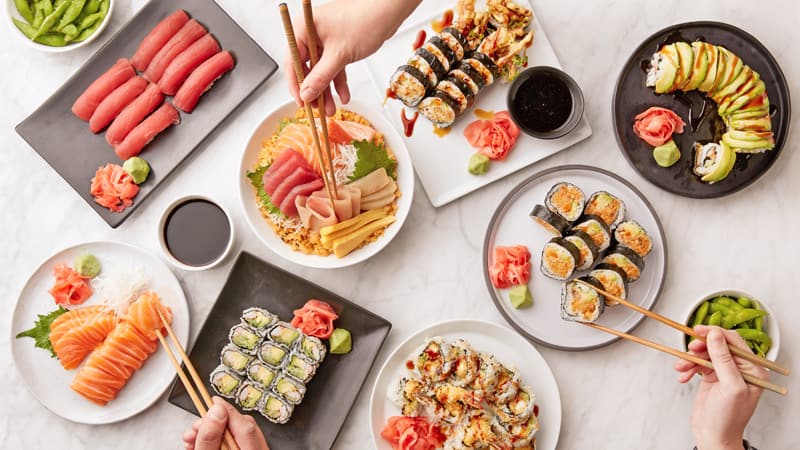
Mexican sushi rolls are incredibly versatile and can be served as an appetizer, a main course, or even as party snacks. Here are some serving suggestions and pairings to enhance your dining experience:
- Pair with a margarita or a light Mexican beer for a refreshing beverage option.
- Serve alongside a fresh salad with a zesty lime vinaigrette for a balanced meal.
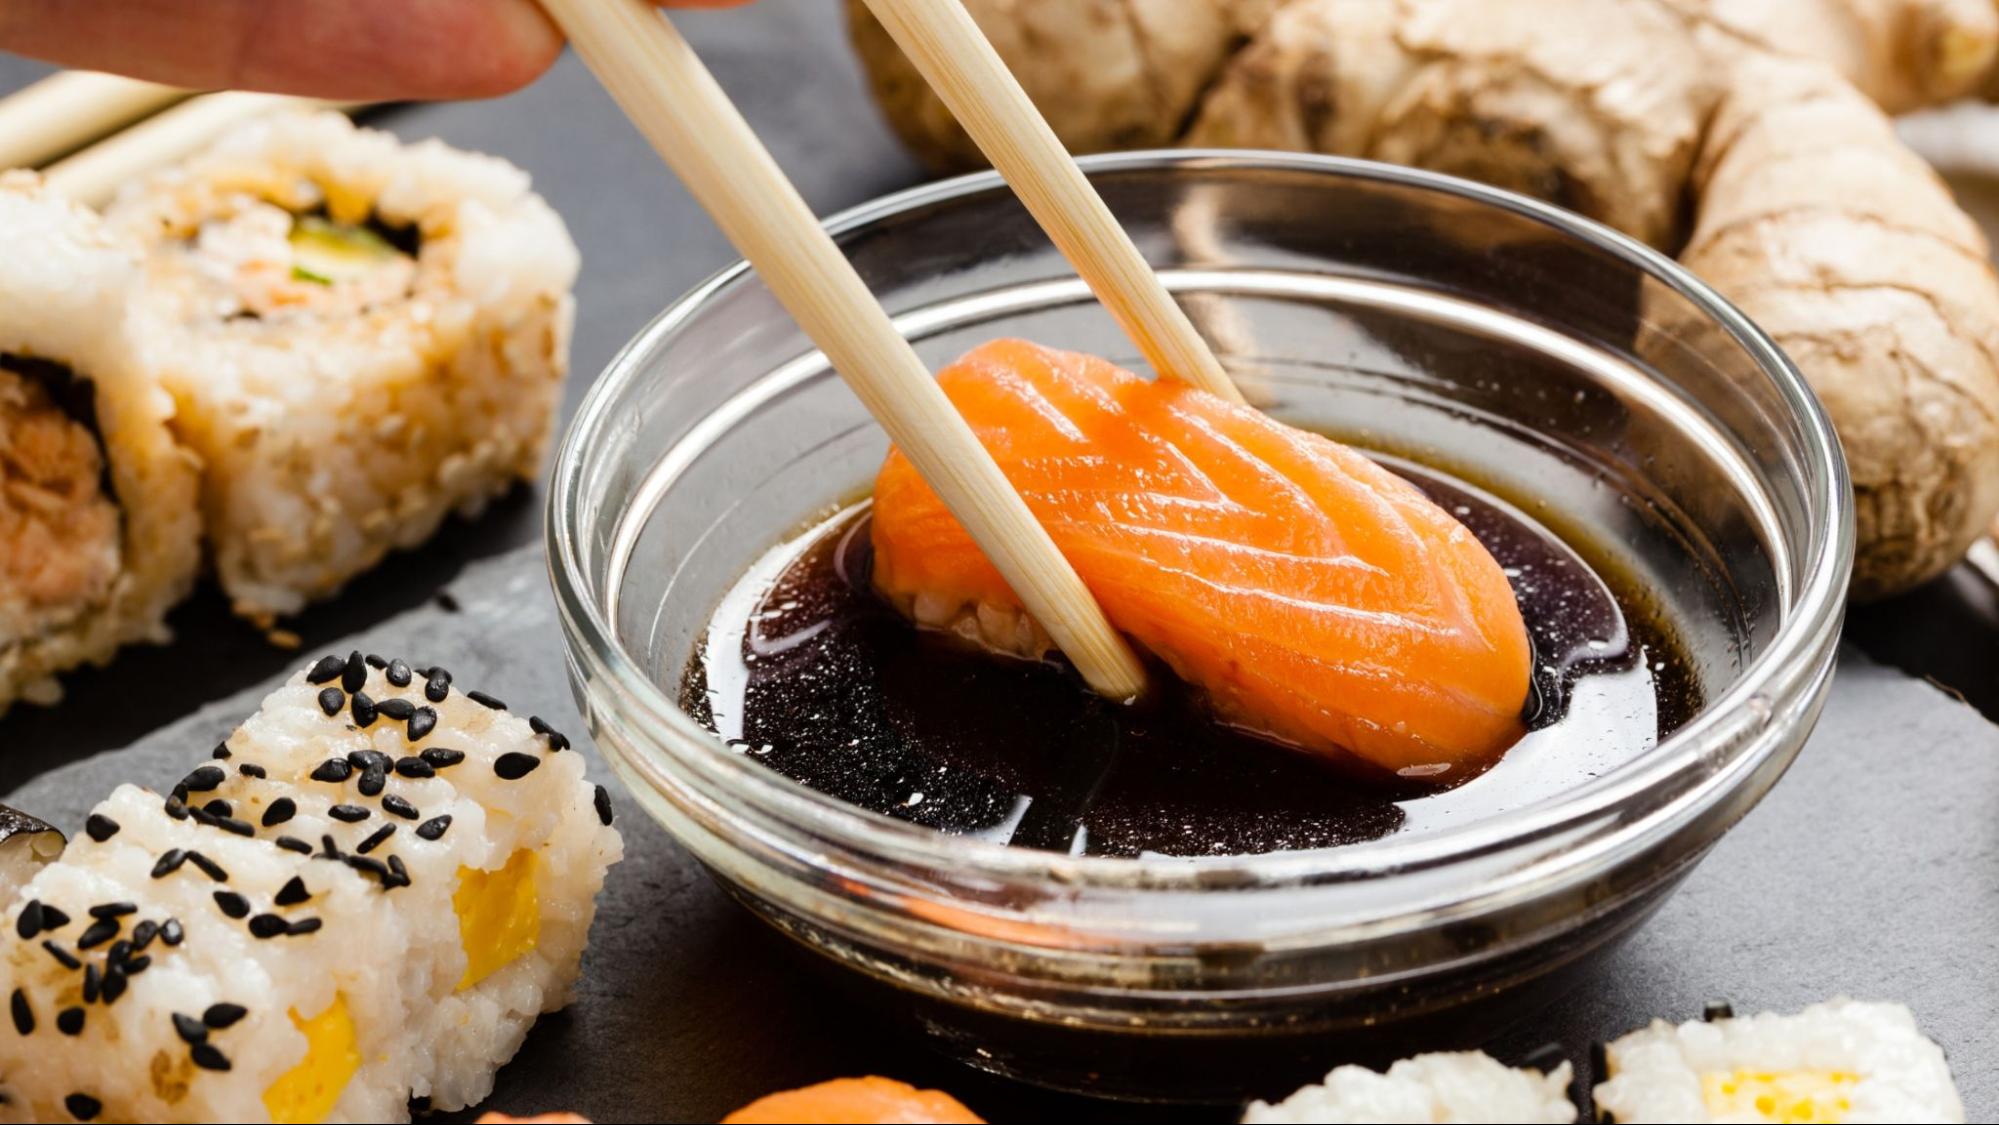
- Offer a variety of dipping sauces, such as spicy mayo, avocado crema, or chipotle aioli, to complement the flavors of the sushi rolls.
- For a complete fusion meal, serve the sushi rolls with sides like Mexican rice, refried beans, or corn salad.
Tips and Tricks for Perfect Mexican Sushi Rolls
Creating the perfect Mexican sushi roll may seem daunting, but with a few tips and tricks, you’ll be a fusion sushi master in no time:
- Use fresh, high-quality ingredients for the best flavor and texture.
- Keep a bowl of water nearby to moisten your fingers and the knife while handling the rice and slicing the rolls.
- Practice makes perfect. Don’t be discouraged if your first attempts aren’t flawless; sushi rolling takes time and patience to master.
- Experiment with different fillings and flavor combinations to create your unique fusion sushi rolls.
- Watch tutorial videos or take a sushi-making class to improve your skills and techniques.
Frequently Asked Questions
Here are some common questions and answers about making Mexican sushi rolls:
Q: Can I use brown rice instead of sushi rice?
A: While traditional sushi rice is recommended for its sticky texture, you can use brown rice as a healthier alternative. Keep in mind that the texture and flavor may differ slightly.
Q: How do I store leftover sushi rolls?
A: Store leftover sushi rolls in an airtight container in the refrigerator for up to 24 hours. Keep in mind that the texture of the rice and fillings may change over time.
Q: Can I make the sushi rolls ahead of time?
A: Yes, you can make the sushi rolls a few hours ahead of time and store them in the refrigerator. However, for optimal freshness and texture, it’s best to assemble them just before serving.
Conclusion
Embark on a culinary adventure with this delightful Mexican sushi roll recipe. The harmonious blend of Mexican flavors and traditional Japanese sushi techniques creates a unique and satisfying dining experience that’s sure to impress. Whether you’re a sushi enthusiast or a fusion food lover, this recipe is a must-try. Don’t forget to explore other exciting sushi recipes like deep fried rolls, California rolls, and lobster rolls. Happy rolling!
Final Touch: Clean-Up and Maintenance
After enjoying your Mexican sushi rolls, it’s essential to clean and maintain your cookware to ensure longevity and optimal performance. Here are some recommended cleaning products:
As an Amazon Associate, I earn from qualifying purchases.