 by
by If you’re a sushi enthusiast, you’ve probably heard about the key ingredient that makes sushi truly delectable: Nishiki sushi rice. Known for its premium quality, Nishiki sushi rice has a sticky, slightly sweet texture that is perfect for sushi. In this Nishiki sushi rice recipe, we’ll walk you through the detailed steps to create the ideal sushi rice, perfect for both beginners and seasoned culinary explorers.
Why Choose Nishiki Sushi Rice?
Choosing the right sushi rice is essential, and that’s where Nishiki sushi rice excels. This medium-grain rice offers a soft, adhering texture that’s crucial for rolling sushi, making nigiri, or crafting other sushi forms. Thanks to its ability to absorb flavors while retaining its shape, Nishiki sushi rice stands out as a superior choice.
Ingredients You’ll Need
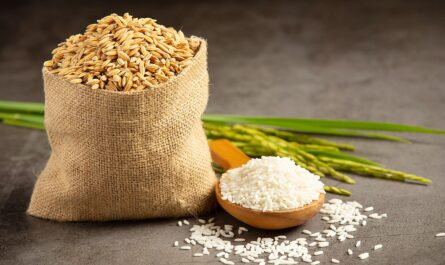
- 2 cups Nishiki sushi rice
- 2.5 cups water
- 1/2 cup rice vinegar
- 2 tablespoons sugar
- 1 tablespoon salt
Essential Cookware
Before diving into the Nishiki sushi rice recipe, it’s crucial to gather the right cookware. Investing in quality tools can make the process smoother and more enjoyable.
The Steps to Perfect Nishiki Sushi Rice
Step 1: Rinse the Rice
The first step in making perfect Nishiki sushi rice is rinsing the rice to remove excess starch. Place the two cups of Nishiki sushi rice in a strainer and rinse under cold water until the water runs clear. This step helps to achieve the desired sticky texture.
Step 2: Cook the Rice
Using a rice cooker, add the rinsed Nishiki sushi rice and the 2.5 cups of water. Set the rice cooker to cook and wait for it to complete the cycle. A rice cooker ensures even cooking, giving you perfectly cooked sushi rice each time.
Step 3: Prepare the Sushi Vinegar
While the rice is cooking, prepare the sushi vinegar. In a small saucepan, combine 1/2 cup rice vinegar, 2 tablespoons sugar, and 1 tablespoon salt. Heat the mixture over medium heat, stirring until the sugar and salt fully dissolve. Allow the mixture to cool.
Step 4: Season the Rice
Once the rice is cooked, transfer it to a cutting board or a Hangiri (a traditional wooden tub). Gradually blend in the cooled sushi vinegar, gently folding the rice to avoid crushing it. This step ensures that each grain is coated evenly, imparting that essential sushi flavor.
Step 5: Cool the Rice
Allow the seasoned rice to cool to room temperature. You can use a handheld fan or simply let it sit. Cooling the rice is crucial as it helps achieve the ideal texture, making it easy to handle for sushi preparation.
Using the Perfect Nishiki Sushi Rice
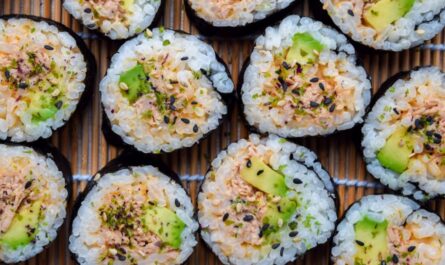
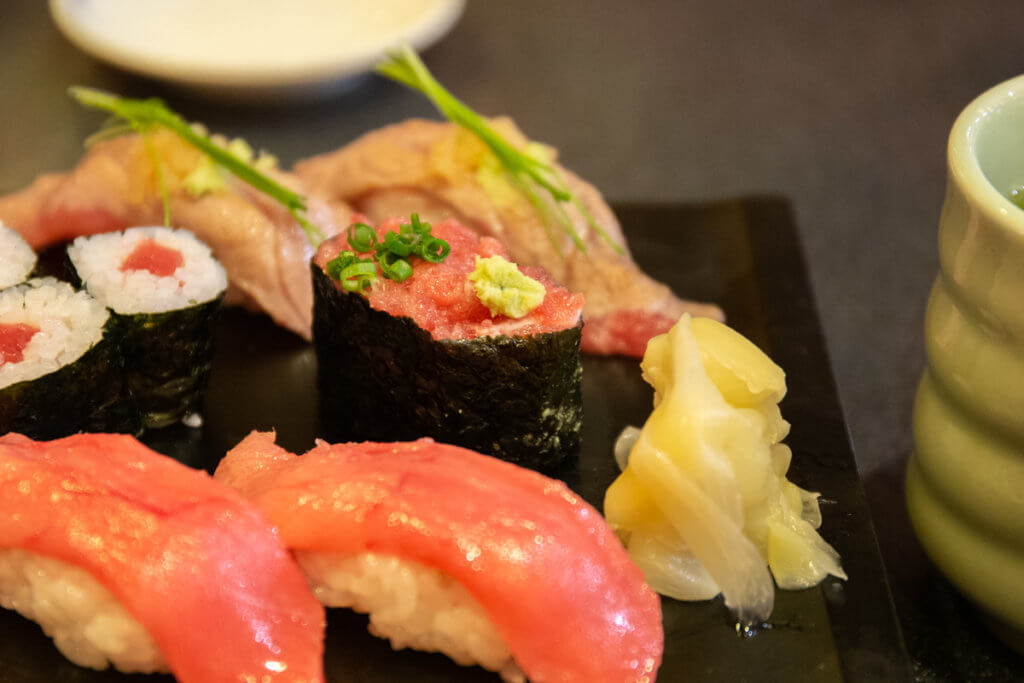
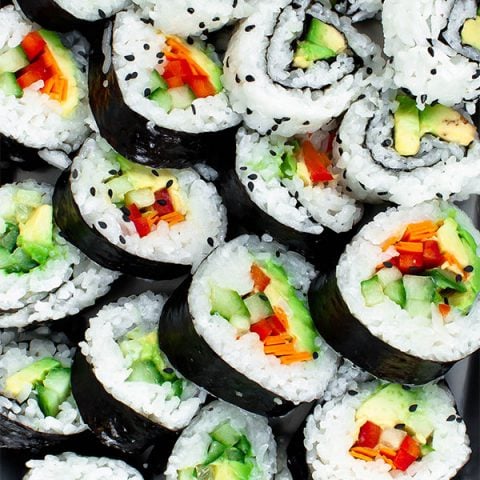
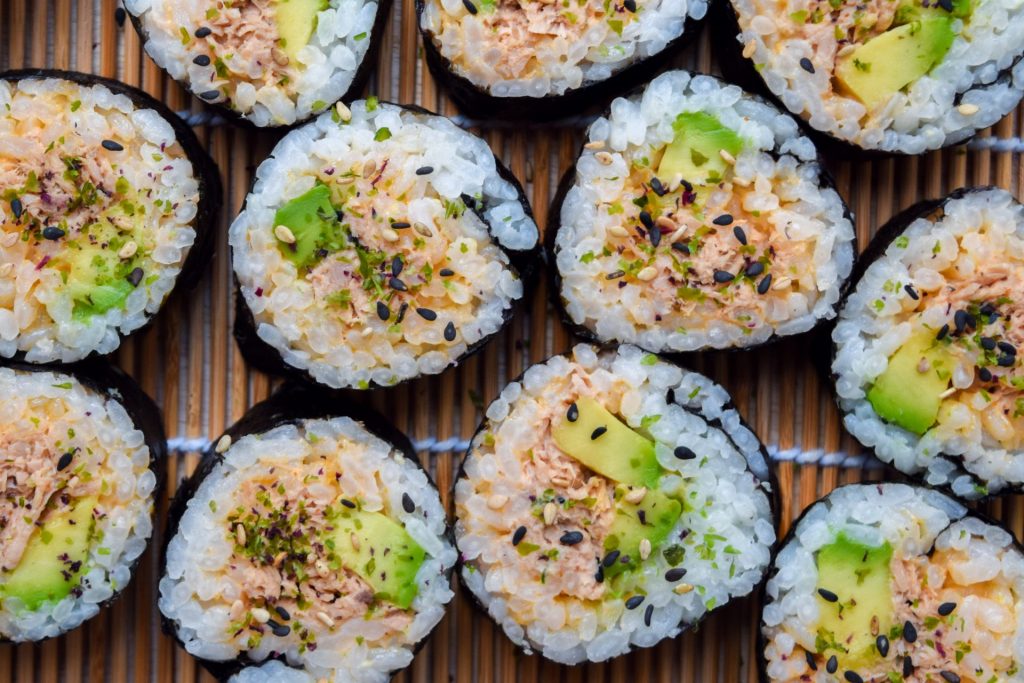
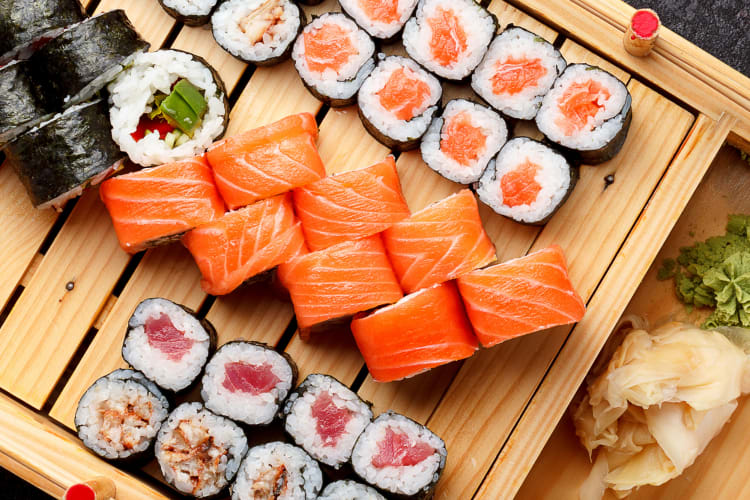
Now that you’ve mastered the art of making Nishiki sushi rice, it’s time to put it to good use! This rice is versatile and can be used to make a variety of sushi types.
Troubleshooting Common Issues
While making sushi rice can be straightforward, minor issues may arise. Here are some common problems and how to address them:
- Rice too hard: Ensure you’re using the right water-to-rice ratio. Too little water can result in undercooked, hard rice.
- Rice too mushy: Overcooking or adding too much water can lead to this issue. Follow the specified measurements closely and use a rice cooker for consistency.
- Rice not sticky: Insufficient rinsing to remove starch can result in non-sticky rice. Make sure to rinse until the water runs clear.
- Dull flavor: Ensure the vinegar, sugar, and salt mixture is well-prepared and sufficiently cooled before folding it into the rice.
Maintaining Your Cookware
Now that you’ve made the perfect Nishiki sushi rice recipe, it’s essential to clean and maintain your cookware properly to ensure longevity and performance.
Enjoy your sushi-making journey and feel confident as you create delicious dishes that will impress your friends and family.
As an Amazon Associate, I earn from qualifying purchases.