 by
by The art of sushi is incomplete without the delicate and pungent touch of **pickled ginger**. Known as ‘gari’ in Japanese, this subtly sweet and sour garnish is a staple in the sushi world. In this article, we will explore the pickled ginger recipe for sushi in detail, ensuring that sushi enthusiasts can recreate this essential condiment at home with precision and ease.

Why Pickled Ginger?
Pickled ginger serves multiple purposes in sushi enjoyment. Not only does it cleanse the palate between different sushi flavors, but it also has antimicrobial properties that complement raw fish. The historical background of using pickled ginger with sushi is as fascinating as its tastedating back centuries to when preservation methods were paramount for safety. Whether you’re a home cook or a sushi aficionado, producing fresh, vibrant gari from scratch will elevate your dining experience to a new level.
Ingredients You’ll Need
- 200 grams of fresh young ginger
- 1 cup rice vinegar
- 1/2 cup white sugar
- 1/4 cup water
- 1 teaspoon salt
Essential Cookware and Tools
Creating perfect pickled ginger isn’t just about the ingredients; the right tools make all the difference. Here’s a list of essential cookware and tools you’ll need:
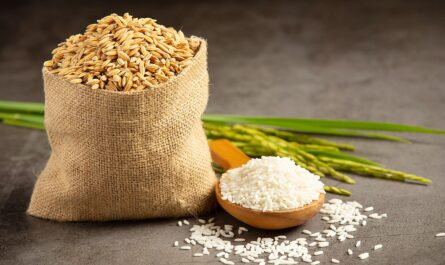
- Rice Cooker: For making the rice youll serve your sushi on.
- Sushi Knife: To slice the ginger paper-thin.
- Cutting Board: For preparing your ginger.
- Strainer: To rinse the ginger.
- Sushi Making Kit: For the full sushi-making experience.

Preparing the Ginger
Step 1: Choosing the Right Ginger
Selecting the right type of ginger is crucial. Opt for fresh young ginger, which is more tender and less fibrous compared to mature ginger. Look for ginger with a smooth, thin skin thats free of blemishes or wrinkles. The young ginger is distinguished by its pale, almost beige color and its moist, slightly shiny surface.
Step 2: Peeling the Ginger
Once you’ve selected your ginger, it’s time to peel it. Use a spoon to gently scrape away the thin skin. The spoon method is preferable as it prevents wastage and allows you to navigate the gingers knobby shape more easily. Make sure to get rid of any remaining skin bits that could compromise the texture of your final product.
Step 3: Slicing the Ginger
With a razor-sharp sushi knife, slice the peeled ginger as thinly as possible. The thinner the slices, the better the pickling process will be, and the more delicate the final product will taste. Lay the slices on your cutting board and ensure they are uniform in thickness for consistent pickling.
Pickling Process
Step 1: Salt the Ginger
Next, youll want to salt the ginger. Place the ginger slices in a bowl and sprinkle salt over them. Let them sit for 30 minutes to draw out excess moisture. This step is crucial for the pickling process as it ensures that your ginger will remain crisp and flavorful.
Step 2: Heat the Pickling Solution
In a saucepan, combine the rice vinegar, white sugar, water, and salt. Heat the mixture over medium heat until the sugar dissolves completely. The blend of these ingredients will create the signature sweet and tangy flavor that makes gari so irresistible. Make sure to stir constantly to prevent the sugar from burning or sticking to the pan.
Step 3: Pickling the Ginger
After the sugar has dissolved, remove the saucepan from the heat and let it cool slightly. Drain the excess salt and moisture from the ginger slices using a strainer. Then, transfer the ginger slices to a glass jar or any non-reactive container, and pour the pickling solution over them. Seal the jar tightly and let it sit at room temperature until it cools fully. Once cooled, transfer the jar to the refrigerator and let it pickle for at least 24 hours before serving. The gingers color may change slightly as it pickles, developing a slight pink hue.
Serving and Storing Pickled Ginger
Once your ginger has pickled sufficiently, its ready to serve! Dish it out in small quantities alongside your sushi, sashimi, or any Japanese fare. Pickled ginger can be stored in the refrigerator for up to a month. Ensure its always submerged in its pickling liquid to maintain its flavor and texture.
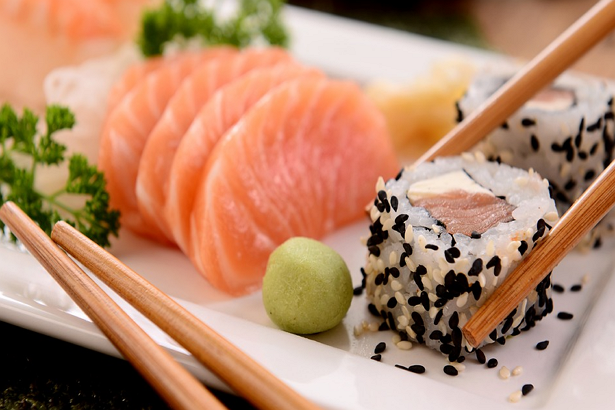
Pairing Your Pickled Ginger with Sushi
The Ideal Sushi Combinations
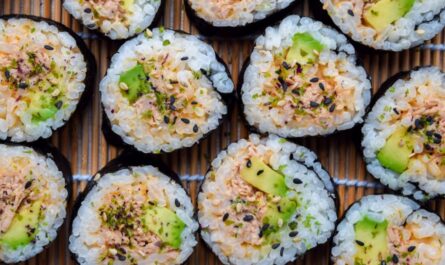
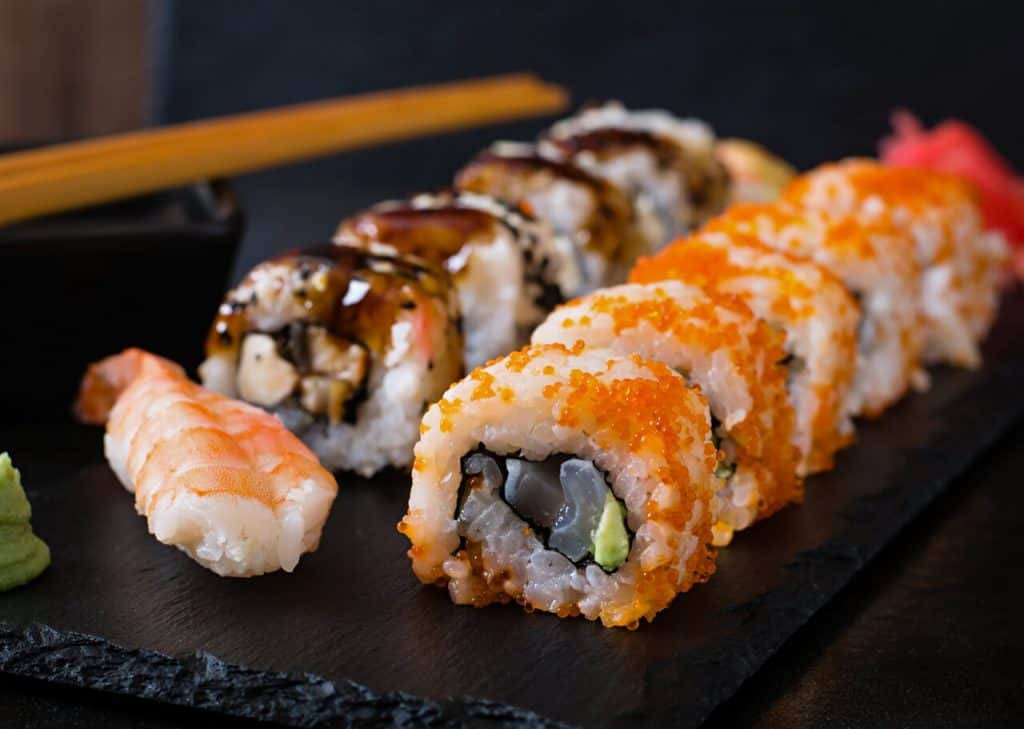
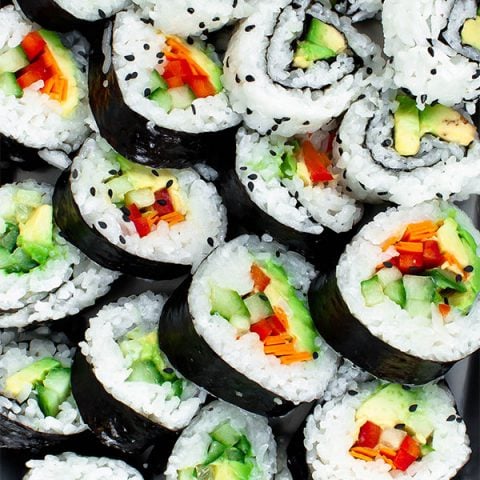
Pickled ginger pairs exceptionally well with a variety of sushi dishes. From classic California Rolls to more complex options like Volcano Rolls, gari enhances each bite by cleansing the palate and adding that perfect tangy zing. For an elevated experience, try it with Deep-Fried Sushi Rolls or the exquisite Lobster Rolls.
Advanced Tips for the Perfect Pickled Ginger
For those looking to refine their pickled ginger even further, here are some advanced tips to consider:
- Adjusting Sweetness: Depending on your preference, you can adjust the sugar levels in your pickling solution. More sugar will yield a sweeter ginger, while less sugar will give it a more tangy kick.
- Experiment with Add-ins: Try adding a piece of red shiso leaf or a few drops of sake to the pickling solution for an enhanced depth of flavor.
- Regular Stirring: Every few hours during the initial pickling process, give your ginger a gentle shake to ensure all slices are uniformly submerged in the pickling liquid.
Cleaning and Maintaining Your Kitchenware
Maintaining the quality of your kitchen tools is crucial for consistent cooking results. After youve made your delicious pickled ginger, make sure to clean your cookware appropriately. Use a high-quality cookware cleaner to keep your pots and pans in pristine condition. It’s also a good idea to oil your cutting board regularly to prolong its lifespan and maintain its surface quality.
Conclusion
Making your own **pickled ginger** at home is a rewarding endeavor that adds an authentic touch to your sushi creations. With the right ingredients, tools, and a bit of patience, you can enjoy this traditional Japanese condiment in the comfort of your home. So, roll up your sleeves and indulge in the delicate, sweet-and-tangy flavors of homemade pickled gingera perfect complement to any sushi feast.
As an Amazon Associate, I earn from qualifying purchases.