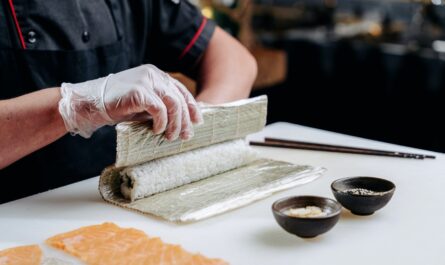
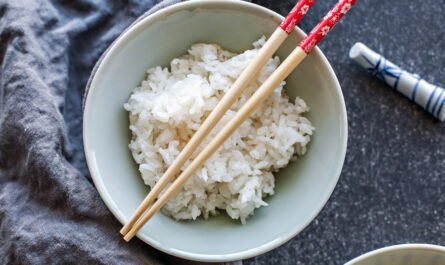
If you’ve ever tried to make sushi at home, you know how crucial it is to get the rice just right. Pressure cooker sushi rice offers a foolproof way to achieve that perfect sticky texture and rich flavor, making it a favorite among sushi enthusiasts. In this article, we’ll explore the benefits of using a pressure cooker for sushi rice and guide you through the process step-by-step. Let’s dive into the world of sushi and discover how to make perfect sushi rice with ease.

Why Choose Pressure Cooker Sushi Rice?
The art of making sushi rice lies in achieving the right consistency, which is sticky yet firm. This can be challenging using conventional methods. With a pressure cooker, you can simplify the process and enhance the rice’s flavor and texture. Here are some reasons why using a pressure cooker is an excellent choice for sushi rice:
- Consistency: A pressure cooker ensures even cooking, providing a consistent texture in each grain.
- Speed: It significantly reduces cooking time, allowing you to prepare sushi rice quickly.
- Flavor: The sealed environment of a pressure cooker locks in flavors, enhancing the taste of the rice.
Essential Ingredients for Pressure Cooker Sushi Rice
To make the perfect sushi rice, you’ll need a few key ingredients:
- Sushi Rice: Opt for short-grain or medium-grain rice, specifically labeled for sushi.
- Rice Vinegar: Adds a tangy flavor to the rice.
- Sugar and Salt: Balances the acidity of the vinegar.
- Kombu (optional): A piece of dried kelp that enhances the umami flavor.
Ensure you have these ingredients on hand before starting the cooking process.
Step-by-Step Guide to Making Pressure Cooker Sushi Rice
Step 1: Rinse the Rice
Begin by rinsing the rice under cold water to remove excess starch. This step is crucial for achieving the right texture. Rinse until the water runs clear.
Step 2: Measure the Ingredients
For every cup of rice, use 1.25 cups of water. Add a piece of kombu to the pot if desired.
Step 3: Cook in the Pressure Cooker
Add the rice and water to the pressure cooker. Seal the lid and set it to high pressure for 6 minutes. Once done, allow the pressure to release naturally for 10 minutes before opening.
Step 4: Season the Rice
Transfer the cooked rice to a large bowl. Mix rice vinegar, sugar, and salt, and gently fold it into the rice while it’s still warm. Be careful not to mash the rice.
Common Mistakes to Avoid
Even with a pressure cooker, there are some common pitfalls to be aware of:
- Overcooking: Follow the recommended time and pressure settings to avoid mushy rice.
- Using the Wrong Rice: Ensure you’re using the right type of rice for sushi.
- Skipping the Rinse: Rinsing the rice removes excess starch that can affect texture.
Serving Suggestions
Once your sushi rice is ready, you can use it to make a variety of sushi dishes. Whether it’s classic rolls, nigiri, or a creative sushi bowl, the possibilities are endless. For inspiration, check out this sushi rice fan guide for more ideas.
FAQs about Pressure Cooker Sushi Rice
Can I use any type of rice in a pressure cooker?
It’s best to use short-grain or medium-grain rice specifically labeled for sushi to achieve the desired texture and stickiness.
How do I store leftover sushi rice?
Store leftover sushi rice in an airtight container in the refrigerator. Reheat gently in the microwave with a damp paper towel to maintain moisture.
Can I make sushi rice without a pressure cooker?
Yes, you can use a traditional stovetop method, but using a pressure cooker is quicker and often yields more consistent results.

Conclusion
Making pressure cooker sushi rice is a straightforward process that can elevate your home sushi-making experience. By following these steps and tips, you’ll be able to create restaurant-quality sushi rice in the comfort of your kitchen. For more on rice varieties, visit The Culinary Pro. Enjoy your culinary journey!
This article contains affiliate links. We may earn a commission at no extra cost to you.


