 by
by Welcome to an exciting culinary adventure where we’ll be diving into the flavors and techniques of the spicy chicken sushi recipe. If you’re a sushi lover, this article is your ultimate guide to mastering the art of making delicious and spicy chicken sushi at home. From ingredients to step-by-step instructions, we’ve got you covered.
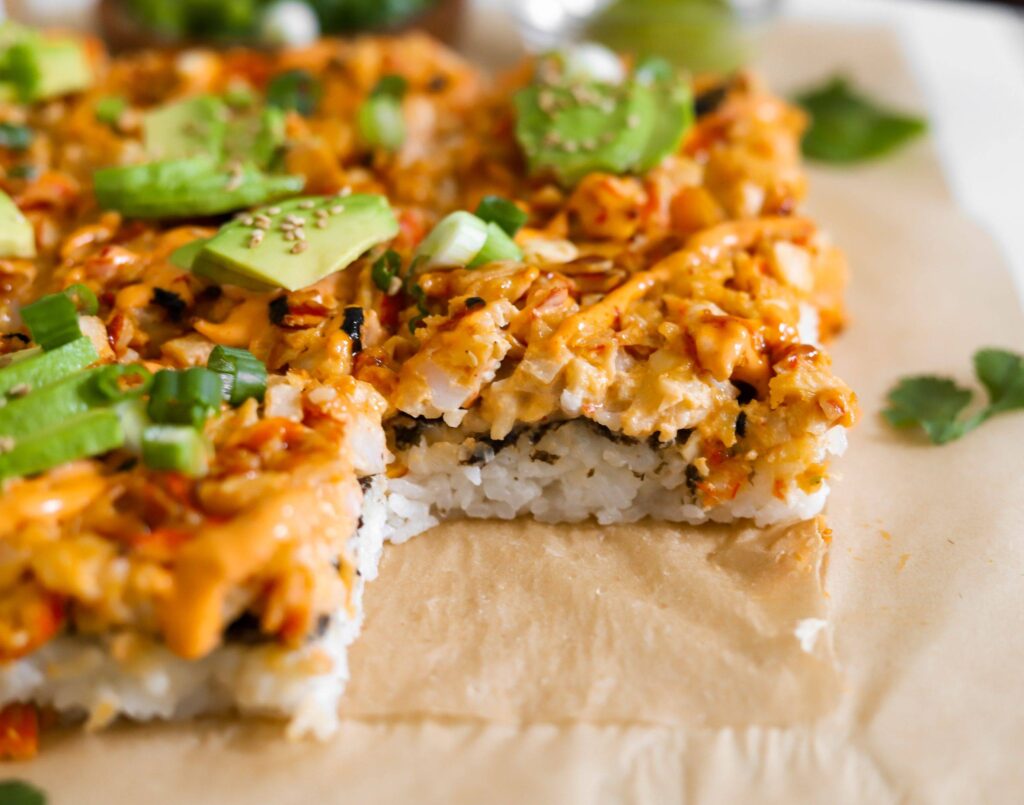
The Allure of Spicy Chicken Sushi
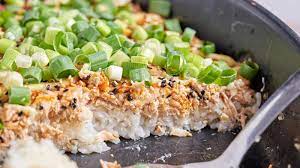
The spicy chicken sushi recipe combines the traditional elements of sushi with the zesty kick of spicy chicken. This fusion of flavors has captured the hearts of many sushi enthusiasts. The succulent and spiced chicken, paired with the freshness of sushi ingredients, creates a harmonious balance that’s hard to resist. Whether you’re preparing it for a special dinner, a party, or just craving something unique, spicy chicken sushi is sure to impress.
Ingredients You’ll Need
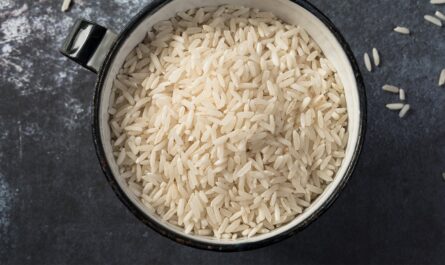
- 2 cups of sushi rice
- 2 1/2 cups of water
- 1/4 cup rice vinegar
- 2 tablespoons sugar
- 1 tablespoon salt
- 2 chicken breasts
- 2 tablespoons soy sauce
- 1 tablespoon sriracha sauce
- 1 tablespoon garlic powder
- 1 tablespoon onion powder
- 2 tablespoons vegetable oil
- 1 cucumber, julienned
- 1 avocado, sliced
- 4 sheets of nori (seaweed)
- Wasabi and pickled ginger for serving

Essential Cookware
Before diving into the preparation, it’s crucial to have the right tools on hand. Here’s a list of essential cookware:
Step-by-Step Preparation
1. Cooking the Sushi Rice
Start by washing the sushi rice thoroughly using a strainer to remove excess starch. Rinse until the water is clear. Place the rice and water in a rice cooker and cook. Once done, let the rice sit for 10 minutes to steam.
2. Preparing the Sushi Vinegar
In a small saucepan, mix rice vinegar, sugar, and salt. Heat gently until the sugar and salt dissolve. Drizzle the mixture over the cooked rice and fold gently to combine. Let the seasoned rice cool to room temperature.
3. Marinating and Cooking the Chicken
Slice the chicken breasts into thin strips. In a bowl, combine soy sauce, sriracha, garlic powder, and onion powder. Add the chicken strips and let them marinate for at least 30 minutes. Heat oil in a skillet and cook the marinated chicken until fully cooked and slightly crispy.
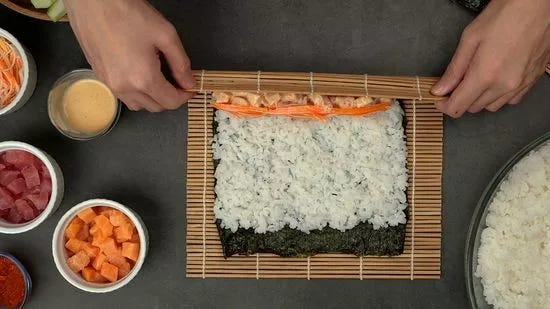
4. Assembling the Sushi Roll
Place a sheet of nori on a bamboo mat from your sushi making kit. Spread an even layer of sushi rice on the nori, leaving a small border at the top. Arrange cucumber, avocado, and cooked spicy chicken across the center of the rice.
5. Rolling the Sushi
Using the bamboo mat, carefully roll the nori, rice, and fillings into a tight cylinder. Wet the border of the nori with water to seal the roll. Repeat with the remaining ingredients.
6. Slicing the Sushi
Use a sharp sushi knife to slice the roll into bite-sized pieces. Wipe the knife with a damp cloth between cuts to ensure clean slices.
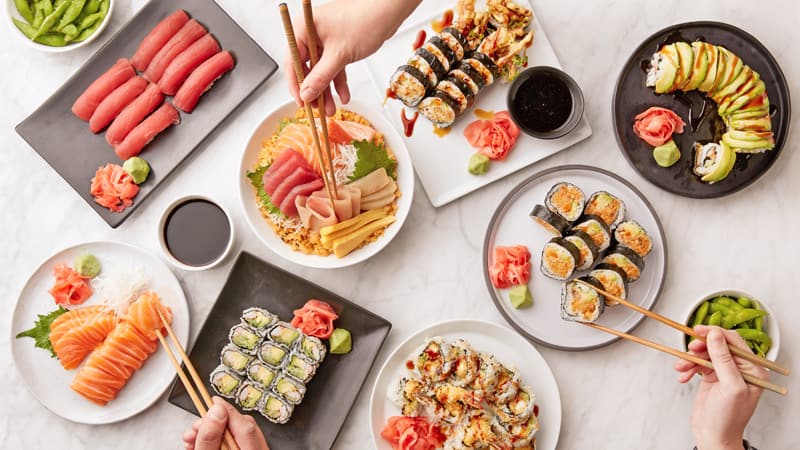
Serving and Enjoying Your Spicy Chicken Sushi
Arrange your spicy chicken sushi pieces on a serving platter. Serve with wasabi, pickled ginger, and soy sauce for dipping. The combination of flavors, from the spicy chicken to the tangy rice and fresh vegetables, will leave your taste buds dancing with delight.
Cleaning and Maintaining Your Cookware
After enjoying your delicious spicy chicken sushi, it’s essential to clean and maintain your cookware properly. Use a specialized cookware cleaner for your rice cooker and pans to ensure they remain in top condition. To keep your cutting board in pristine shape, apply a bit of cutting board oil regularly.
For more sushi recipes and inspiration, be sure to visit these articles:
If you are interested in mastering sushi techniques, don’t miss our detailed guides and delectable recipes at Sushi and Rice
As an Amazon Associate, I earn from qualifying purchases.