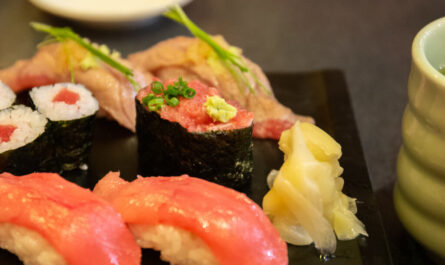
If you’re craving something that’s not only delicious but also a feast for the eyes, look no further than this spicy tuna crispy rice recipe. This incredible dish marries the rich, savory flavors of sushi-grade tuna with the crunchy texture of perfectly fried rice. It’s an absolute showstopper and a favorite among sushi aficionados. Whether you are preparing it for a gathering or treating yourself to a delightful meal at home, this recipe promises to take you on a culinary journey that’s hard to forget.
Overview of Spicy Tuna Crispy Rice
In the world of sushi, flavors and textures play a pivotal role in the overall experience. The spicy tuna crispy rice recipe does just that by blending the creamy spiciness of the tuna with the crunchiness of the rice. This combination tantalizes your taste buds and the crispness of the fried rice adds an undeniable textural contrast, making each bite a memorable encounter. The beauty of this dish lies not only in its flavors but also in its presentation; visually stunning and impressively crafted, this recipe is sure to wow your friends and family.
Gathering Your Ingredients
Ingredients:
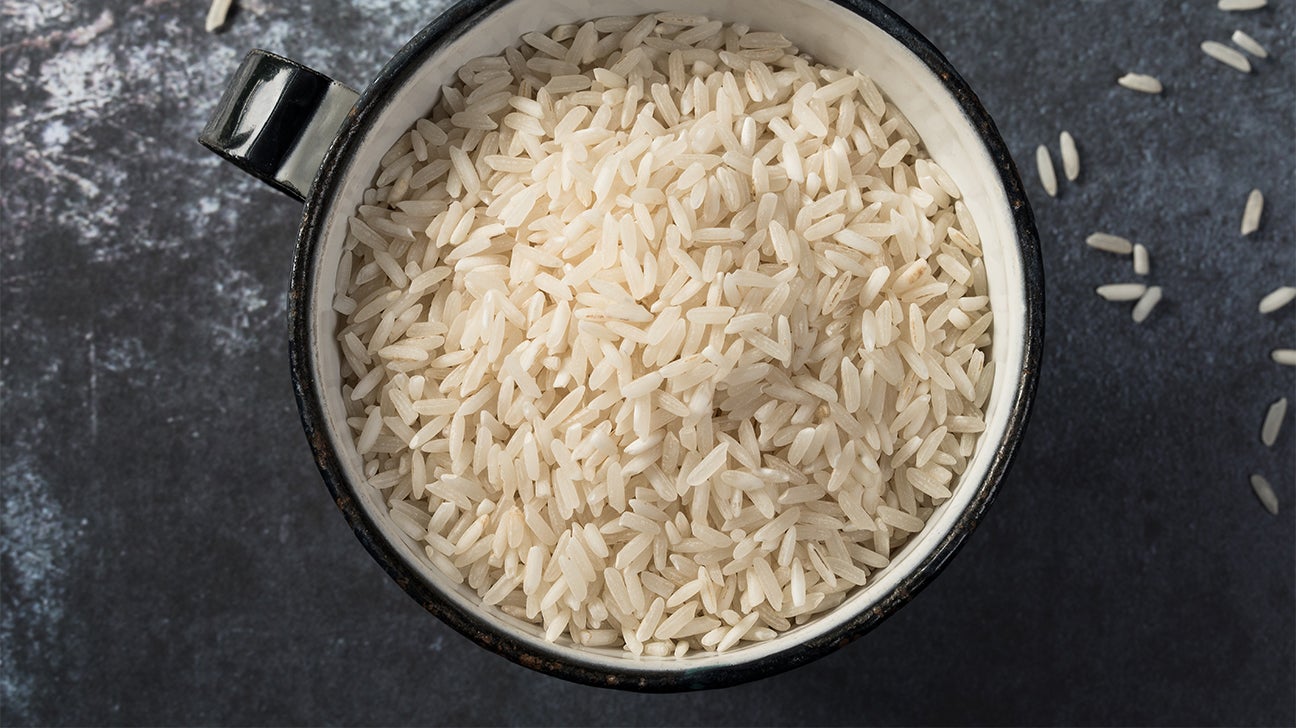
- 1 cup sushi rice
- 1 1/2 cups water
- 8 oz sushi-grade red tuna
- 2 tablespoons mayonnaise
- 2 teaspoons sriracha sauce
- 1 tablespoon green onion, finely chopped
- 1 avocado, sliced
- 1 cup panko breadcrumbs
- Vegetable oil for frying
- Sesame seeds for garnish
- Soy sauce for serving
To successfully execute this spicy tuna crispy rice recipe, its important to start with high-quality ingredients. The freshness of sushi-grade tuna gives the dish an unparalleled flavor profile. Make sure you visit your trusted fishmonger or reputable seafood market to get the best quality. Additionally, sushi rice is an essential component; its sticky and compact, which will help you form the rice squares. You can enhance your preparation with ingredients like sriracha sauce for that kick, and creamy mayonnaise to bind the spicy tuna filling together.
Cookware Youll Need
For preparing this remarkable dish, certain cookware will make your process a breeze:
- Rice Cooker: An essential appliance for making perfectly cooked sushi rice.
- Sushi Knife: A sharp, high-quality knife allows for precise slicing of the tuna and avocado.
- Cutting Board: A stable surface for all your cutting needs.

Preparation Steps for Spicy Tuna Crispy Rice
Step 1: Cooking Sushi Rice
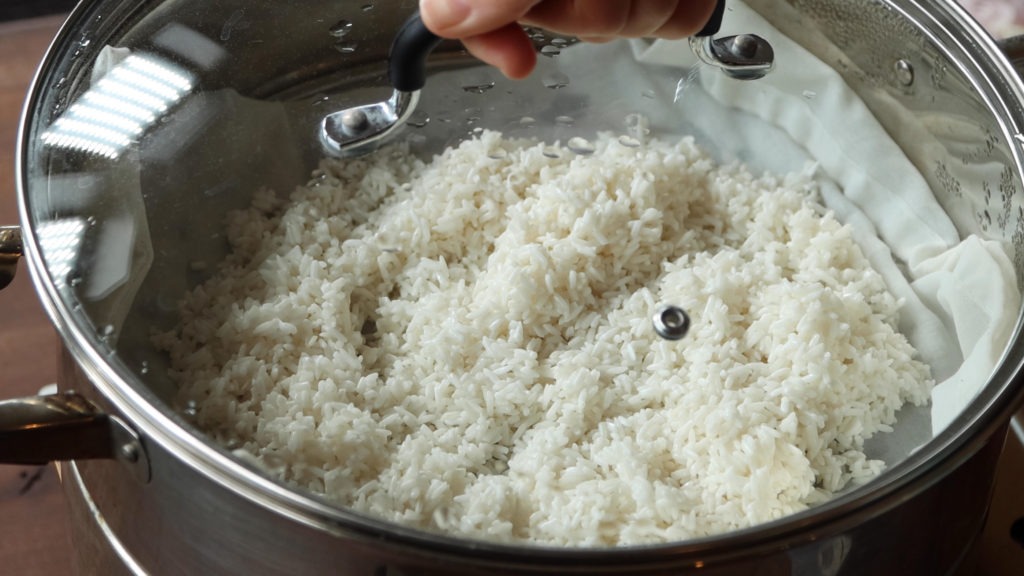
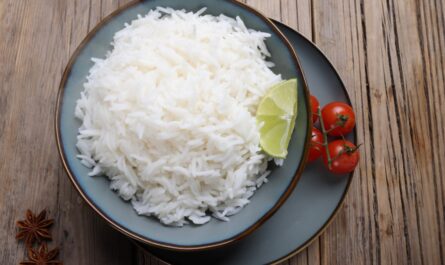
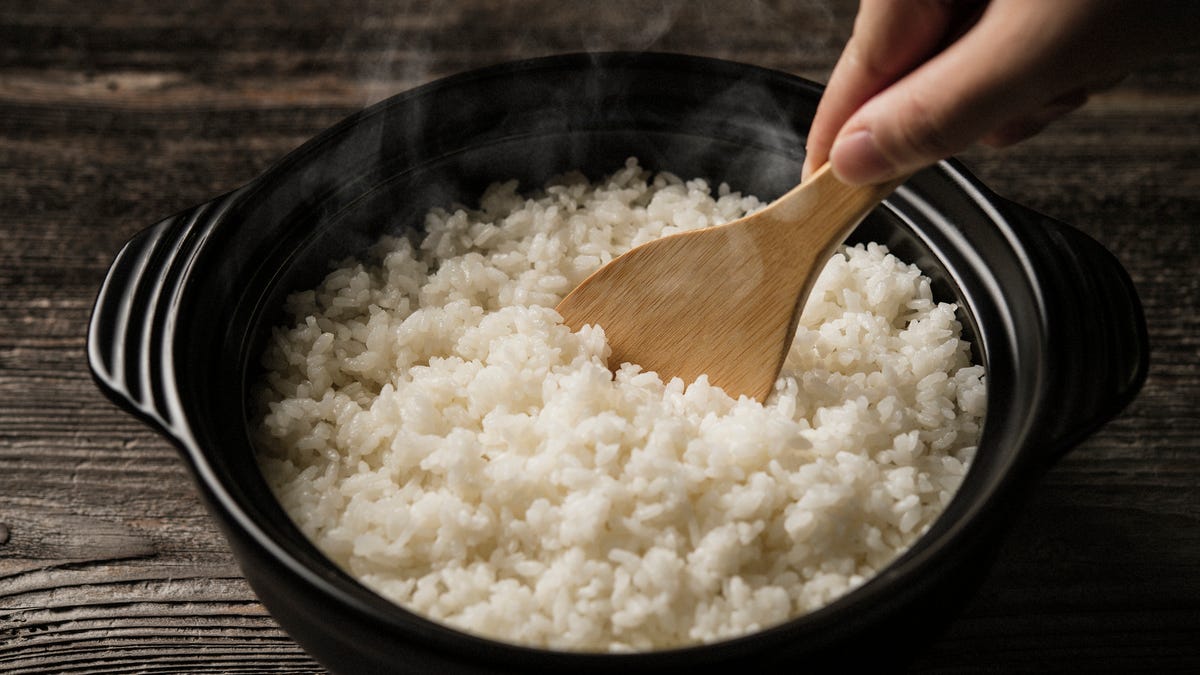
The backbone of this spicy tuna crispy rice recipe is the sushi rice. Begin by thoroughly rinsing the rice under cold water to remove excess starch. This step is crucial for achieving the correct texture. After rinsing, place the rice and water in a rice cooker and let it cook for about 20 minutes. Once cooked, stir the rice gently with a wooden spatula and allow it to cool. Its essential not to rush this process; letting the rice cool properly helps maintain its shape when making the crispy rice squares.
Step 2: Preparing the Spicy Tuna Mixture
While the rice is cooling, its time to tackle the spicy tuna mixture. Start by finely dicing the sushi-grade red tuna. The quality of the fish impacts the dish significantly, so ensure you use fresh tuna. In a bowl, mix the diced tuna with mayonnaise, sriracha sauce, and chopped green onions. This combination gives the tuna a spicy and creamy texture that beautifully complements the crispy rice.
Step 3: Forming Rice Squares
Once the sushi rice has cooled, its time to shape it. Use wet hands to handle the rice to prevent it from sticking to your palms. Take a small handful of the sushi rice and form it into compact rectangular squares, about 2 inches by 1 inch. This step requires a bit of finesse; too much pressure can lead to a dense texture that will not fry well. After forming the rice squares, place them on a plate and prepare for frying.
Step 4: Frying the Rice Squares
In a deep skillet or frying pan, heat enough vegetable oil to reach about 1/4 inch high. When the oil is hot, carefully place a few rice squares in the pan, making sure not to overcrowd the pan to maintain the perfect frying temperature. Fry them for about 2-3 minutes on each side or until golden brown and crispy. Once finished, transfer the crispy rice squares to a plate lined with paper towels to remove excess oil. This will leave you with a crunchy exterior, contrasting perfectly with the creamy filling.
Step 5: Assembling Your Spicy Tuna Crispy Rice
Now comes the exciting part: assembly! Take a fried rice square and spoon a generous helping of your spicy tuna mixture right on top. You can be creative here; consider garnishing the dish with thin avocado slices, sesame seeds, or even a drizzle of extra sriracha for that visual appeal. Repeat until all the rice squares are topped. The combination of flavors and textures at this stage is what makes this dish truly extraordinary.
Step 6: Serving Suggestions
Once your spicy tuna crispy rice recipe is complete, it’s time to serve! Arrange the squares on a serving platter and accompany them with soy sauce and wasabi on the side. This creates a delightful presentation, perfect for appetizers during a gathering or as a show-stopping main dish. Don’t forget to snap a few photos of your creation to entice your social media followers; you will want to show off your culinary skills!
Cleaning Your Cookware
Maintaining your cookware is essential to keep it in optimal condition. After preparing your delicious spicy tuna crispy rice recipe, make sure to clean your cookware properly:
- Cookware Cleaner: Useful for removing stubborn food particles from your pans.
- Cutting Board Conditioner: This will keep your cutting board in prime condition and extend its lifespan.
Boost Your Kitchen Skills
Every cooking endeavor gives us another opportunity to expand our kitchen skills. If you enjoyed making this spicy tuna crispy rice recipe, consider exploring more sushi recipes like Easy Cooked Sushi Recipe, Pregnancy Safe Sushi, and Vegetarian Sushi Recipe. Each of these will give you insight into different sushi-making techniques, enhancing your culinary prowess.
As an Amazon Associate, I earn from qualifying purchases.

