For sushi lovers, the quest for the perfect sushi rice can often feel like a never-ending journey. The sugarfish sushi rice recipe is a prime example of how a seemingly simple dish can elevate your homemade sushi to restaurant-quality levels. Whether youre an amateur home cook or a seasoned sushi chef, following this detailed guide will help you master the art of making impeccable sushi rice. In this comprehensive guide, you’ll find everything from ingredient lists and crucial cooking steps to tips for perfecting your technique.
Why Sugarfish Sushi Rice Recipe is Special
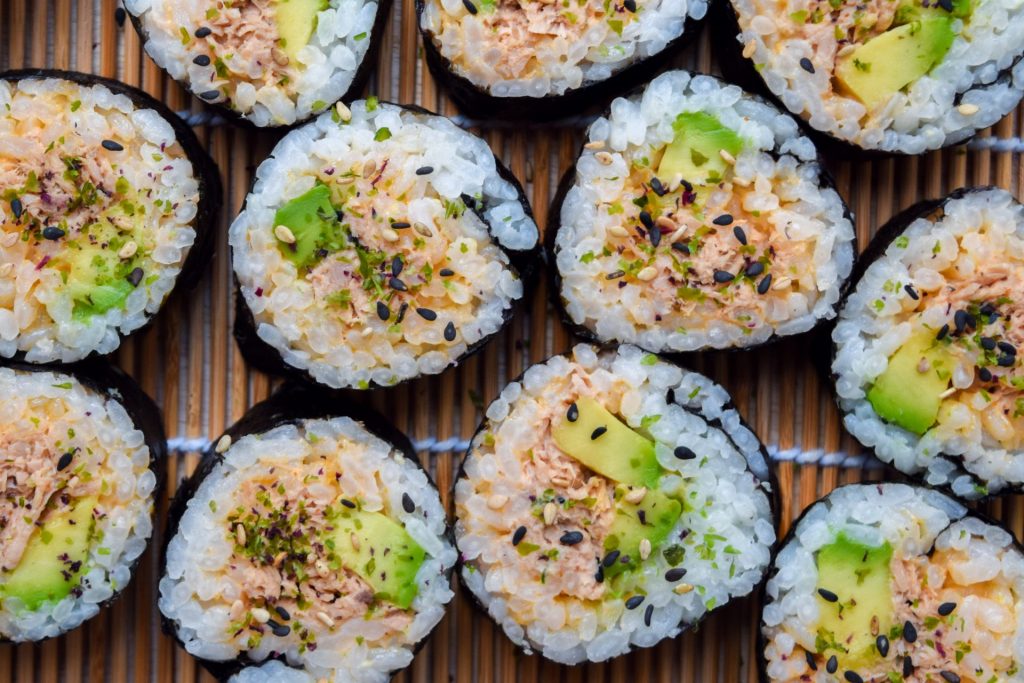
The secret to why the sugarfish sushi rice recipe tastes so exceptionally well lies in the special balance of vinegar and sugar, along with premium-grade short-grain sushi rice. The combination ensures that each grain is tender yet firm, with a flavor profile that’s perfectly balanced between sweet and tangy. This refined flavor makes it an ideal foundation for any sushi creation, from the more basic California rolls to more intricate sushi dishes.
Ingredients for Sugarfish Sushi Rice Recipe
- 2 cups of premium short-grain sushi rice
- 2 cups of water
- 1/4 cup of rice vinegar
- 2 tablespoons of sugar
- 1 1/2 teaspoons of salt
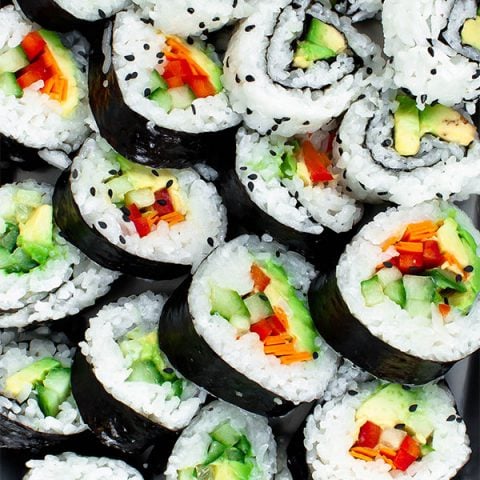
To achieve the best results, using top-quality ingredients is crucial. Make sure to select premium short-grain sushi rice, as it contains the right level of stickiness and texture essential for sushi rice. Additionally, you’ll need a rice cooker to ensure that your rice is cooked to perfection.

Step-by-Step Guide to Making Sugarfish Sushi Rice
Rinsing the Rice
Rinsing the rice is an essential first step. Place the rice in a strainer and wash it under cold running water, using your hands to gently rub the grains together. Continue rinsing until the water runs clear. This step helps remove any excess starch, ensuring that each grain remains separate and achieves the perfect texture.
Cooking the Rice
Using a rice cooker simplifies the cooking process. Add the rinsed rice and water to the cooker, close the lid, and start the cooking cycle. Avoid lifting the lid during cooking, as this can lead to uneven steaming.
Seasoning the Rice
While the rice is cooking, prepare the seasoning mixture. In a small saucepan, combine the rice vinegar, sugar, and salt. Heat the mixture over low heat, stirring constantly until the sugar and salt have fully dissolved. Remove the saucepan from heat and let it cool to room temperature.
Once the rice is cooked, transfer it to a large, non-metallic bowl, preferably a wooden cutting board. Pour the vinegar mixture over the rice and use a wooden spatula to gently fold the rice, ensuring that each grain is well-coated with the seasoning.

Tips for Perfecting Your Sugarfish Sushi Rice
Achieving the Ideal Texture
The key to achieving the ideal texture lies in the rinsing process. Make sure to rinse the rice thoroughly until the water runs clear. This helps remove excess starch that can cause the rice to become overly sticky.
Maintaining the Right Temperature
Sushi rice should be used at room temperature. Let the rice cool naturally after seasoning it. Avoid placing it in the refrigerator, as this can affect the texture and flavor of the rice.
Mastering the Balance of Flavors
The perfect sushi rice strikes a balance between tangy and sweet. Adjust the amount of vinegar, sugar, and salt in the seasoning mixture to suit your taste preferences. Feel free to experiment until you find the perfect balance that resonates with your taste buds.
Serving Suggestions
Once you’ve perfected your sugarfish sushi rice, you can use it as the foundation for a variety of sushi creations.
Explore these recipes to elevate your sushi-making skills to new heights.
Cleaning and Maintenance
After preparing your sugarfish sushi rice, it’s essential to clean your cookware and utensils properly. Use a cookware cleaner to keep your rice cooker in top condition. Additionally, maintain your cutting board by applying cutting board oil regularly to preserve its quality.
As an Amazon Associate, I earn from qualifying purchases.
As an Amazon Associate, I earn from qualifying purchases.

