 by
by If you are a sushi aficionado, you are in for a tantalizing treat! In this comprehensive article, I will walk you through the detailed and delightful process of crafting your very own sushi crunch roll at home. Known for its crispy topping and savory filling, the sushi crunch roll is a popular choice among sushi enthusiasts. Whether new to sushi-making or an experienced sushi chef looking to perfect your roll, this sushi crunch roll recipe promises to be well worth your effort. Sushi connects people to a rich culinary tradition that spans centuries, and recreating this at home can be both enjoyable and immensely satisfying.
Cooking sushi rice to perfection is an art, but with a handy Rice Cooker, the task is easily achievable. From prepping the rice to slicing fresh fish using a high-quality sushi knife, this guide provides step-by-step instructions for every process detail. So, roll up your sleeves, and let’s dive into making the crispiest, most delicious crunch roll sushi right in the comfort of your kitchen!
Essential Ingredients for Sushi Crunch Roll
Before we begin, gather the following ingredients:
- 2 cups sushi rice
- 2 1/2 cups water
- 1/2 cup rice vinegar
- 3 tablespoons sugar
- 1 teaspoon salt
- 4 sheets of nori (seaweed)
- 1/2 pound fresh salmon or tuna
- 1 avocado, thinly sliced
- 1 cucumber, julienned
- Tempura crisps (or panko breadcrumbs)
- Japanese mayonnaise
- Sriracha sauce (optional)
- Soy sauce for dipping
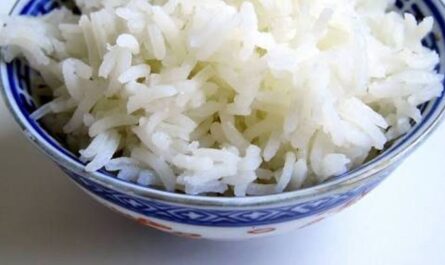
Step 1: Preparing the Sushi Rice
Sushi rice forms the foundation of any sushi roll. Cooking it to the perfect consistency is crucial to achieving a delectable sushi crunch roll. Start by rinsing 2 cups of sushi rice under cold water using a strainer until the water runs clear. This removes excess starch, ensuring a fluffy texture. Next, add the rinsed rice and 2 1/2 cups of water to a rice cooker, programming it to cook the rice perfectly. Once the rice is cooked, let it rest for 10 minutes before transferring it to a wooden or plastic bowl. To transform the plain rice into sushi rice, mix 1/2 cup rice vinegar, 3 tablespoons sugar, and 1 teaspoon salt in a small saucepan over low heat until the sugar dissolves. Drizzle this vinegar mixture evenly over the rice, gently folding it in with a wooden spatula.
Step 2: Prepping the Fillings
While the sushi rice cools, it’s time to prepare the delectable fillings that will nestle inside our crunchy sushi roll. Fresh and high-quality fillings elevate the taste of your sushi beyond measure. Begin with the fish – opt for either salmon or tuna, based on your preference. Using a sushi knife, carefully slice the fish into narrow strips, ensuring uniform thickness for an even roll. Next, peel and thinly slice the avocado, and julienne the cucumber into fine, slender sticks. While preparing these ingredients, I recommend using a cutting board to maintain clean and consistent cuts.
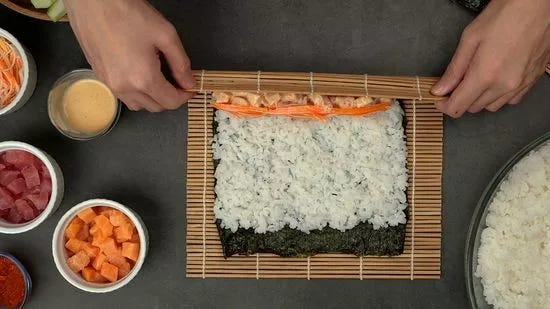
Step 3: Rolling the Sushi
Rolling sushi can seem daunting, but with the right approach and tools, it becomes an enjoyable process. Lay a bamboo mat on a flat surface and cover it with plastic wrap to prevent sticking. Place a sheet of nori on the mat, shiny side down. Wet your hands to prevent the rice from sticking to them, and grab a handful of sushi rice, spreading it evenly over the nori sheet. Be sure to leave a 1-inch border at the top. Next, line the rice with strips of fish, avocado slices, and julienned cucumber along the bottom edge. For an added kick, drizzle a line of Japanese mayonnaise and a light squeeze of Sriracha sauce across the fillings. To roll, lift the bamboo mat from the bottom edge and roll it upwards, tucking the fillings tightly within the rice and nori. Continue rolling until you reach the top border. Apply gentle pressure along the roll to ensure firmness and consistency. The roll is now ready for its crunchy exterior.
Step 4: Adding the Crunch
A defining feature of the sushi crunch roll recipe is its irresistibly crispy topping. You can achieve this texture using tempura crisps or panko breadcrumbs. Lightly toast the breadcrumbs in a dry skillet until they achieve a golden hue, or if using tempura crisps, simply spread them onto a plate. With a sharp sushi knife, slice the sushi roll into bite-sized pieces. Dip the top of each piece into the crispy topping, ensuring even coating. The contrast between the soft sushi and crunchy exterior creates an incredibly satisfying bite that will impress any sushi lover.
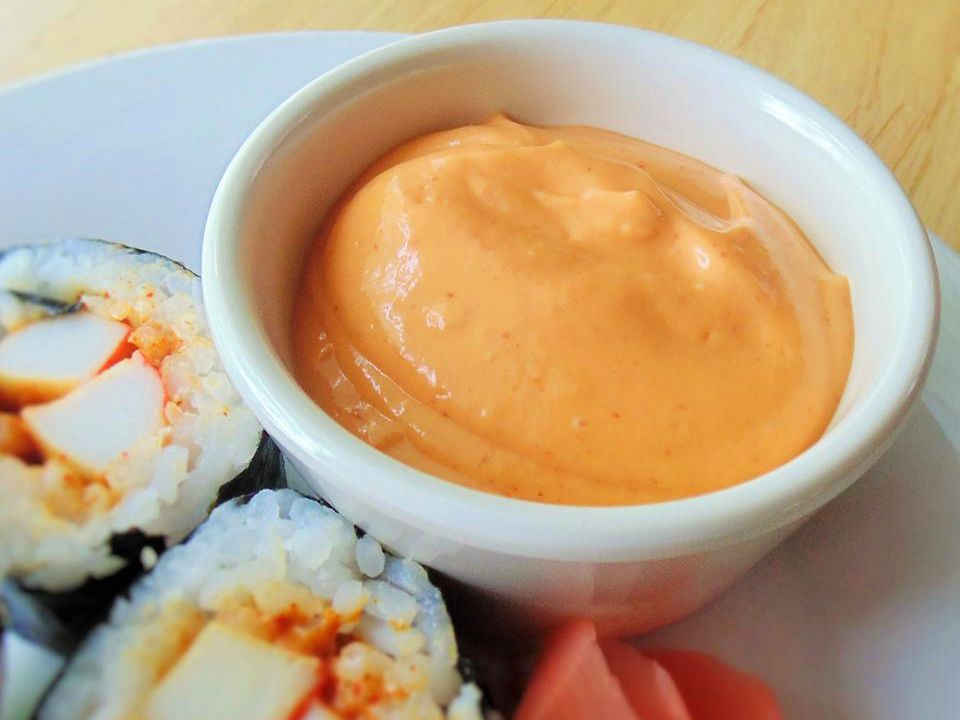
Step 5: Serving and Enjoying Your Sushi Crunch Roll
Presentation is key to an impressive sushi experience. Arrange the sushi rolls on a stylish sushi platter, accompanied by sliced ginger, wasabi, and a small bowl of soy sauce for dipping. The vibrant colors and textures of the sushi crunch roll make it an enticing visual treat. For those who enjoy a zestier flavor, provide a side of spicy mayo or eel sauce. Whether youre enjoying these rolls as an appetizer or main dish, their delicious flavors and crunchy textures will make them a standout choice. If you’re looking for more sushi recipes, try our Hawaiian Roll or California Roll to expand your culinary horizons.
Cleaning and Maintenance
After thoroughly enjoying your homemade sushi crunch roll, ensure your cookware cleaner is effective at removing any food residues. Clean your sushi knife with precision and care, using appropriate cleaning techniques to maintain its sharpness and durability. Similarly, use cutting board oil to keep your cutting board in optimal condition for future use. If you’re looking for more tips on maintaining your cookware, check out this guide on using and cleaning cast iron skillets.
As an Amazon Associate, I earn from qualifying purchases.