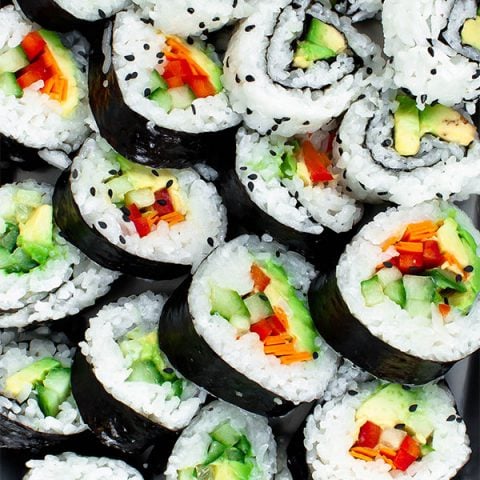
Looking for a fun and edible adventure in the kitchen? Our sushi recipe for kids is the perfect blend of excitement, taste, and creativity. Making sushi at home can be an enjoyable and educational experience, particularly for children. It involves a vibrant mixture of colours, textures, and flavours, all wrapped up in bite-size pieces. What could be a better way to introduce your kids to new cuisines and kitchen skills?

Why Kids Will Love This Sushi Recipe
Children love to play with their food, and sushi making is the perfect opportunity. The novelty of rolling their little sushi rolls and customizing them according to their tastes will keep them engaged for hours. Besides, this sushi recipe for kids is not just about the funit’s packed with nutrients, making it a balanced meal option. Ingredients like fresh vegetables, lean protein, and perfectly cooked sushi rice make it both tasty and healthy.

Essential Tools for Making Sushi
Before we dive into the details of this delightful sushi recipe for kids, let’s talk about the essential tools you’ll need to make your sushi-making experience smoother:

Ingredients You’ll Need
- 2 cups Sushi Rice
- 3 cups Water
- 1/4 cup Rice Vinegar
- 2 tablespoons Sugar
- 1 teaspoon Salt
- Nori Sheets
- 1 Cucumber, julienned
- 1 Carrot, julienned
- 1 Avocado, sliced
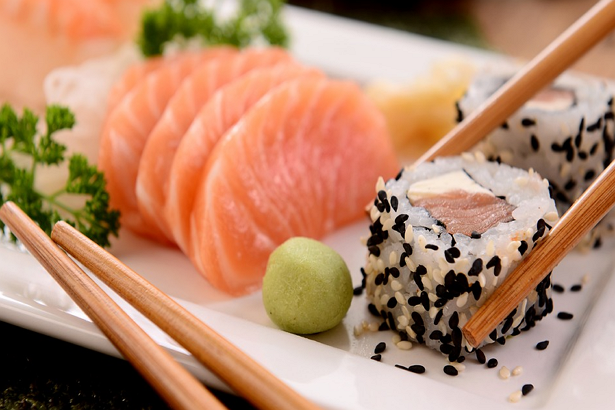
- Fish Roll or Cooked Chicken
- Soy Sauce for dipping

Step-by-Step Instructions
1. Preparing the Rice
The foundation of any great sushi roll is perfectly cooked rice. Start by rinsing the sushi rice under cold water using a strainer to remove excess starch. Cook the rice in a rice cooker with the water until it’s fluffy and tender. Once cooked, let it cool for a while. Mix in rice vinegar, sugar, and salt to season the rice. For a detailed guide on cooking the perfect rice, you may refer to this comprehensive article.
2. Preparing the Fillings
While the rice cools down, it’s time to prepare the fillings. Julienne the cucumber and carrot into thin strips, and slice the avocado. Ensure they are bite-sized and easy for kids to handle. If your kid is a fan of proteins, you can use fish roll or cooked chicken. Set all the ingredients aside in separate bowls to make the assembly process efficient.
3. Setting Up the Workspace
A tidy workspace can make the sushi-making process much more enjoyable. Use a cutting board to organize your ingredients and have all your tools within arm’s reach. Lay out your sushi making kit, and you’re all set to start rolling some sushi.
4. Rolling the Sushi
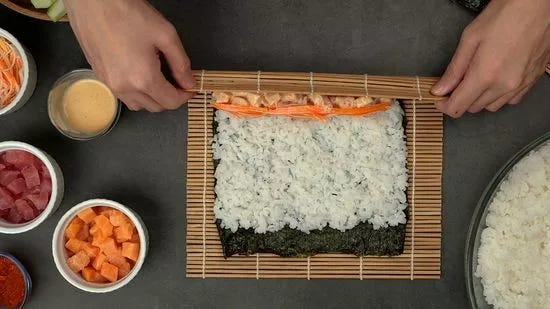
This is the part kids will love the most. Begin by placing a nori sheet on the bamboo mat, shiny side down. Spread an even layer of sushi rice over the nori, but leave a small border at the top. Arrange your chosen fillings in a line down the center of the rice. Carefully lift the edge of the bamboo mat and start rolling the sushi tightly, keeping the fillings in place. Once you reach the border, dab some water to seal the roll.
5. Slicing the Rolls
Next, use your sushi knife to slice the rolls into bite-sized pieces. Be sure to clean the knife with a damp cloth between cuts to keep the edges neat. For more advanced techniques or variations, check out this fun Deep Fried Sushi Roll method for a delicious twist.
Here’s an additional internal link for more inspiration: Lobster Roll Sushi.
6. Enjoying the Sushi
Your delicious homemade sushi is now ready for tasting. Serve it with a side of soy sauce for dipping, and watch as your kids delight in eating food they’ve made themselves. This simple sushi recipe for kids makes mealtime fun and interactive while introducing them to new flavors and textures.
Cleaning Up: Tools Maintenance
After creating a fantastic meal, it’s essential to clean and maintain your tools. Use a specialized cookware cleaner to ensure your rice cooker, knives, and other tools are in top condition for your next culinary adventure. For wooden surfaces like your cutting board, applying a bit of cutting board oil extends its lifespan and keeps it hygienic.
As an Amazon Associate, I earn from qualifying purchases.


