 by
by When it comes to crafting the perfect sushi at home, the cornerstone lies in the quality of the rice. Enter the elegant Zojirushi rice cooker, a masterpiece of technology that transforms the simple rice grain into the soul of sushi. This article delves extensively into the sushi rice recipe zojirushi to ensure your sushi experiences are nothing short of extraordinary.
Why Choosing the Right Rice Cooker Matters
In the art of sushi making, every detail mattersfrom the type of rice chosen to the precise temperature at which its cooked, and most importantly, the equipment used. This is where the Zojirushi rice cooker makes its grand entrance. With highly advanced cooking technology, it ensures consistency and perfection. The Zojirushi rice cooker is specifically designed to handle delicate sushi rice, offering precise temperature control and varying cooking settings that adapt to different kinds of rice.
When considering a rice cooker, it’s essential to focus on attributes such as capacity, material, and the cooking functions offered. The Zojirushi stands out not only because of its innovative fuzzy logic technology but also for its ability to cook other varieties of rice, make porridge, and even bake cakes. For sushi enthusiasts, its sushi rice setting ensures the perfect balance of moisture and texture. This makes it the ideal choice for anyone eager to elevate their sushi-making skills at home.
Essential Ingredients for Sushi Perfection
Ingredients:
- 2 cups of sushi rice
- 2 1/2 cups of water
- 1/2 cup of sushi vinegar (available online or at Asian grocery stores)
- 1/4 cup of sugar
- 1 teaspoon of salt
The ingredients you choose play an integral role in how your sushi rice turns out. The fundamental ingredient is the sushi rice. Short-grain or medium-grain Japanese rice like Koshihikari or Tamanishiki is ideal; it possesses the right balance of stickiness and flavor required for sushi preparation.
While sushi vinegar is readily available, making it at home allows for customization. A blend of rice vinegar, sugar, and salt is gently heated together until the sugar dissolves. This mixture, when added to the rice, is what gives sushi its distinctive flavor. Be sure to use a high-quality rice vinegar, as this will dramatically affect the taste of your final product.
The Step-by-Step Guide to Cooking Sushi Rice in a Zojirushi
1. Preparing the Rice: Begin by washing the rice thoroughly using a strainer. This step is crucial as it removes the surface starch from the rice, ensuring it remains sticky yet doesn’t turn into a mushy mass. Place the rice in a large bowl, add water, and swish the grains with your hand. Drain and repeat this process about four to five times until the water runs mostly clear.
2. Soaking the Rice: Transfer the rinsed rice into the Zojirushi rice cooker and add water (our sushi rice recipe zojirushi recommends 2 1/2 cups of water for 2 cups of rice). Allow the rice to soak for about 30 minutesthis helps the grains absorb water slowly and evenly.
3. Cooking the Rice: Set the Zojirushi rice cooker to the ‘Sushi’ setting. This function is specifically calibrated to cook the rice at the precise temperature and time required for sushi rice. While cooking, the cooker adjusts itself, ensuring that the rice is cooked evenly.
4. Seasoning the Rice: Once cooked, transfer the rice to a large cutting board or a wooden sushi tub (Hangiri). Gently fold in the vinegar mixture using a slicing motion with a sushi knife. The idea here is to season the rice evenly while simultaneously cooling it to room temperature. This cooling process helps develop the glossy and slightly firm texture required for sushi.
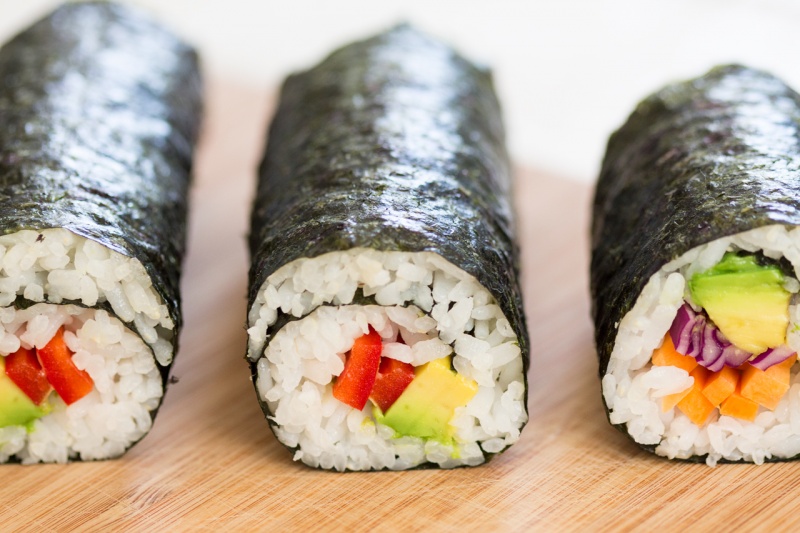
Perfecting the Art of Sushi Rolling
Now that you have your perfectly prepared sushi rice, it’s time to move on to assembling your sushi. For those new to sushi making, using a sushi making kit can simplify the process immensely.
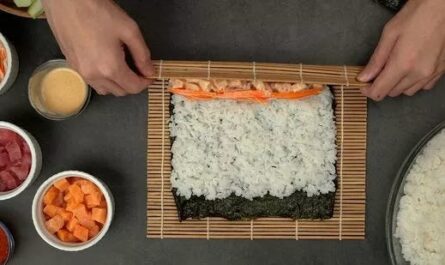
Lay out your nori seaweed sheet on a bamboo mat, shiny side down. Wet your fingers to prevent the rice from sticking, then spread a thin layer of sushi rice over the nori. Ensure you leave about an inch of space at the top. Add your fillings (such as cucumber, avocado, or fresh fish) in a thin line across the center of the rice. Using the bamboo mat, carefully roll up the nori, ensuring it stays tight and even. Once rolled, use the bamboo mat to gently press the roll, firming it up.
Serving and Enjoying Your Homemade Sushi
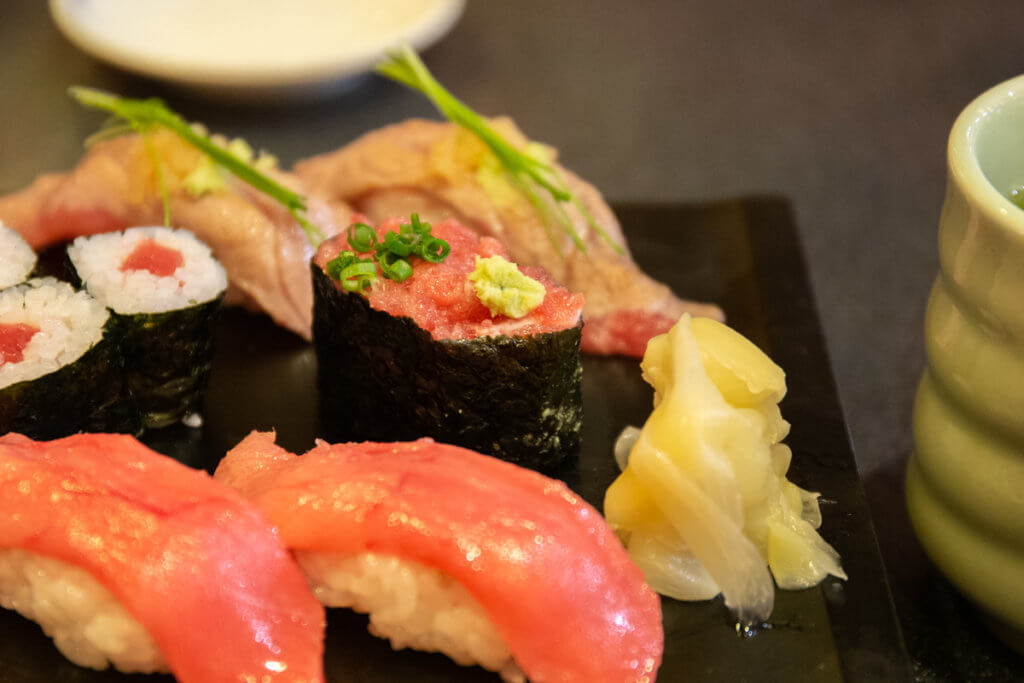
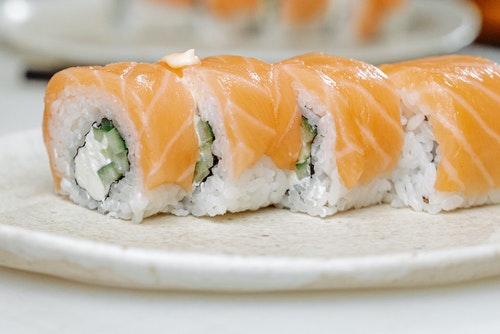
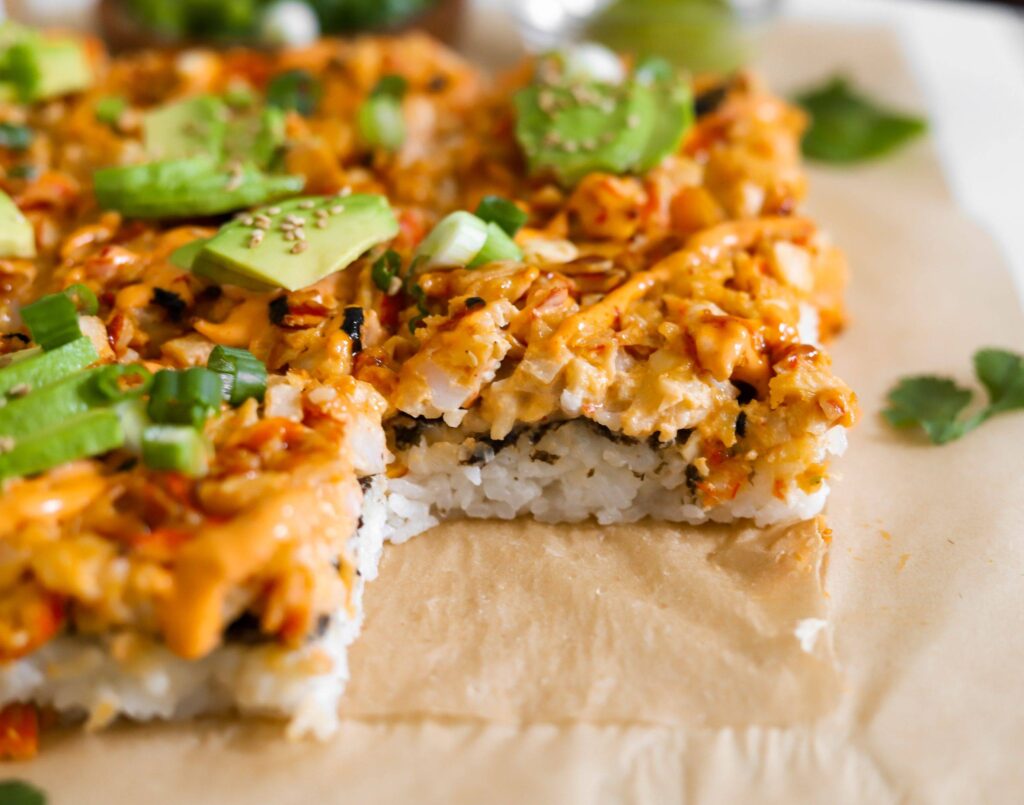
The beauty of making sushi at home lies in the endless customization options. Feel free to experiment with various fillings, dipping sauces, and even sushi roll variations. Check out some of these fantastic sushi roll recipes: Hawaiian Roll Sushi, Volcano Roll Sushi, and Deep-Fried Sushi Roll. Each recipe offers a unique twist, enriching your sushi experience even further.
To serve your sushi, consider presenting it on a beautiful wooden sushi plate, accompanied by pickled ginger, soy sauce, and wasabi. If you’re interested in perfecting your plating skills, viewing some professional techniques can be incredibly helpful.
Proper Care and Cleaning of Your Sushi Tools
Maintaining your sushi-making tools is just as important as the preparation process itself. A clean and well-maintained set of tools ensures longevity and better performance. For cleaning your rice cooker and other utensils, consider using a high-quality cookware cleaner. This ensures your tools stay in pristine condition, ready for your next sushi-making venture. Additionally, regularly treating your cutting boards with cutting board oil will help maintain the wood and prevent drying out or cracking.
As an Amazon Associate, I earn from qualifying purchases.