
 by
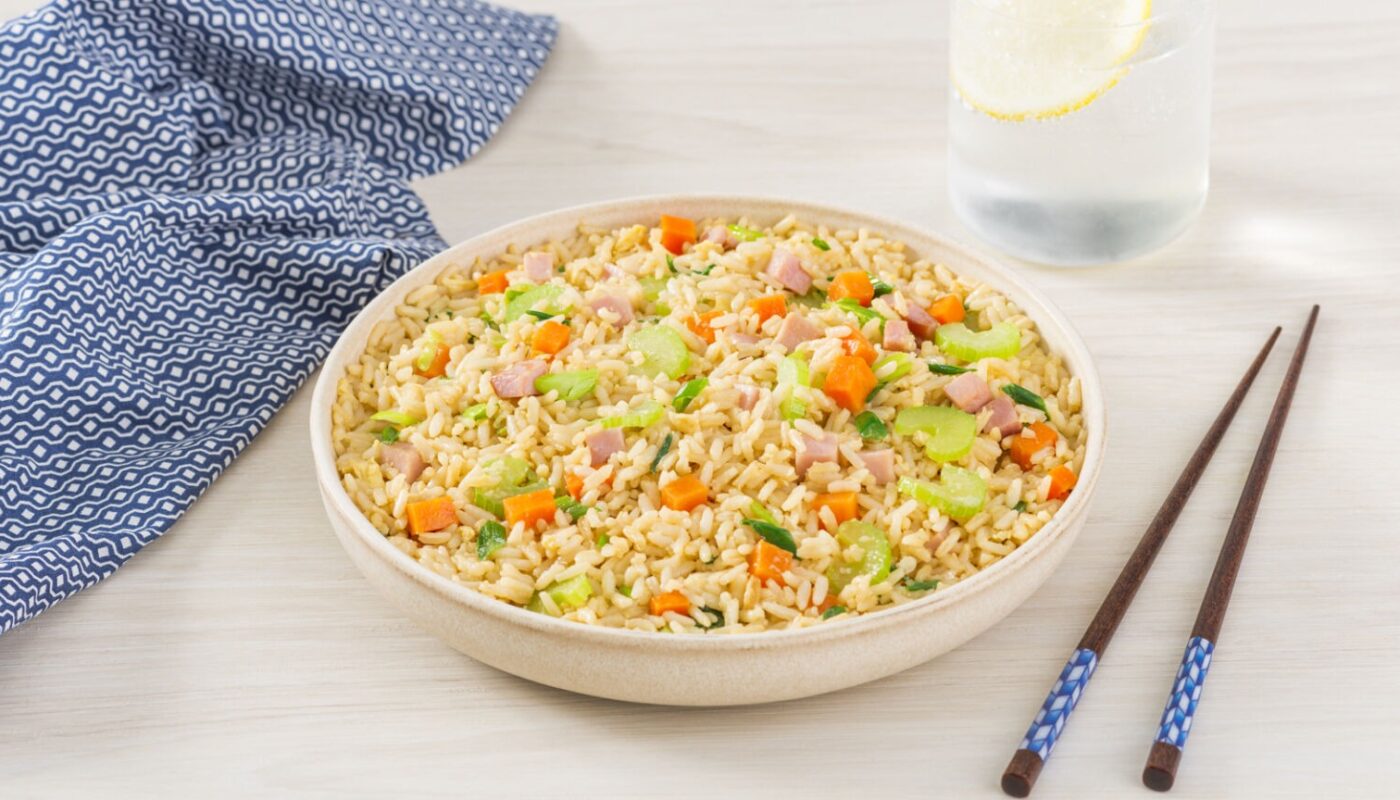
by Are you ready to unlock the secrets of an unforgettable **teppanyaki fried rice recipe**? This dish not only bursts with flavors but also showcases the beautiful artistry of Japanese cooking. If you are a sushi lover and enjoy experimenting in the kitchen, this is the perfect recipe for you.
What is Teppanyaki?
Teppanyaki is a popular style of Japanese cooking that uses a grill or iron plate. Originating from the streets of Japan, it highlights various ingredients, such as meats, seafood, and vegetables, cooked at high temperatures on a flat, iron surface. When it comes to creating a satisfying meal, adding rice to the mix transforms any teppanyaki dish into a wholesome experience. Therefore, crafting a delicious **teppanyaki fried rice recipe** can elevate your culinary adventures to a whole new level.
Why You Should Love Teppanyaki Fried Rice
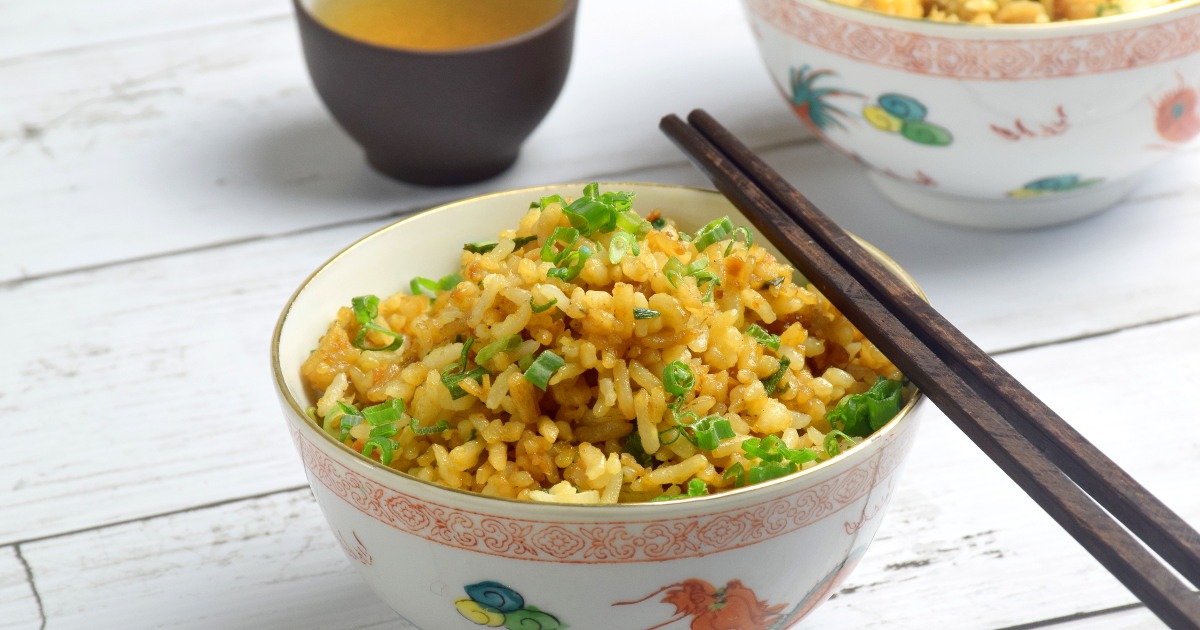
The beauty of **teppanyaki fried rice** lies in its versatility. You can adapt it to suit your taste preferences or cater to dietary restrictions. This dish is not only an excellent way to use leftover rice but also a canvas for adding various ingredients such as vegetables, proteins, and sauces. Plus, its a one-pan wonder that is perfect for a weeknight dinner or a special occasion.
Essential Ingredients for Your Teppanyaki Fried Rice
Ingredients:
- 3 cups of cooked jasmine rice (preferably day-old)
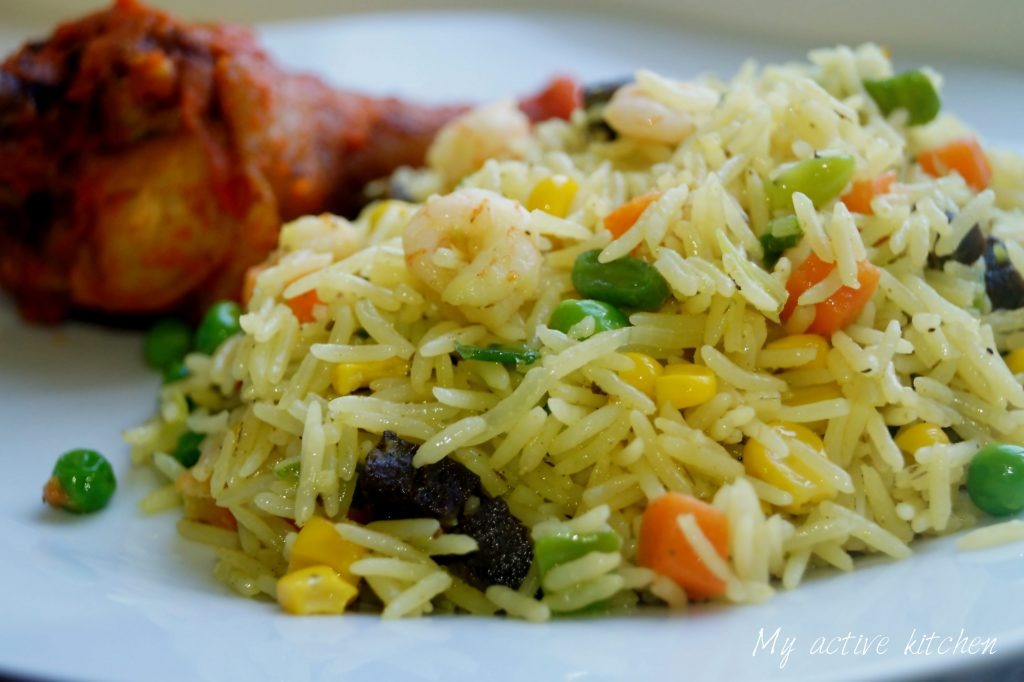
- 1 cup mixed vegetables (such as peas, carrots, and bell peppers)
- 2 eggs
- 1 cup cooked protein (such as chicken, shrimp, or beef)
- 2 tablespoons soy sauce
- 1 tablespoon sesame oil
- 2 green onions, finely chopped
- Salt and pepper, to taste

The Importance of Quality Cookware
When undertaking the art of **teppanyaki fried rice**, using the right cookware is essential. A good rice cooker ensures perfectly cooked rice every time. For the actual frying process, you would benefit greatly from a quality skillet or a teppanyaki grill. Additionally, having a sushi knife can improve your chopping skills for those fresh vegetables, while a sturdy cutting board is necessary for safe and efficient preparation.
Preparation Steps for Teppanyaki Fried Rice
Step 1: Gather Your Ingredients
Before diving into cooking, ensure all of your ingredients are prepped and ready to go. As any chef knows, preparation is key to a seamless cooking experience. Start by chopping your vegetables into small, even pieces for uniform cooking. Beat the eggs in a bowl and set them aside. If you’re using leftovers, ensure your rice is chilled, as this helps prevent clumping during frying.
Step 2: Heat Your Pan
To achieve that distinctive **teppanyaki** flavor, heat your skillet or grill until it’s smoking hot. The high temperature is essential for achieving that slight char and the iconic stir-fry flavor synonymous with teppanyaki style cooking. Drizzle in some sesame oil to coat the cooking surface and add a nutty aroma as your main ingredients hit the pan.
Step 3: Add Vegetables and Protein
Start with your mixed vegetables, allowing them to sizzle away. Stir-fry for about a minute before adding your cooked protein. Keep everything moving to ensure even cooking. What youre looking for here is a slight browning on the veggies and protein for that depth of flavor.
Step 4: Incorporate the Rice
Once your ingredients are looking beautifully cooked, it’s time to move on to the star of the showyour rice. Add the cold, cooked rice to the skillet in batches to prevent overcrowding. Gently toss the rice with the vegetables and protein, ensuring everything is well incorporated. The rice should break apart easily and start to pick up flavors from the bottom of the pan.
Step 5: Season the Rice
Now that everything is in the pan, its time to enhance the flavor. Pour in the soy sauce slowly, tossing as you go to ensure even distribution. Season with salt and pepper, and remember to taste as you season. Finish off by folding in the beaten eggs, letting them cook through and mingle with the rice.
Step 6: Garnish and Serve
Finally, sprinkle the chopped green onions over the top, tossing them through once more. Serve your **teppanyaki fried rice** hot right from the pan to the plate. You can also pair this dish with your favorite dipping sauces or additional protein on the side. The presentation of your dish can rival any restaurant-level teppanyaki dish.
Tips for the Best Teppanyaki Fried Rice
1. **Use Day-Old Rice**: Freshly cooked rice is often too moist, leading to clumps. Day-old rice is drier and easier to stir-fry.
2. **Add Flavor Layers**: While soy sauce enhances flavor, consider adding mirin or rice vinegar for extra depth.
3. **Keep It Moving**: A well-executed **teppanyaki fried rice recipe** requires constant movement. Use a spatula to flip and toss.
4. **Experiment with Ingredients**: Dont be afraid to swap out proteins or vegetables. Shrimp, tofu, and different veggies all work wonderfully.
Cleaning Your Cookware
After enjoying a delicious meal, cleaning your cookware is the final step. Quality pans can last a lifetime with proper care. Be sure to use a reliable cookware cleaner for any stubborn stains left after cooking. For your wooden cutting board, use a cutting board conditioner to keep it in good shape.
Conclusion
With this detailed guide on making **teppanyaki fried rice**, you can impress friends and family alike. The flavors, the aromas, and the experience of bringing a piece of Japan into your kitchen are truly rewarding. Dont hesitate to make it your own and enjoy the cooking process as much as the delicious results. If you’re interested in expanding your rice recipe repertoire, check out more recipes such as Rice Loopholes, Short Grain Rice, or Instant Pot Rice.
As an Amazon Associate, I earn from qualifying purchases.


