 by
by Craving for something exotic yet healthy? Look no further than this extensive guide on preparing a mouth-watering gluten-free sushi recipe that everyone will love. From tips on selecting the right ingredients to mastering the art of rolling, we’ve got you covered in this ultimate sushi-making journey.

Why Choose Gluten-Free Sushi?
One of the benefits of opting for a gluten-free sushi recipe is its suitability for people with gluten allergies or sensitivities. It allows everyone to indulge in the delicious world of sushi without worrying about gluten-related issues. Gluten-free sushi eliminates the risk of ingesting hidden gluten, often found in traditional soy sauce and other additives, thus making your sushi experience far more enjoyable and worry-free.
Essential Ingredients
Before diving into the step-by-step instructions, let’s gather the essential gluten-free ingredients:
- 1 cup of sushi rice
- 1 1/4 cups of water
- 1/4 cup of rice vinegar
- 2 tablespoons of sugar
- 1 teaspoon of salt
- Gluten-free soy sauce (Tamari)
- Nori sheets (seaweed)
- Fresh fish like tuna, salmon, or shrimp (make sure its sushi-grade)
- Vegetables like cucumber, avocado, and carrot
- Wasabi and pickled ginger

Necessary Cookware and Equipment
While making gluten-free sushi may seem like an intricate process, having the right tools on hand can make it much simpler:
- Rice Cooker – For perfectly cooked sushi rice.
- Sushi Knife – For slicing fish and vegetables.
- Cutting Board – To keep your kitchen clean and organized.
- Strainer – For rinsing rice.
- Sushi Making Kit – To roll the perfect sushi.
Step-by-Step Instructions
Step 1: Prepare the Sushi Rice
First and foremost in any gluten-free sushi recipe is preparing the sushi rice. Rinse 1 cup of sushi rice thoroughly using a strainer until the water runs clear. This step is crucial as it eliminates excess starch. Cook the rinsed rice in a rice cooker with 1 1/4 cups of water. Once the rice has finished cooking, transfer it to a bowl and let it cool down.
While the rice is cooling, mix 1/4 cup of rice vinegar, 2 tablespoons of sugar, and 1 teaspoon of salt in a small saucepan. Heat the mixture until the sugar and salt are completely dissolved. Gently fold this seasoning mix into the cooked rice. Make sure to do this while the rice is still warm to ensure it absorbs the flavors well.
Step 2: Prepare the Fillings
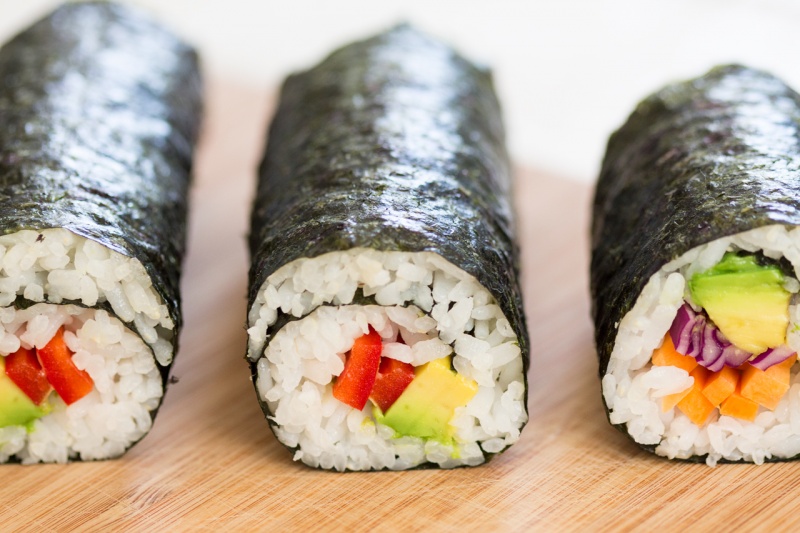
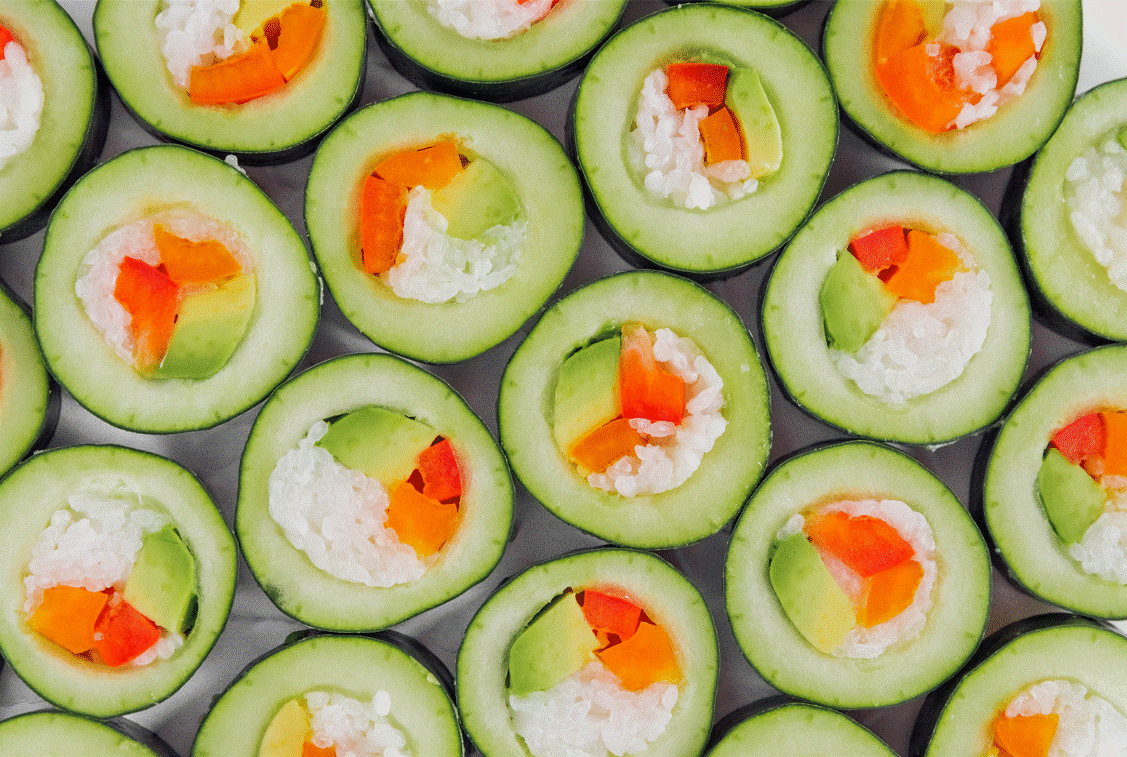
Prepare your fillings while your sushi rice is cooling down. Select a variety of vegetables like cucumber, avocado, and carrot. Slice them into thin strips. If you’re using fish, make sure it is sushi-grade. Use a sharp sushi knife to slice the fish into thin pieces.
Vegetarian or vegan? No problem! You can also include fillings like sweet potato, pickled radish, or bell pepper to add more texture and flavor to your sushi rolls.
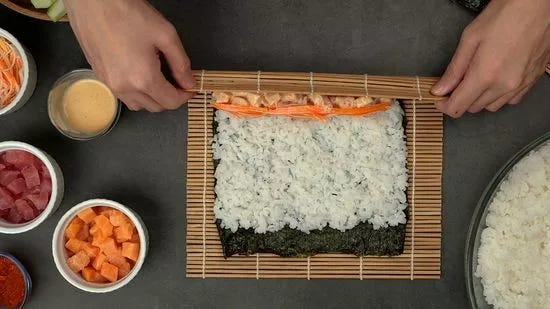
Step 3: Assemble the Sushi
Place a sheet of nori on the bamboo sushi mat, shiny side down. Wet your hands to prevent the rice from sticking to them, and take a handful of rice. Spread it evenly over the nori, leaving about an inch at the top edge. Arrange your chosen fillings in a line across the center of the rice.
Begin rolling the sushi mat away from you, pressing gently but firmly to keep everything in place. Continue rolling until you reach the edge. Use your sharp sushi knife to slice the rolled sushi into bite-sized pieces.
Step 4: Serve and Enjoy!
Arrange your sushi pieces on a plate and serve with gluten-free soy sauce (Tamari), wasabi, and pickled ginger. The combination of these elements brings out the unique flavors and textures of your homemade gluten-free sushi.
For more incredible sushi recipes, do check out our Hawaiian Roll Sushi and Volcano Roll Sushi.
Cleaning and Maintenance
Have you enjoyed making your sushi? Don’t forget to clean up using the right tools. Utilize a cookware cleaner for your rice cooker and a cutting board oil to keep your utensils in top condition.
As an Amazon Associate, I earn from qualifying purchases.