 by
by If you’re looking for a delicious and efficient way to prepare a hearty meal, learning how to cook chili in a pressure cooker is a game-changer. A pressure cooker is an incredible kitchen tool that drastically reduces cooking time while retaining rich and complex flavors, making it perfect for dishes like chili. In this guide, we will delve deep into the process, ensuring you can serve up a bowl of this comforting classic with ease.

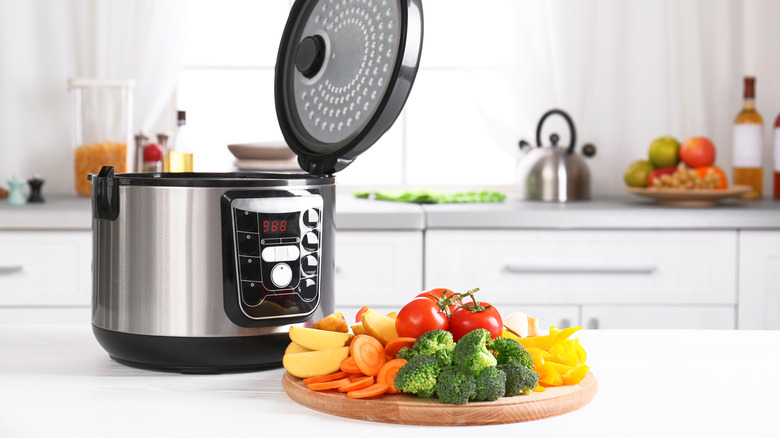
The Rise of Pressure Cooking
The modern kitchen has seen an evolution with the growing popularity of pressure cookers. Their ability to cook meals quickly while preserving nutrients has made them a staple for many. For those who enjoy cooking goat meat or rice preparation, it offers unparalleled convenience. When it comes to chili, pressure cooking is ideal for tenderizing meat and marrying flavors in a fraction of the time traditional methods require.
Ingredients for a Flavorful Chili
- 1 pound ground beef or turkey
- 1 tablespoon olive oil
- 1 onion, chopped
- 3 cloves garlic, minced
- 2 cans (15 ounces each) kidney beans, drained
- 1 can (15 ounces) black beans, drained
- 1 can (14.5 ounces) diced tomatoes
- 1 can (6 ounces) tomato paste
- 2 cups beef broth
- 2 tablespoons chili powder
- 1 teaspoon cumin
- Salt and pepper to taste
- Optional: Cheese, sour cream, chopped cilantro for topping
Step-by-Step Guide on How to Cook Chili in a Pressure Cooker
1. Preparing the Ingredients
Begin by preparing all the ingredients. Chop the onion and garlic finely to ensure they blend seamlessly into the base. Choose lean meat for a healthier option, and dont forget to drain and rinse the beans to reduce sodium.
2. Saut the Aromatics
Using the saut function of your pressure cooker, heat the olive oil. Add chopped onions and garlic, stirring until the onions become translucent. This step is crucial as it enhances the flavors of your chili. For more aromatic inspiration, check out this detailed list of pressure cooker recipes.
3. Browning the Meat
Once the onions are ready, add the ground beef or turkey. Break it up with a spatula and cook until it browns evenly. This process intensifies the meat’s flavor, providing a solid foundation for your chili.
4. Mix in the Classic Ingredients
Next, stir in the beans, diced tomatoes, tomato paste, and beef broth. The combination of tomatoes and broth adds depth to the chili. Sprinkle in the chili powder, cumin, salt, and pepper. These spices are quintessential for achieving the classic chili taste.
5. Pressure Cooking
Secure the lid on your pressure cooker, ensuring it is well sealed. Set it to high pressure for about 20 minutes. As the cooking time for foxtail millet varies, so does chili; however, the beauty of a pressure cooker lies in its precision.
6. Natural Release Method
After the cooking cycle, opt for the natural release method. This allows the flavors to fuse further without sudden pressure changes that might alter the consistency of the chili. The gradual release ensures optimal taste and texture.
Serving Suggestions
Once done, serve the chili hot. Top with your choice of cheese, sour cream, or chopped cilantro. It pairs beautifully with crusty bread or other hearty dishes for a complete meal.
Tips and Tricks for Perfect Chili Every Time
Experiment with different meats or even go vegetarian by doubling beans and adding corn. For a smoky flavor, incorporate smoked paprika or chipotle peppers. Always allow some resting time for the chili post-cooking; this allows the flavors to develop fully.
If you’re intrigued by more such techniques, learn how chefs use different methods by exploring pressure cooking techniques on Wikipedia.

Conclusion
Understanding how to cook chili in a pressure cooker not only saves time but enhances the depth of flavors in your dish. Whether youre a novice or a seasoned cook, mastering pressure-cooked chili is sure to impress. The convenience and rich taste make it a preferred choice for a comforting homemade meal.
Embrace the culinary wonders of pressure cooking and savor the satisfaction of creating a delightful dish, every time.
This article contains affiliate links. We may earn a commission at no extra cost to you.